
Editing guide
Best Film Settings for Foggy Mountain Photos on iPhone
A practical foggy-mountain film recipe for iPhone: gentle contrast, cleaner mist separation, restrained grain, and enough analog texture to keep the landscape atmospheric instead of washed out.
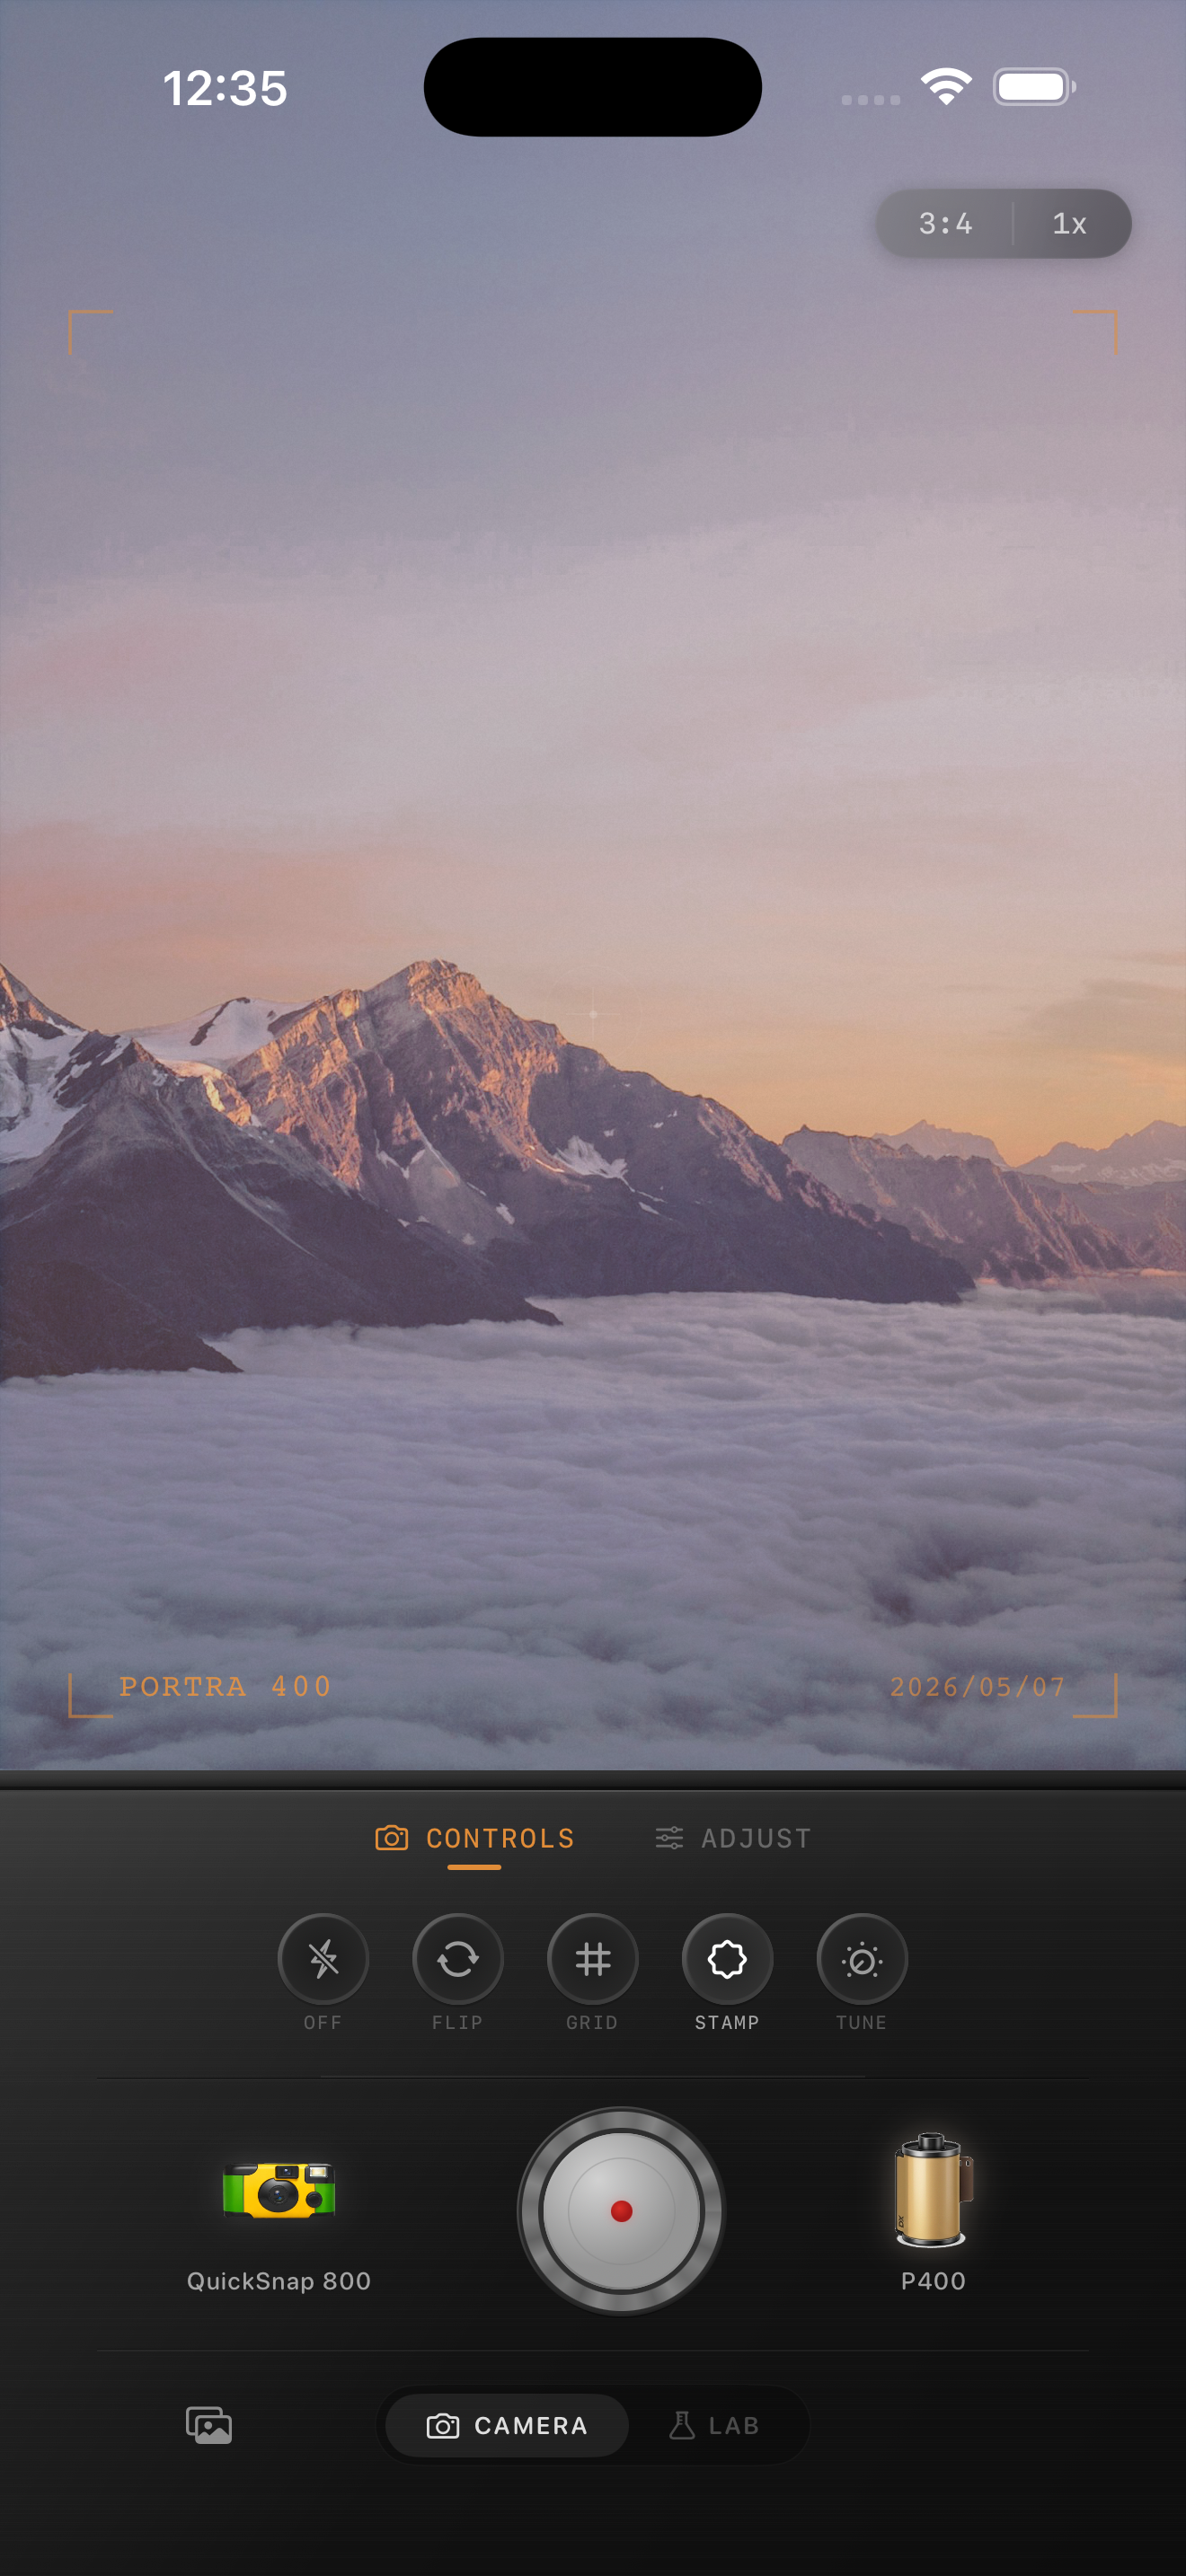
Fog needs separation, not heavy contrast
Foggy mountain photos already have mood. The air softens the background, light rolls through the scene gradually, and distant layers naturally feel quieter than the foreground. That is a strong base for a film-inspired landscape.
The mistake is forcing dramatic contrast too early. Heavy contrast makes mist disappear, crushes tree detail, and turns a subtle atmospheric scene into a digital postcard with less depth than the original image.
A dependable foggy-mountain settings range
Start around film intensity 68-82%, grain 16-28%, warmth +1 to +6, fade 2-5%, and vignette 3-8%. That keeps the landscape soft and layered while still breaking the ultra-clean digital finish of the iPhone file.
If the sky is bright and white, lower highlights before adding more grain. If the scene is darker and moodier, you can raise grain slightly, but keep enough tonal separation that ridgelines, trees, and clouds still read as separate layers.
- Keep grain restrained so fog stays smooth.
- Use small warmth adjustments unless sunrise light is already obvious.
- Protect the brightest mist from clipping into blank white.
- Let distant layers stay soft instead of trying to sharpen everything.
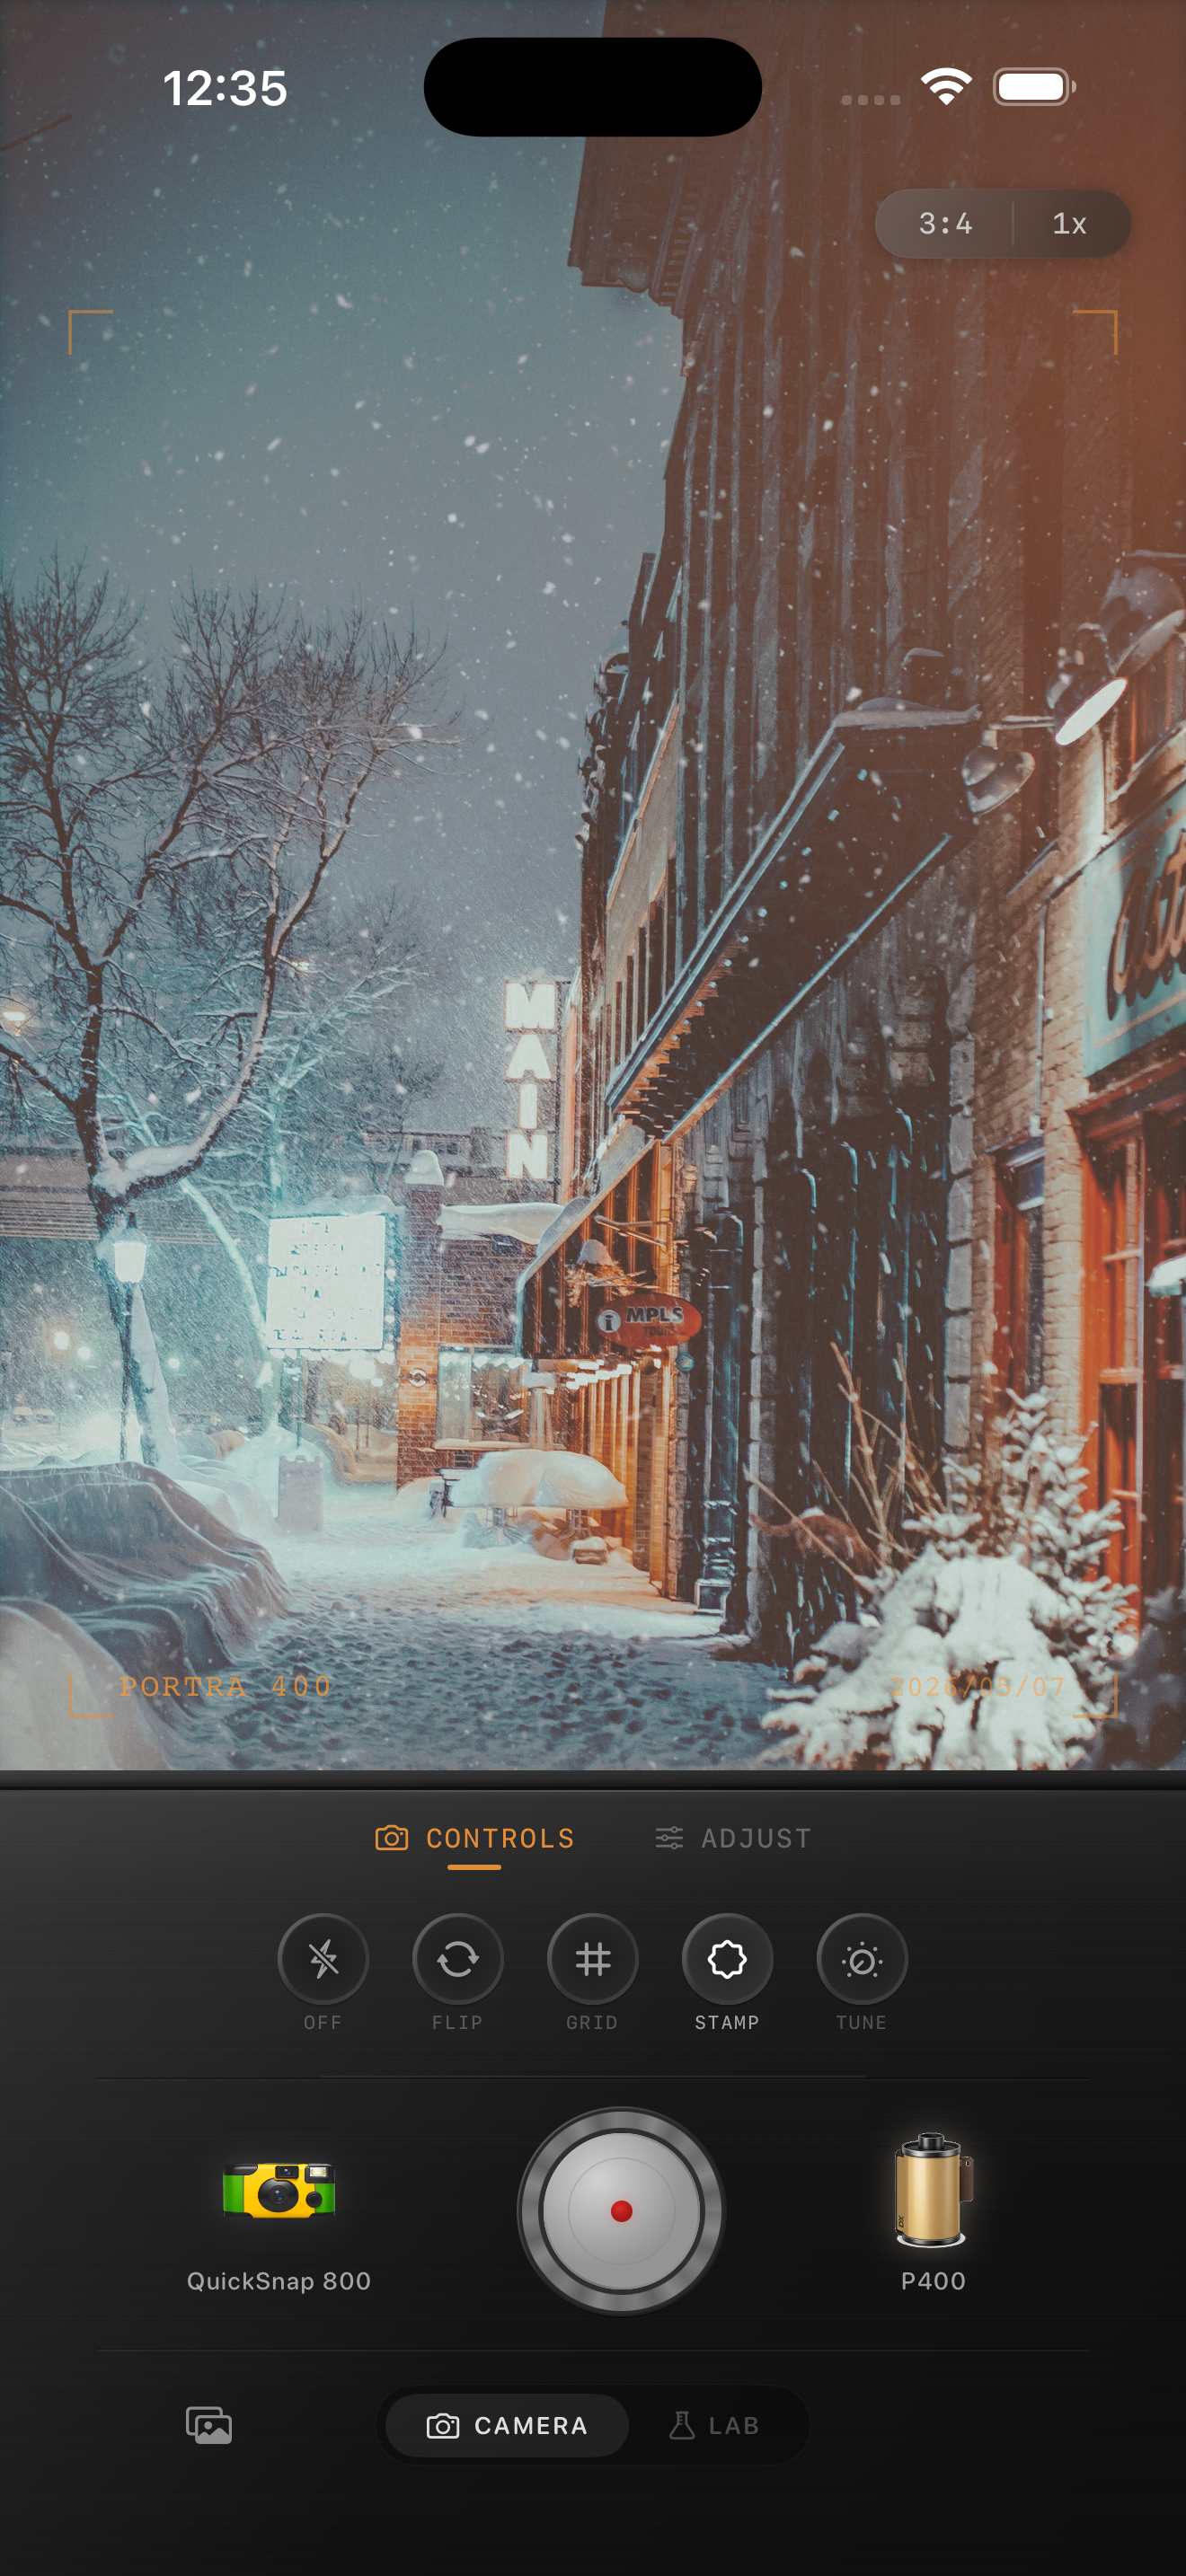
Use foreground anchors to judge the edit
Misty landscapes are easiest to finish when you judge them from one near detail, one middle layer, and one far layer. That might be grass, a line of trees, and the mountain itself. If those zones still feel distinct, the image usually keeps its depth.
If everything melts into one flat gray shape, the edit has gone too soft. If the fog loses its glow and the trees look cut out, the edit has gone too hard. The best film-inspired balance sits between those two failures.
Choose a calmer camera personality
Foggy mountain scenes usually suit a cleaner 35mm-inspired body better than a rough disposable one. The atmosphere is already doing part of the aesthetic work, so you mainly need subtle grain and gentler contrast.
In Nostalgia Cam, start with the calmer body first, then tune grain, warmth, fade, and vignette until the photo feels like a quiet landscape print you would find in a box of travel memories.
Keep misty landscapes atmospheric
Use Nostalgia Cam to shoot or import foggy mountain photos, then adjust camera body, grain, warmth, fade, and vignette so the scene keeps its layered mist while gaining a softer film-inspired finish.
FAQ
Why do foggy mountain edits look washed out so easily?
Because the scene already starts with low contrast. Too much fade or too little tonal separation makes the mist, trees, and ridgelines collapse into one flat gray mass.
Should foggy mountain photos use a lot of grain?
Usually no. Moderate or low grain works better because heavy grain can make fog look dirty instead of soft and atmospheric.