Editing guide
Best Film Settings for Direct Flash Party Photos on iPhone
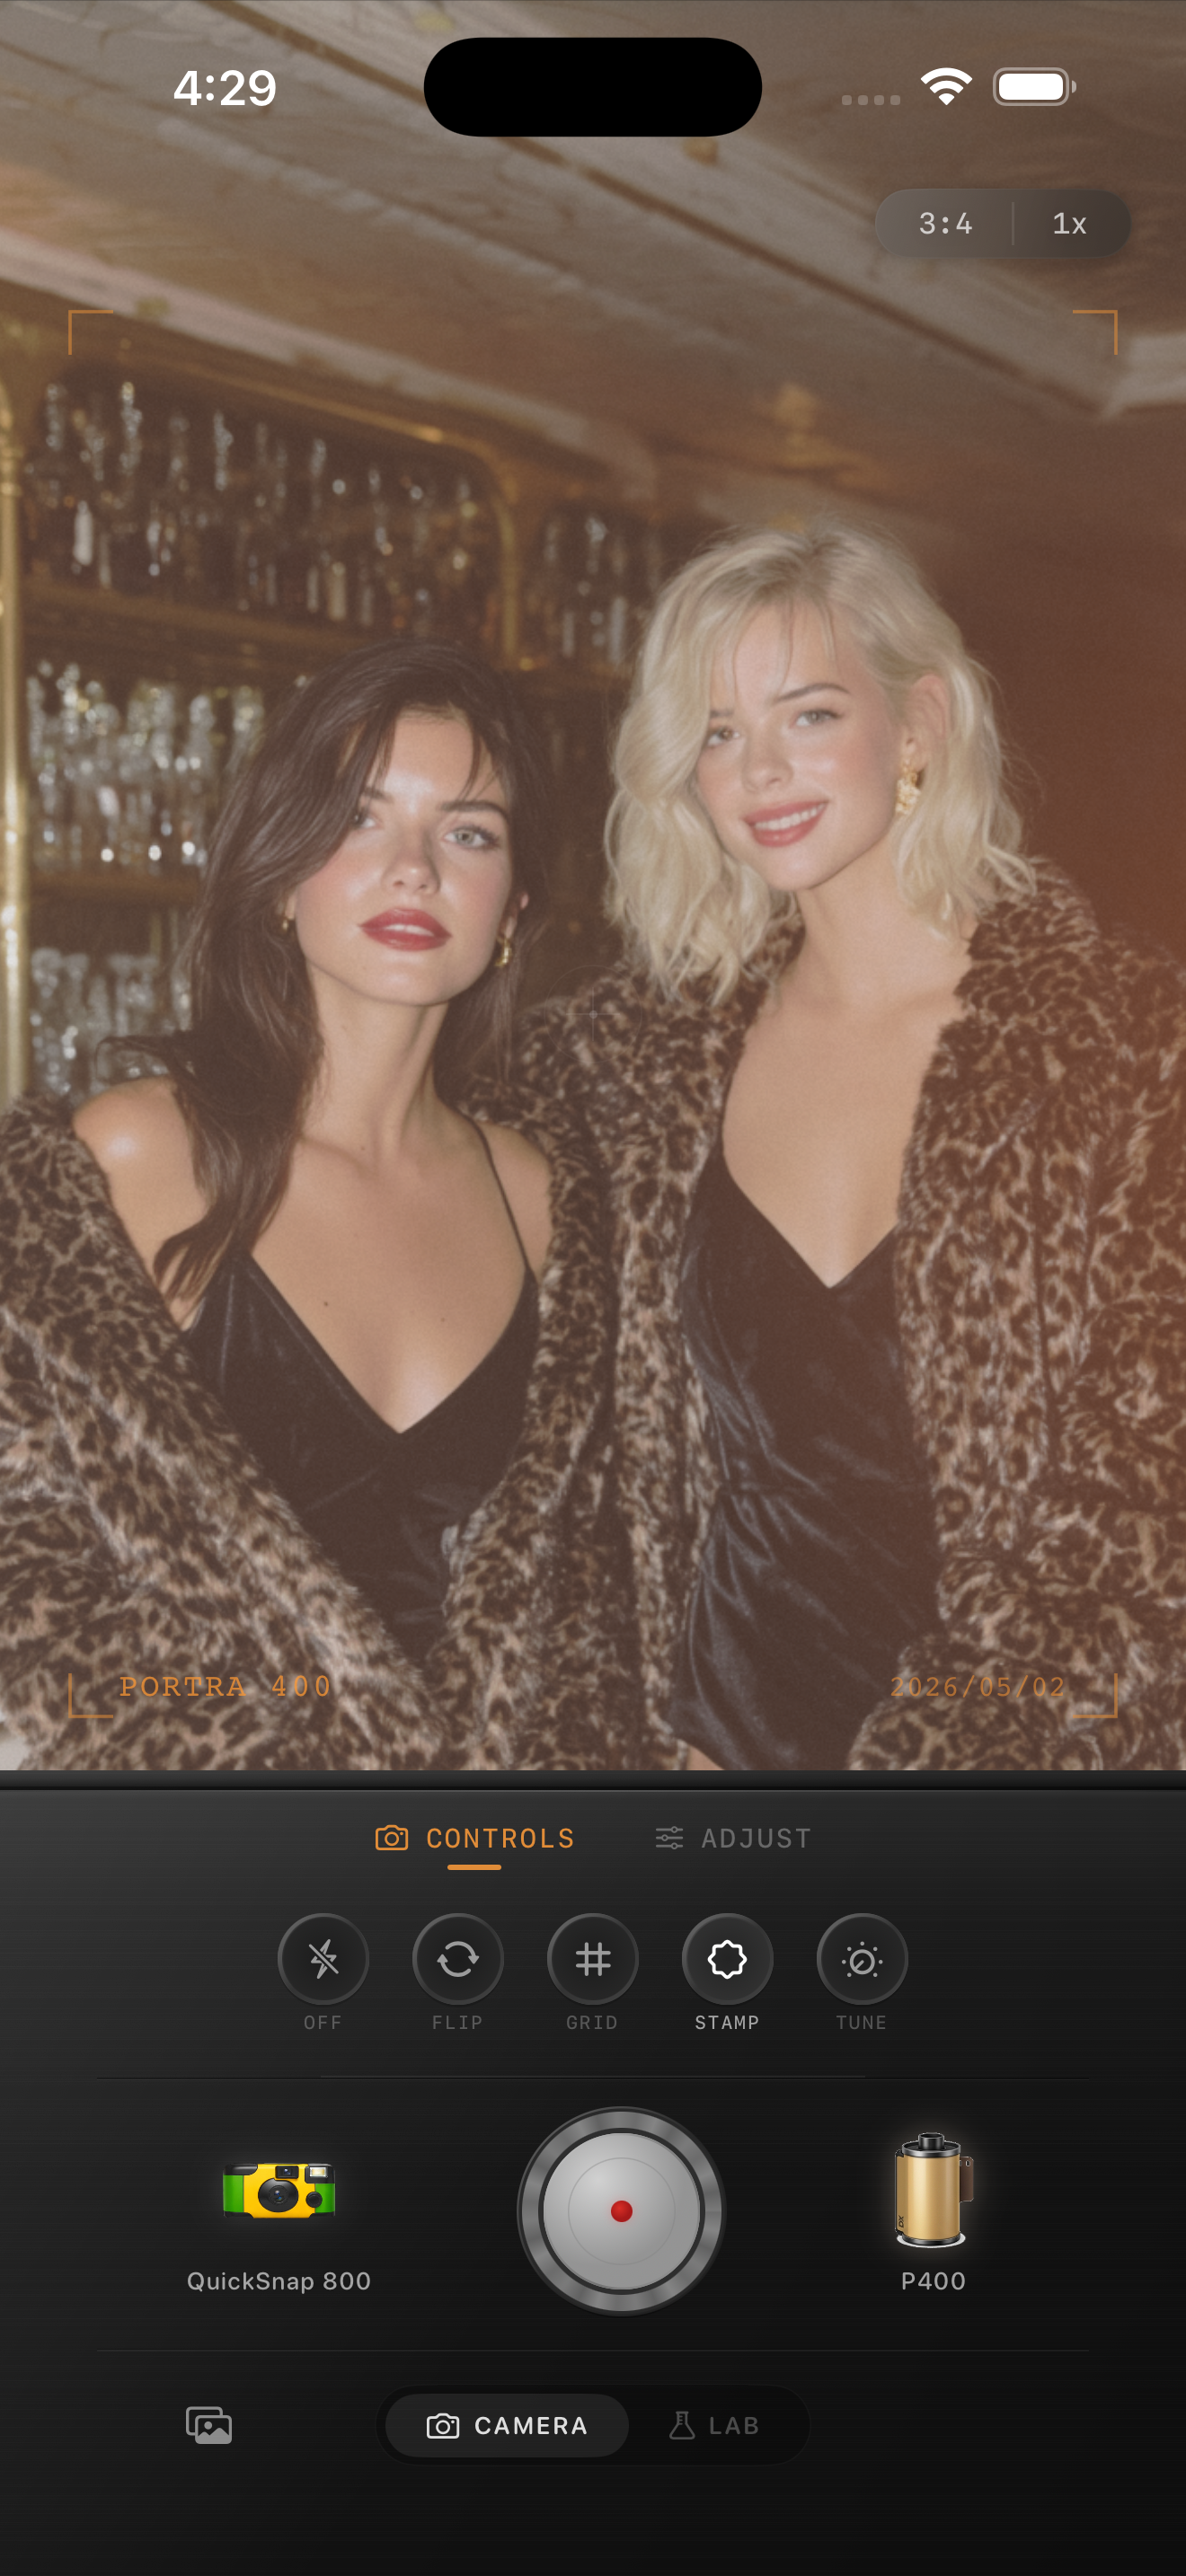
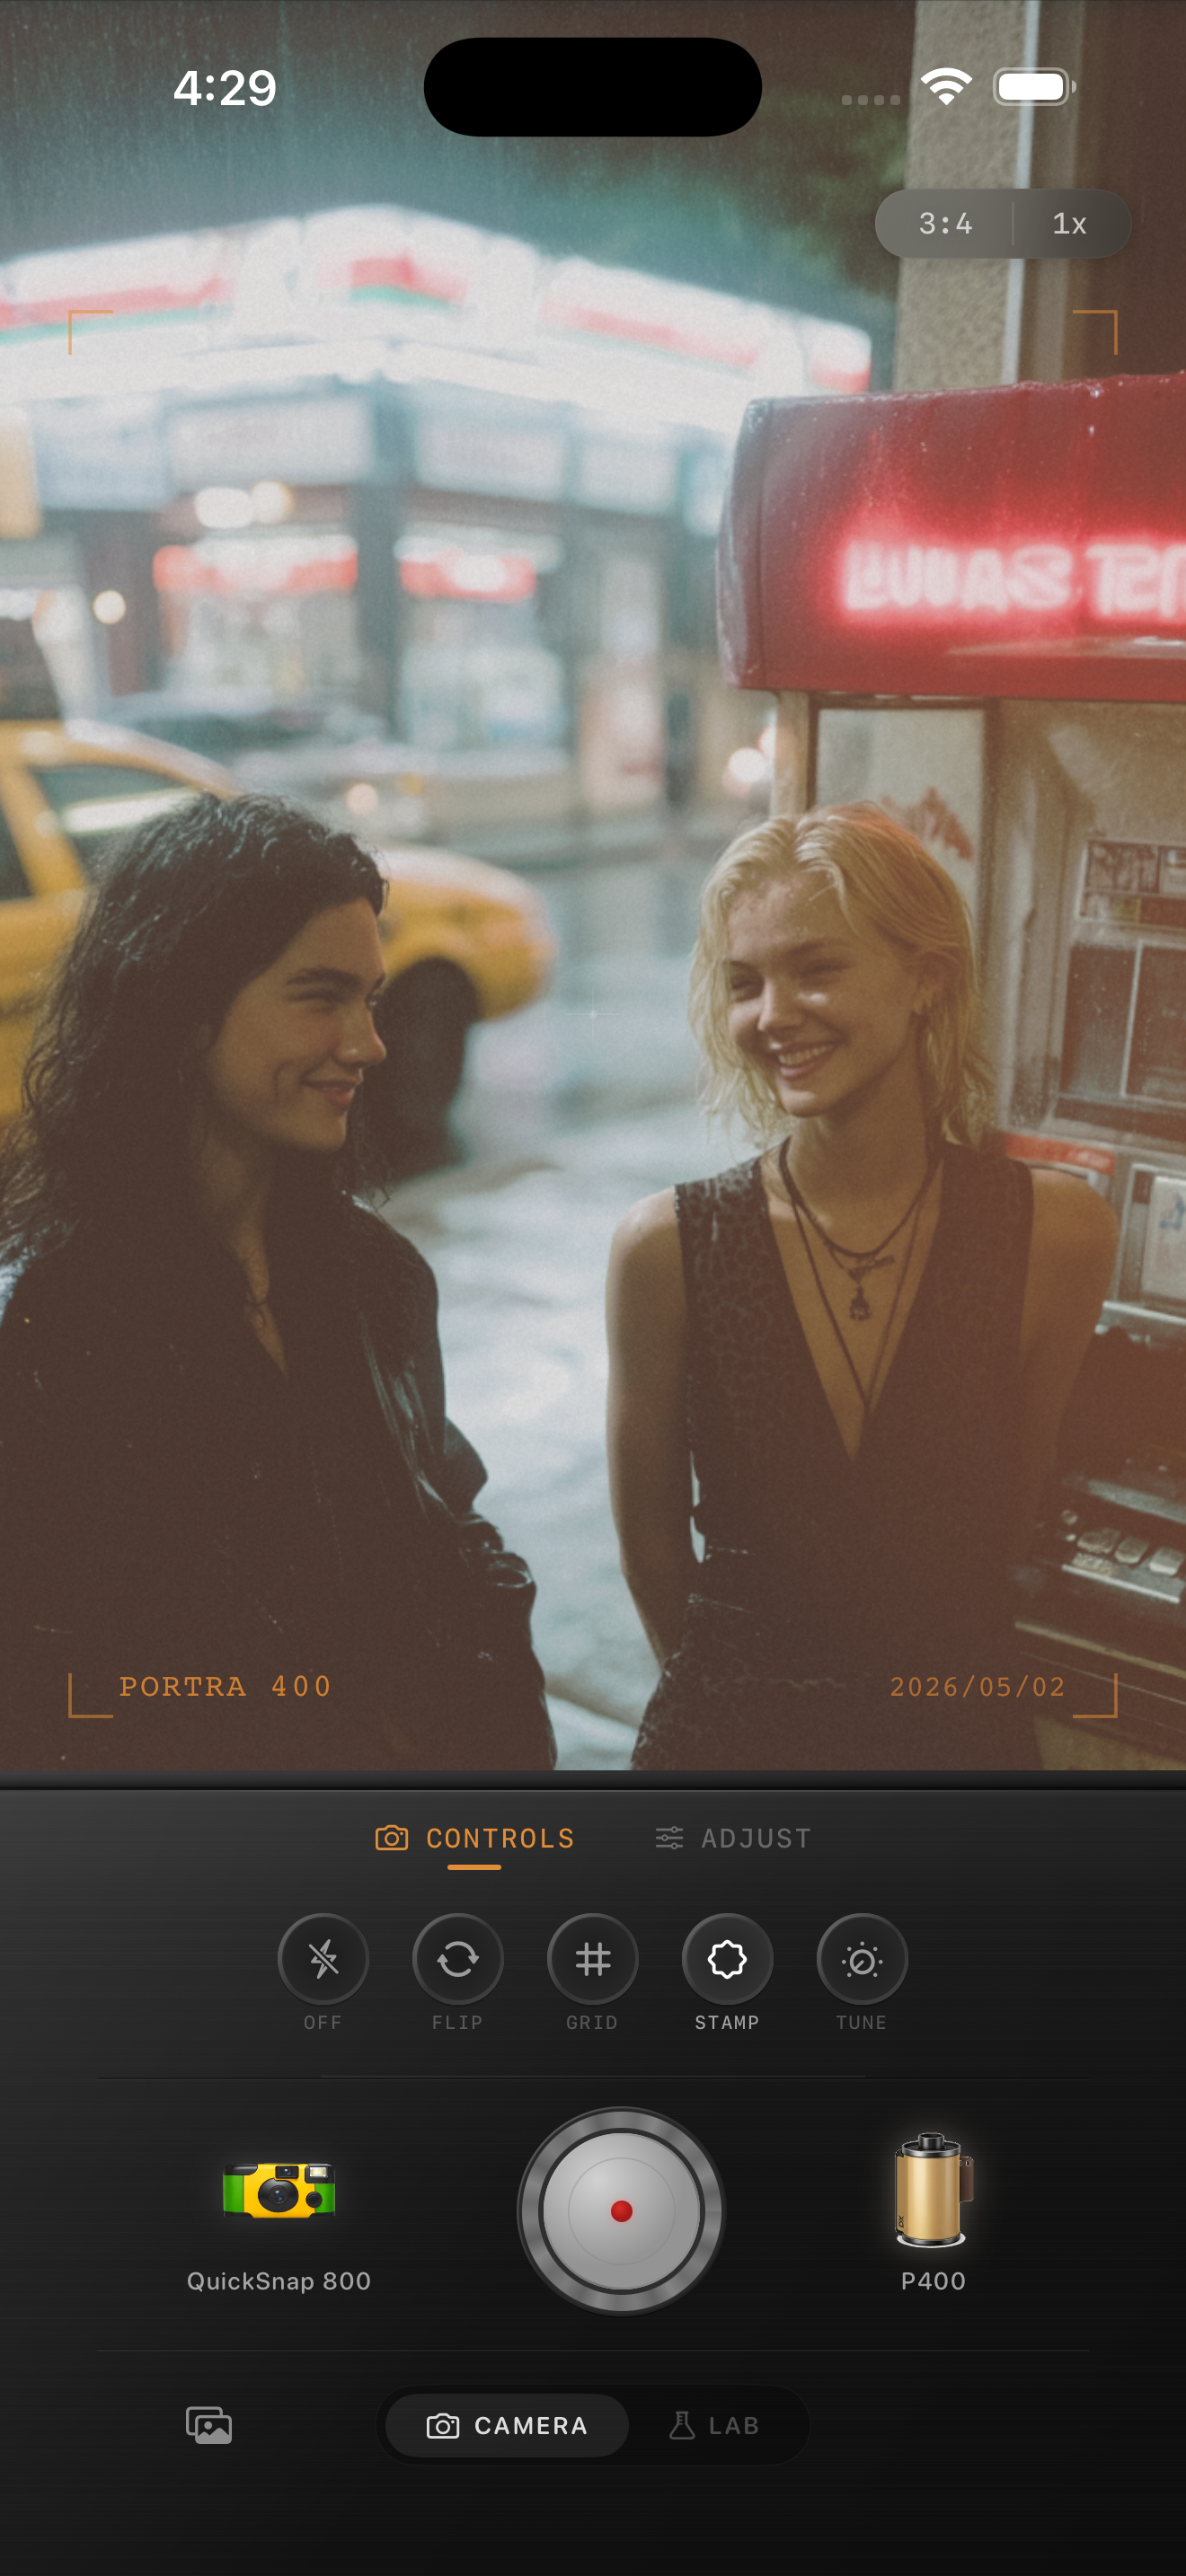
A practical direct-flash film recipe for iPhone party photos: bright highlights, warm skin tone, punchy color, and enough grain to feel printed instead of overly polished.
Direct flash party photos should stay lively
Direct flash party photos already have the ingredient that makes them feel nostalgic: hard light, fast timing, and a slightly imperfect snapshot energy. The edit should keep that energy instead of smoothing everything into a clean social-media look.
A film-style finish works best when it preserves bright skin highlights, keeps the background a little rough, and adds enough texture that the photo feels like a print from a point-and-shoot night out.
- Keep contrast punchy, but do not crush dark clothing into black blocks.
- Use medium-to-strong grain so bright flash does not look clinically digital.
- Warm skin slightly, but avoid turning every light source orange.
- Add only a little fade so the flash still feels crisp.
- Leave some imperfection in framing and background detail.
A dependable direct flash settings recipe
Start with film intensity around 80-90%, grain around 34-48%, warmth around +5 to +11, fade around 2-5%, and vignette around 4-9%. That usually keeps the flash snap while taking the sharp digital edge off the file.
If faces look too shiny or white, lower highlights first instead of adding more fade. Direct flash party photos usually feel more like film when the bright spots stay controlled but still look energetic.
Match the camera body to the kind of party scene
If the photo feels clean and stylish, start with a compact 35mm-inspired body so the flash stays crisp. If it feels chaotic or looser, a rougher disposable or point-and-shoot body can add the right softness and grain.
The body matters because direct-flash photos can either feel editorial or messy in a good way. Choosing the camera personality first gives the edit more structure than dragging sliders on a generic preset.
How to keep flash photos from looking fake
The biggest mistake is stacking every nostalgic cue at once: too much grain, too much warmth, too much vignette, and too much fade. Real flash snapshots still have clear edges and visible highlights even when they feel rough around the frame.
In Nostalgia Cam, start with a flash-friendly body, choose a film look that keeps skin believable, then raise grain only until the photo feels printed rather than processed.
Keep party flash photos punchy in Nostalgia Cam
Use Nostalgia Cam to shoot or import direct-flash party photos, then tune grain, warmth, fade, and camera-body character so the image keeps its nightlife energy while feeling more analog.
FAQ
Should direct flash party photos use strong film grain?
Usually yes, but not to the point that skin and clothing lose detail. A medium-to-strong grain pass tends to work best because it softens the digital finish while keeping the flash pop intact.
Why do direct flash edits start looking muddy?
They usually get muddy when fade and warmth are pushed too far. Flash photos should still have bright highlights and clear separation even after the film texture is added.