iPhone film look
Best Film Settings for Neon Street Photos on iPhone
A practical neon-street film recipe for iPhone: controlled highlights, visible grain, restrained warmth, and enough softness to make city nights feel analog instead of overprocessed.
Neon street photos fail when the highlights get harsh
Night street scenes already have strong color and atmosphere. The main problem is that iPhone processing can make signs, reflections, and edges feel too clean, too sharp, and too bright.
A good film-style edit keeps the neon alive while softening that digital harshness. The image should still feel energetic, but it should read more like a scan or print than a phone camera demo.
- Protect bright signs before adding more saturation.
- Use medium grain so shadows gain texture.
- Keep warmth modest unless the scene is mostly tungsten light.
- Use only a little fade so black areas do not turn gray.
- Let glow come from highlights, not from muddy contrast.
A dependable neon street settings recipe
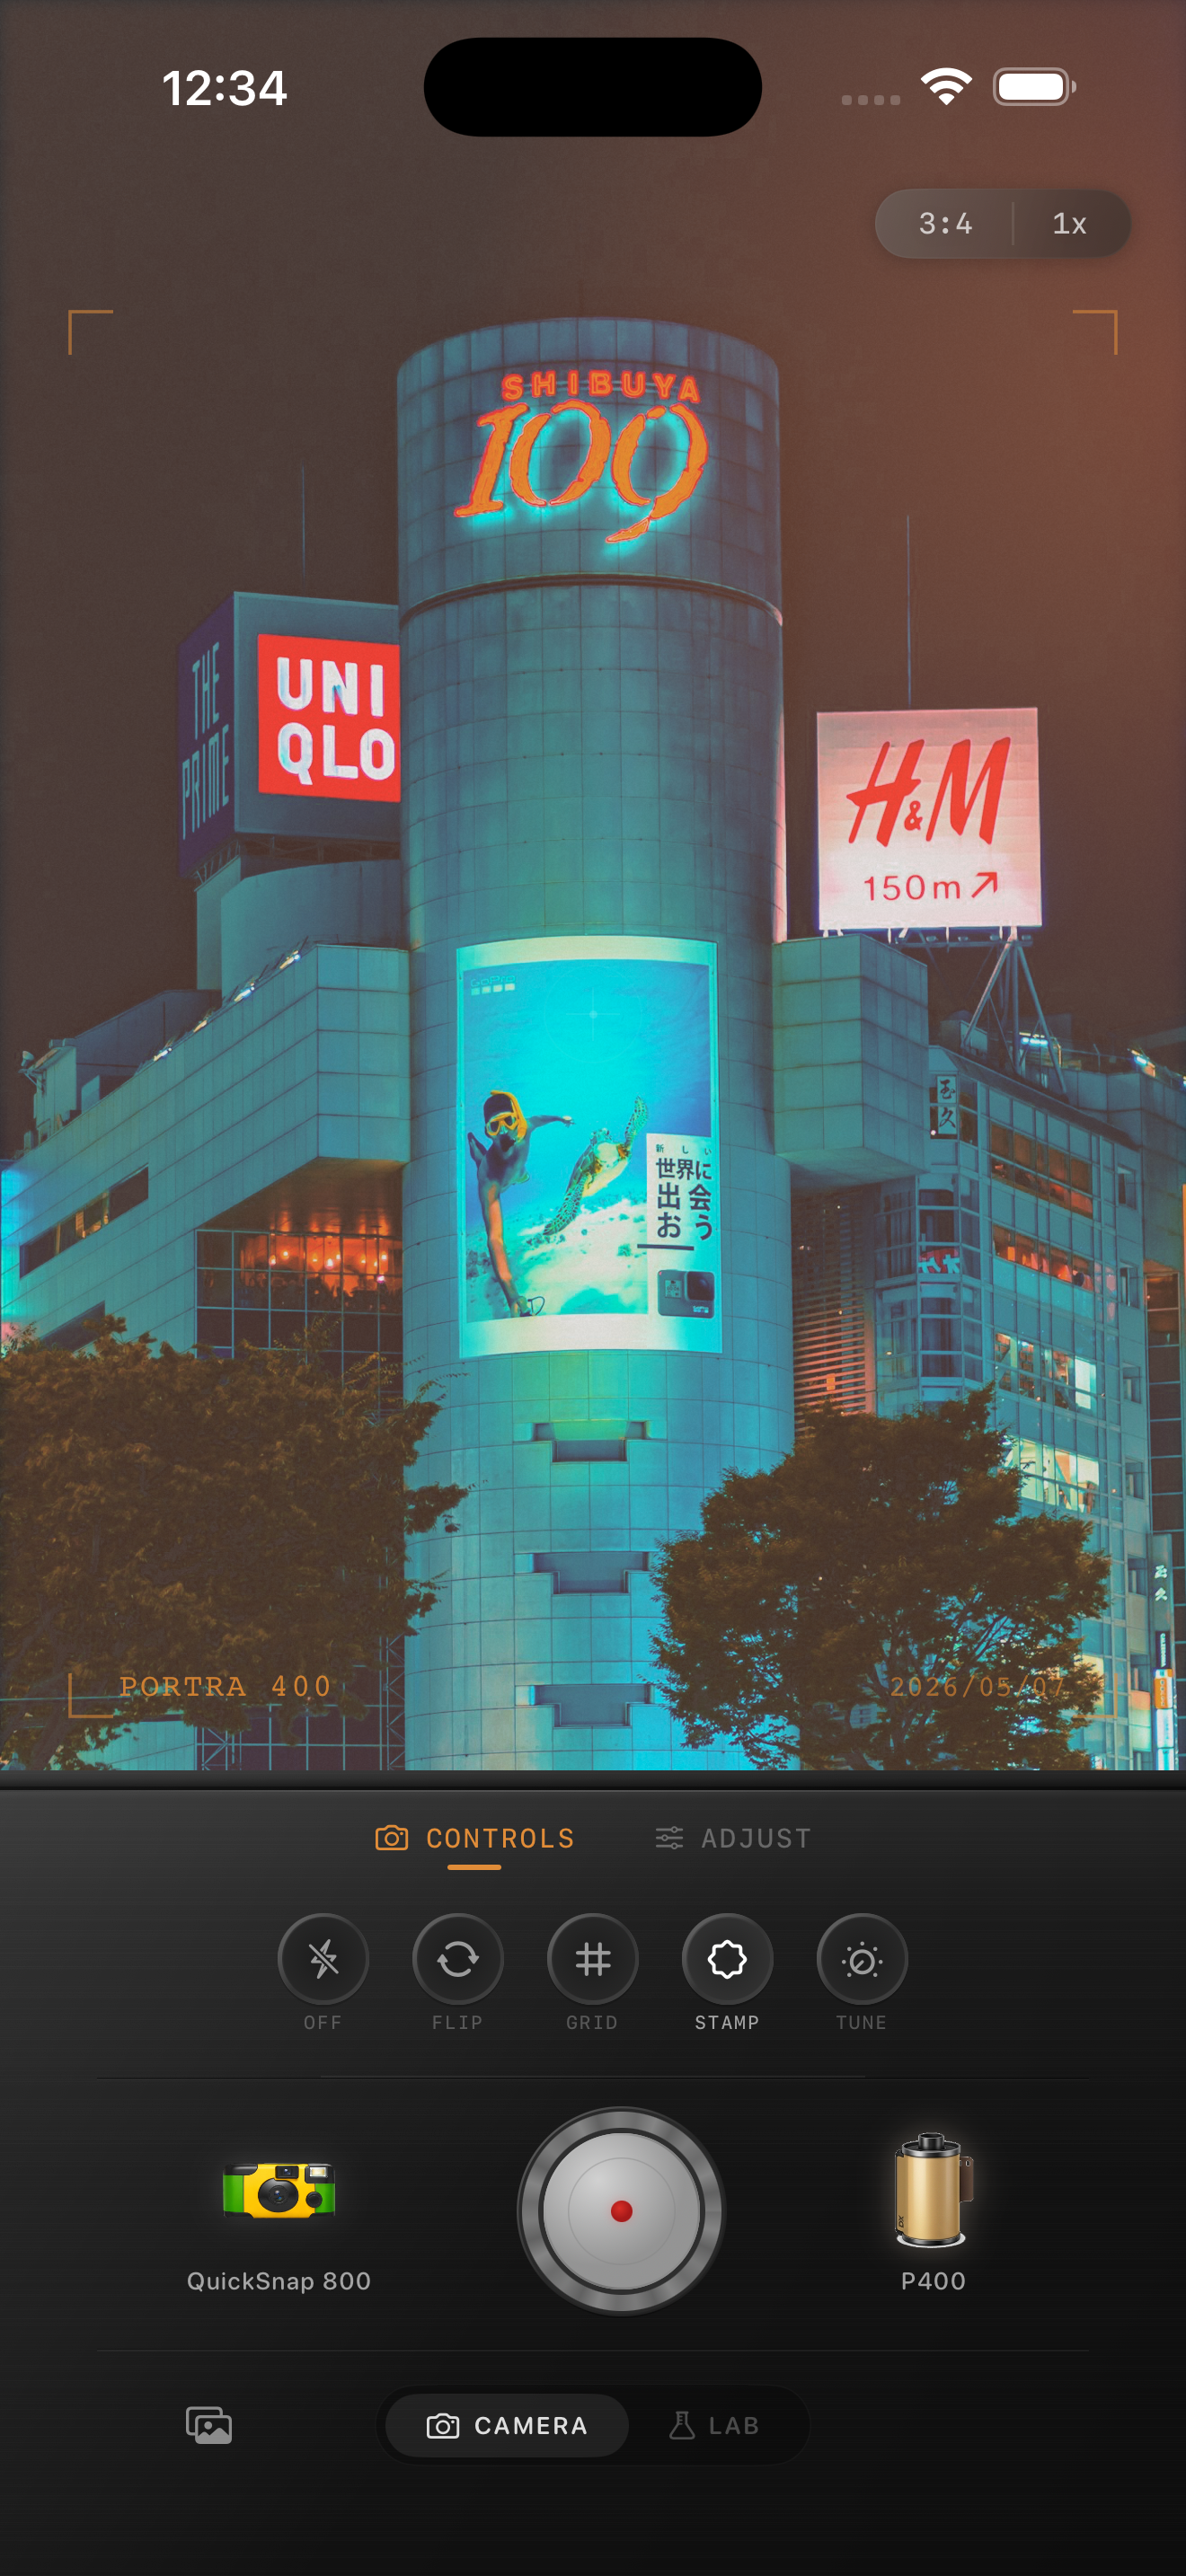
Start with film intensity around 78-90%, grain around 32-46%, warmth around +2 to +8, fade around 3-7%, and vignette around 6-12%. This keeps the scene lively while removing some of the brittle digital finish.
If the signs are clipping, reduce highlight intensity before increasing grain. Neon photos usually look more analog when the color rolls off softly instead of exploding into flat patches of light.
Match the camera body to the kind of night scene
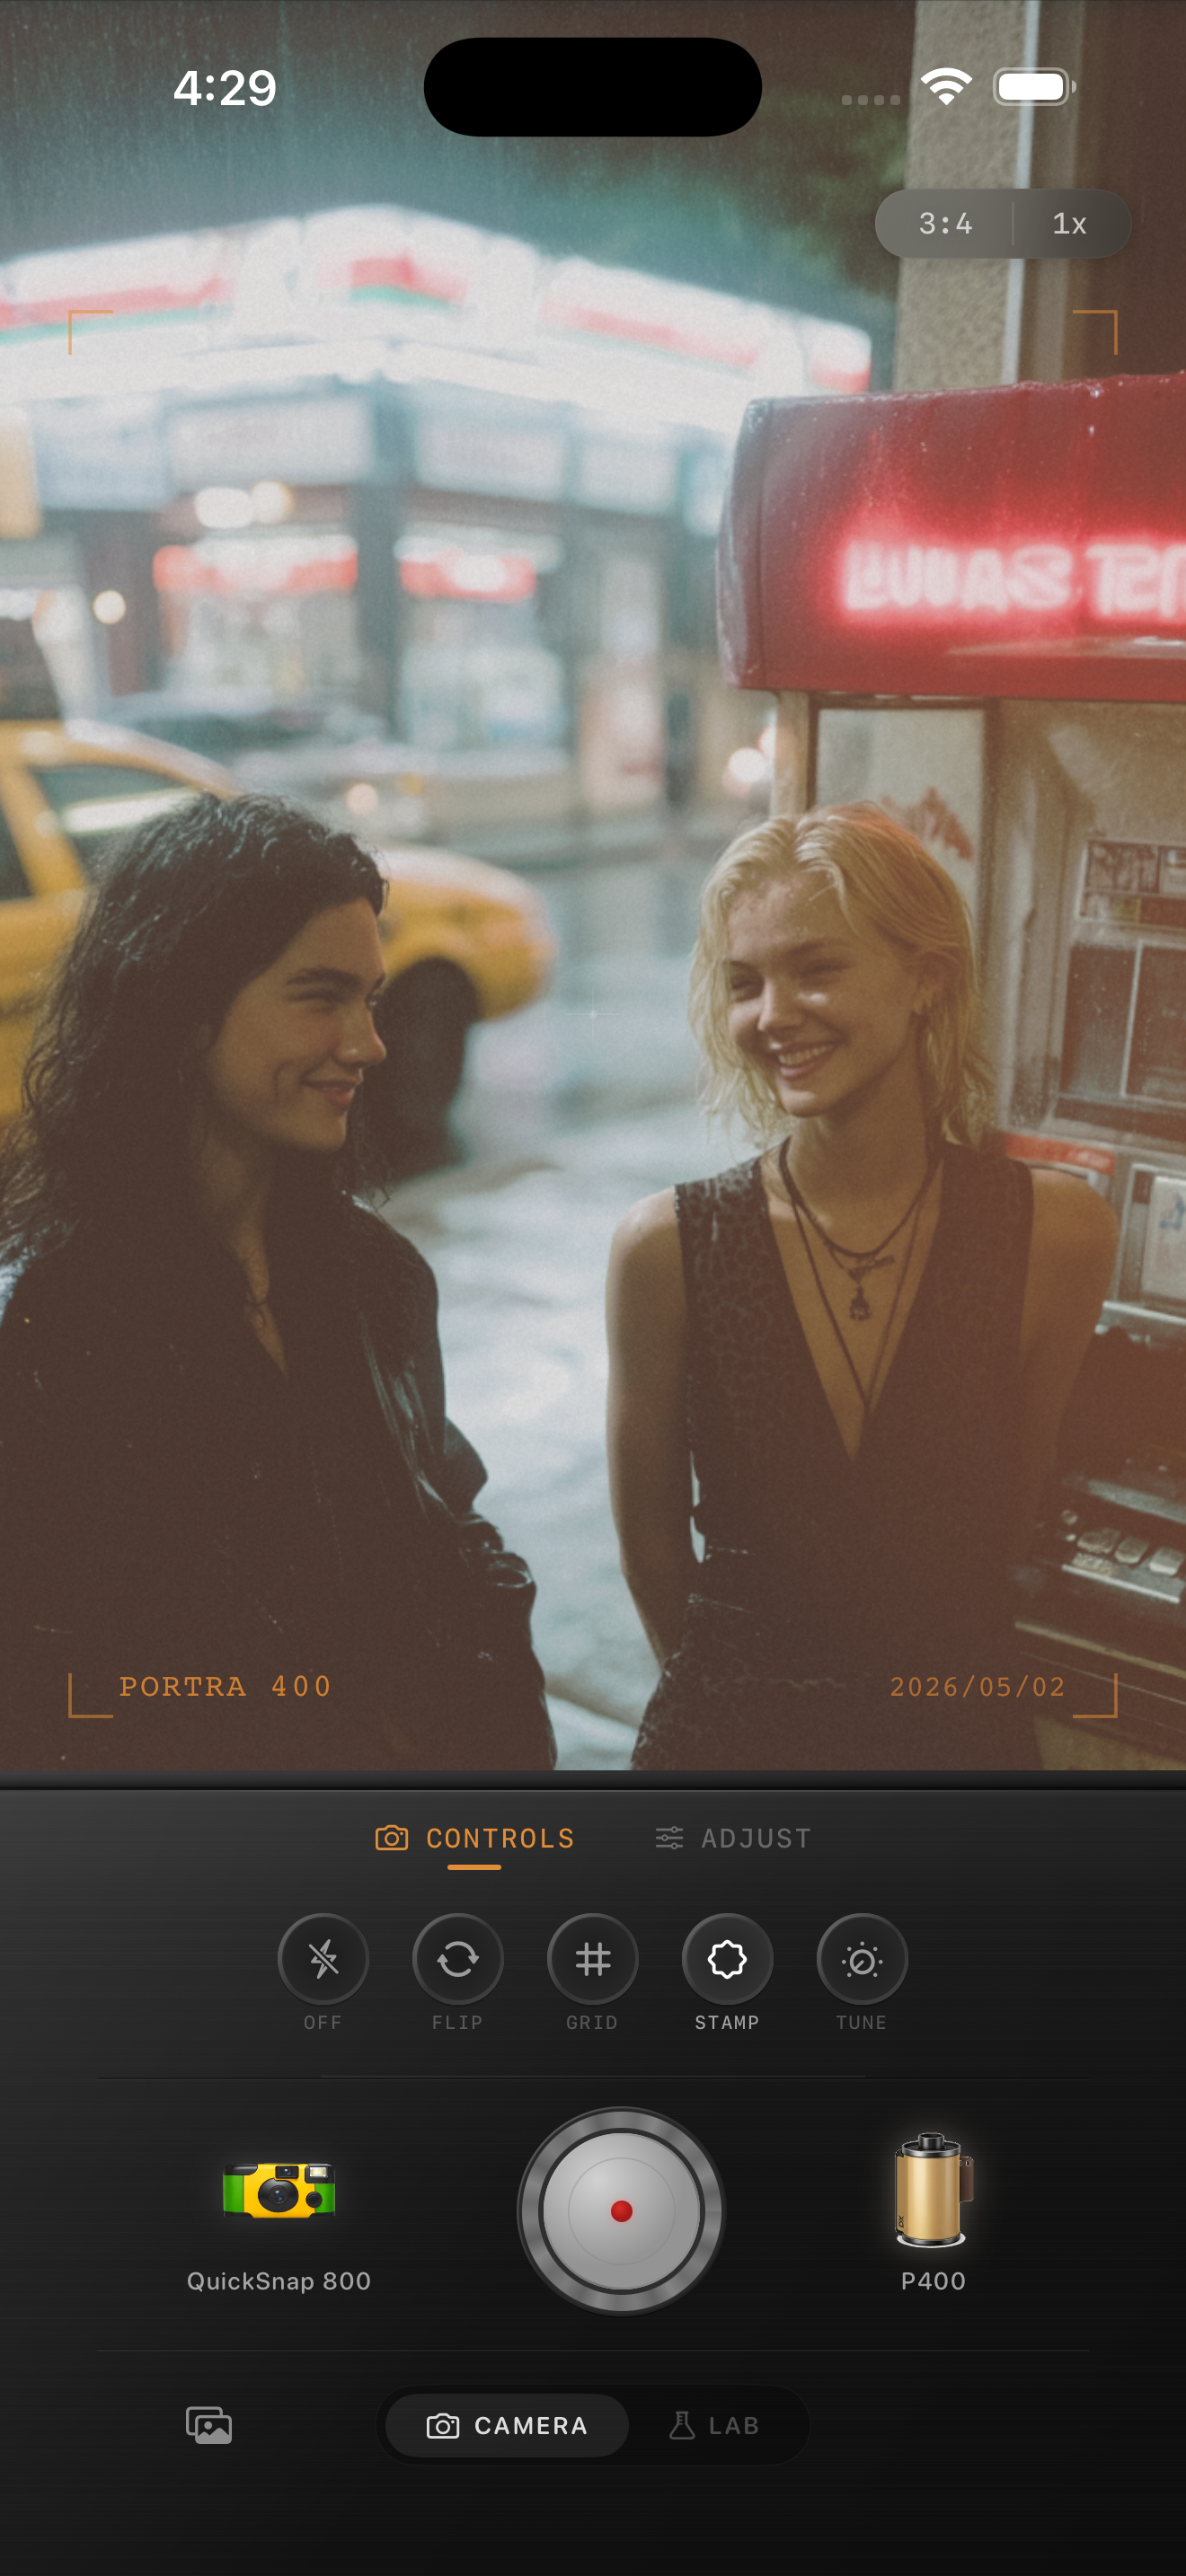
For a cinematic city-walk photo, a cleaner 35mm-inspired body usually works best. For looser nightlife or snapshot energy, a rougher compact body can add more grain and softness without feeling out of place.
That camera choice matters because neon street photos can quickly become generic if every scene gets the same heavy night preset. Body character gives the image more believable structure before you start pushing color.
How to keep the edit useful after posting
Night images often get flattened by social compression, so it helps to keep the texture visible at feed size and the highlight detail intact at full size. If the signs still read clearly and the shadows keep some texture, you are close.
In Nostalgia Cam, start with a night-friendly body, then tune grain, warmth, fade, and vignette until the city feels remembered rather than overly processed.
Tune neon nights inside Nostalgia Cam
Use Nostalgia Cam to shoot or import neon street photos, then balance grain, highlight softness, warmth, and vignette so the scene keeps its color energy without looking digitally harsh.
FAQ
Should neon street photos be warmed up a lot to look like film?
Usually not. A small warmth shift can help, but neon scenes often work better when their cooler tones stay intact and the analog feeling comes from softer highlights and grain.
What grain amount works well for neon street scenes?
A moderate range around 32-46% is a good starting point. It adds texture back into shadows without making bright signs and reflections look dirty.