
Editing guide
Best Film Settings for Apple Orchard Photos on iPhone
A natural iPhone film recipe for apple-orchard photos: protect red fruit, keep foliage from going neon, soften patchy sun, and add a warm printed finish without an orange cast.
Orchard color gets oversaturated quickly
Apple orchards already supply strong color: red fruit, green leaves, yellow grass, blue sky, and warm skin. A heavy autumn preset can make every color compete, especially when the iPhone has already boosted foliage and local contrast.
The best film-inspired edit calms the greens, preserves variation in the apples, and gives skin a gentle warmth. It should feel like a family print from a fall afternoon, not an orange filter placed over the entire scene.
A balanced apple-picking settings recipe
Start around film intensity 68-82%, grain 22-34%, warmth +5 to +11, fade 4-8%, and vignette 4-9%. In bright sun, stay near the lower end for grain and warmth. In open shade, add a little warmth before increasing film intensity.
Judge the reds first. Apples should keep darker and lighter sides instead of becoming flat red circles. If the fruit loses texture, reduce intensity or choose a cleaner film body before changing the grain.
- Keep reds rich but preserve their highlight detail.
- Calm electric greens rather than shifting everything yellow.
- Use fine grain on faces and open sky.
- Let baskets, denim, and tree bark carry more texture.
- Use only enough vignette to settle bright frame edges.
Soften patchy sunlight without flattening faces
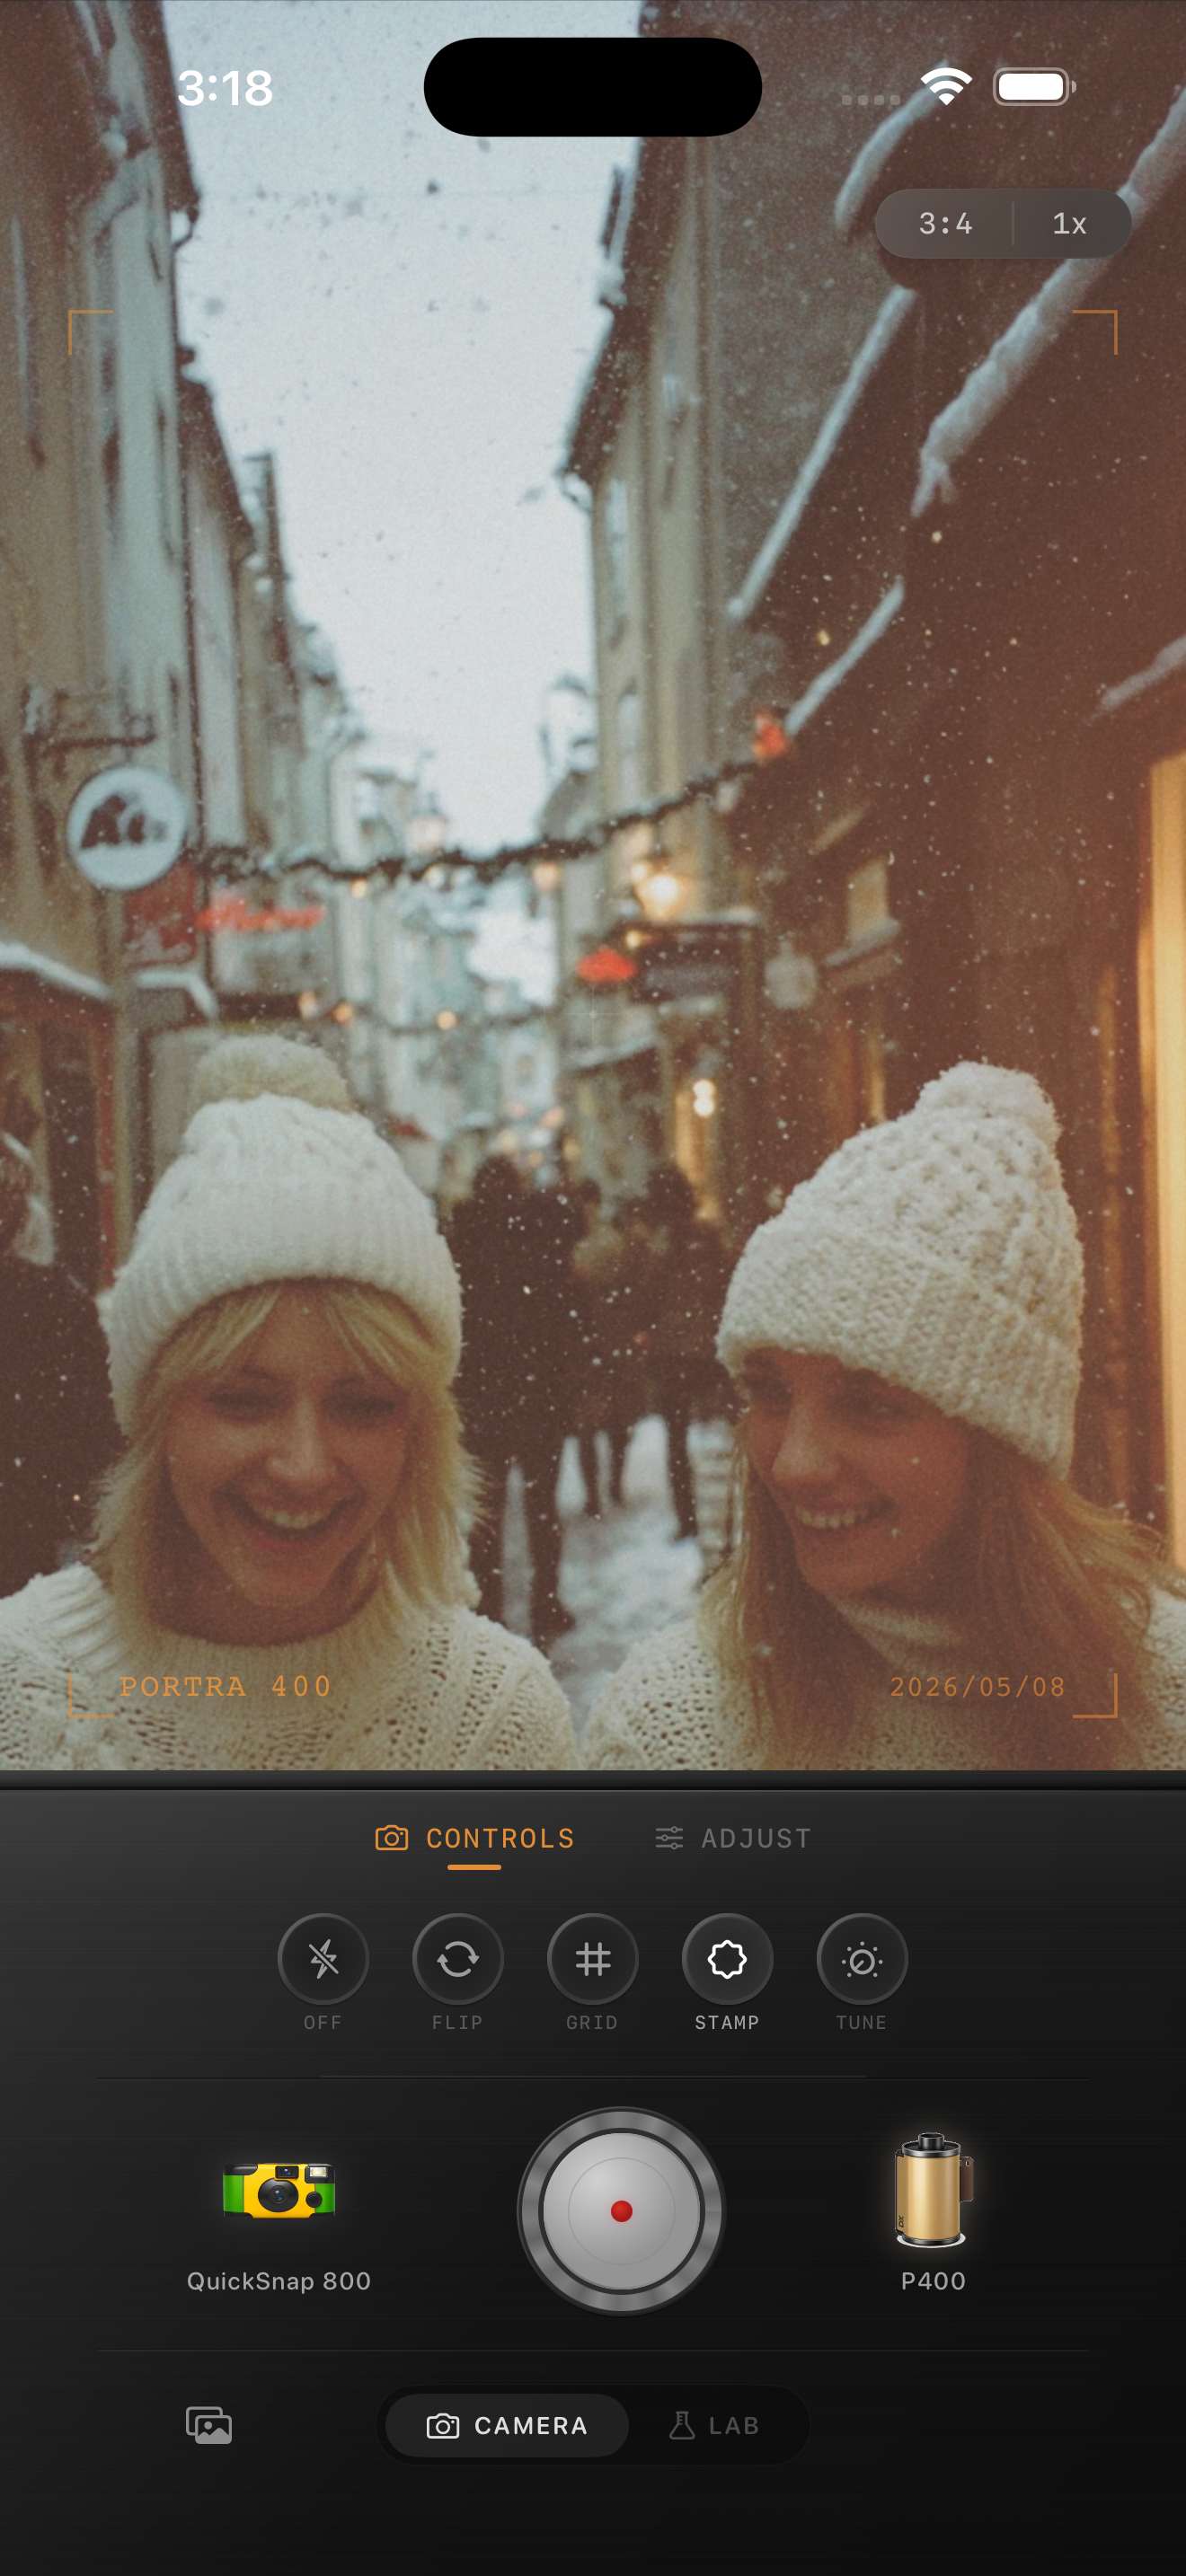
Light passing through orchard branches creates small bright patches on cheeks, clothing, and fruit. Strong fade can remove shape from the face, while high contrast makes those patches look harsh. Use a restrained fade and let the film look soften transitions rather than erasing them.
If you can choose when to shoot, open shade near the edge of a row is easier than midday light deep beneath the trees. The softer starting file leaves more room for believable grain and warmth.
Build one consistent look for the whole outing
Apple-picking photos work best as a small story: a wide orchard frame, hands reaching for fruit, a basket detail, and a few portraits. Apply the same camera body and film look across the set, then adjust warmth or grain slightly for each lighting change.
Consistency matters more than making every frame dramatic. A restrained edit makes the group feel like one roll of film and keeps the attention on the day itself.
Turn an orchard visit into one warm film roll
Use Nostalgia Cam to apply one camera body and film-inspired color across apple-picking photos, then fine-tune grain, warmth, fade, and vignette for sun, shade, portraits, and details.
FAQ
What film settings work for apple-picking photos on iPhone?
Start with 68-82% film intensity, 22-34% grain, +5 to +11 warmth, 4-8% fade, and a light vignette. Use less warmth in direct sun.
How do I keep orchard greens from looking neon?
Choose a softer film-inspired color profile and avoid increasing overall saturation. Gentle warmth and lower contrast usually calm leaves more naturally than a strong orange autumn preset.