
Film grain
Why Film Grain Disappears After Sharing iPhone Photos
Keep film texture visible without making portraits gritty: compare your saved export with the shared photo, check viewing size, and adjust grain in small steps.
Find where the texture changes
If grain looks right while editing but disappears after sharing, compare the saved export with the shared photo before changing your recipe. The cause might be the smaller viewing size, a resized copy, or compression during delivery. More grain is not always the right fix.
Choose one image with a face, a fairly smooth wall, and a textured object such as a sweater. Those three areas make a useful check: skin reveals harshness, the wall reveals fine texture, and fabric shows whether real detail is also being lost. Keep your original photo and your preferred export so you can return to them.
Compare at the same viewing size
A zoomed-in editing preview and a small shared image are different tests. First fit both images to the screen. Then inspect the same crop at a similar magnification. If grain is visible when you zoom into both versions but quiet at normal size, it may simply be too fine to stand out in a small display.
Resizing changes the pixel dimensions of an image. When a large photo is reduced, tiny texture can become less distinct. Lossy compression can also change fine detail. These are separate steps, so a softer shared photo does not by itself prove that the camera app exported incorrectly.
- Open the saved image itself, rather than judging only its thumbnail.
- Compare the same crop with similar screen brightness and magnification.
- If available, compare the pixel dimensions of the export and the delivered file.
- Check hair and fabric as well as grain; broad softness suggests a wider detail-loss problem.
Use one clean export path
Start with the full-resolution export from Nostalgia Cam. Share that saved file directly instead of taking a screenshot of the preview or passing the image through several editing apps. A screenshot records the displayed view and may include interface elements; it is not a substitute for the exported photograph.
If the destination offers a choice between a reduced image and an original-quality file, use the latter for your comparison. Options vary by service. Keep the full-resolution master even if the final destination needs a smaller copy, and make future versions from that master instead of editing a downloaded shared copy.
Run a two-version grain test
Make version A with the grain you already like. Make version B with a small increase, leaving exposure, warmth, fade, and the film look unchanged. Send both through the same route and compare the delivered images at the size people will actually see them. This isolates the effect of grain instead of changing the whole edit at once.
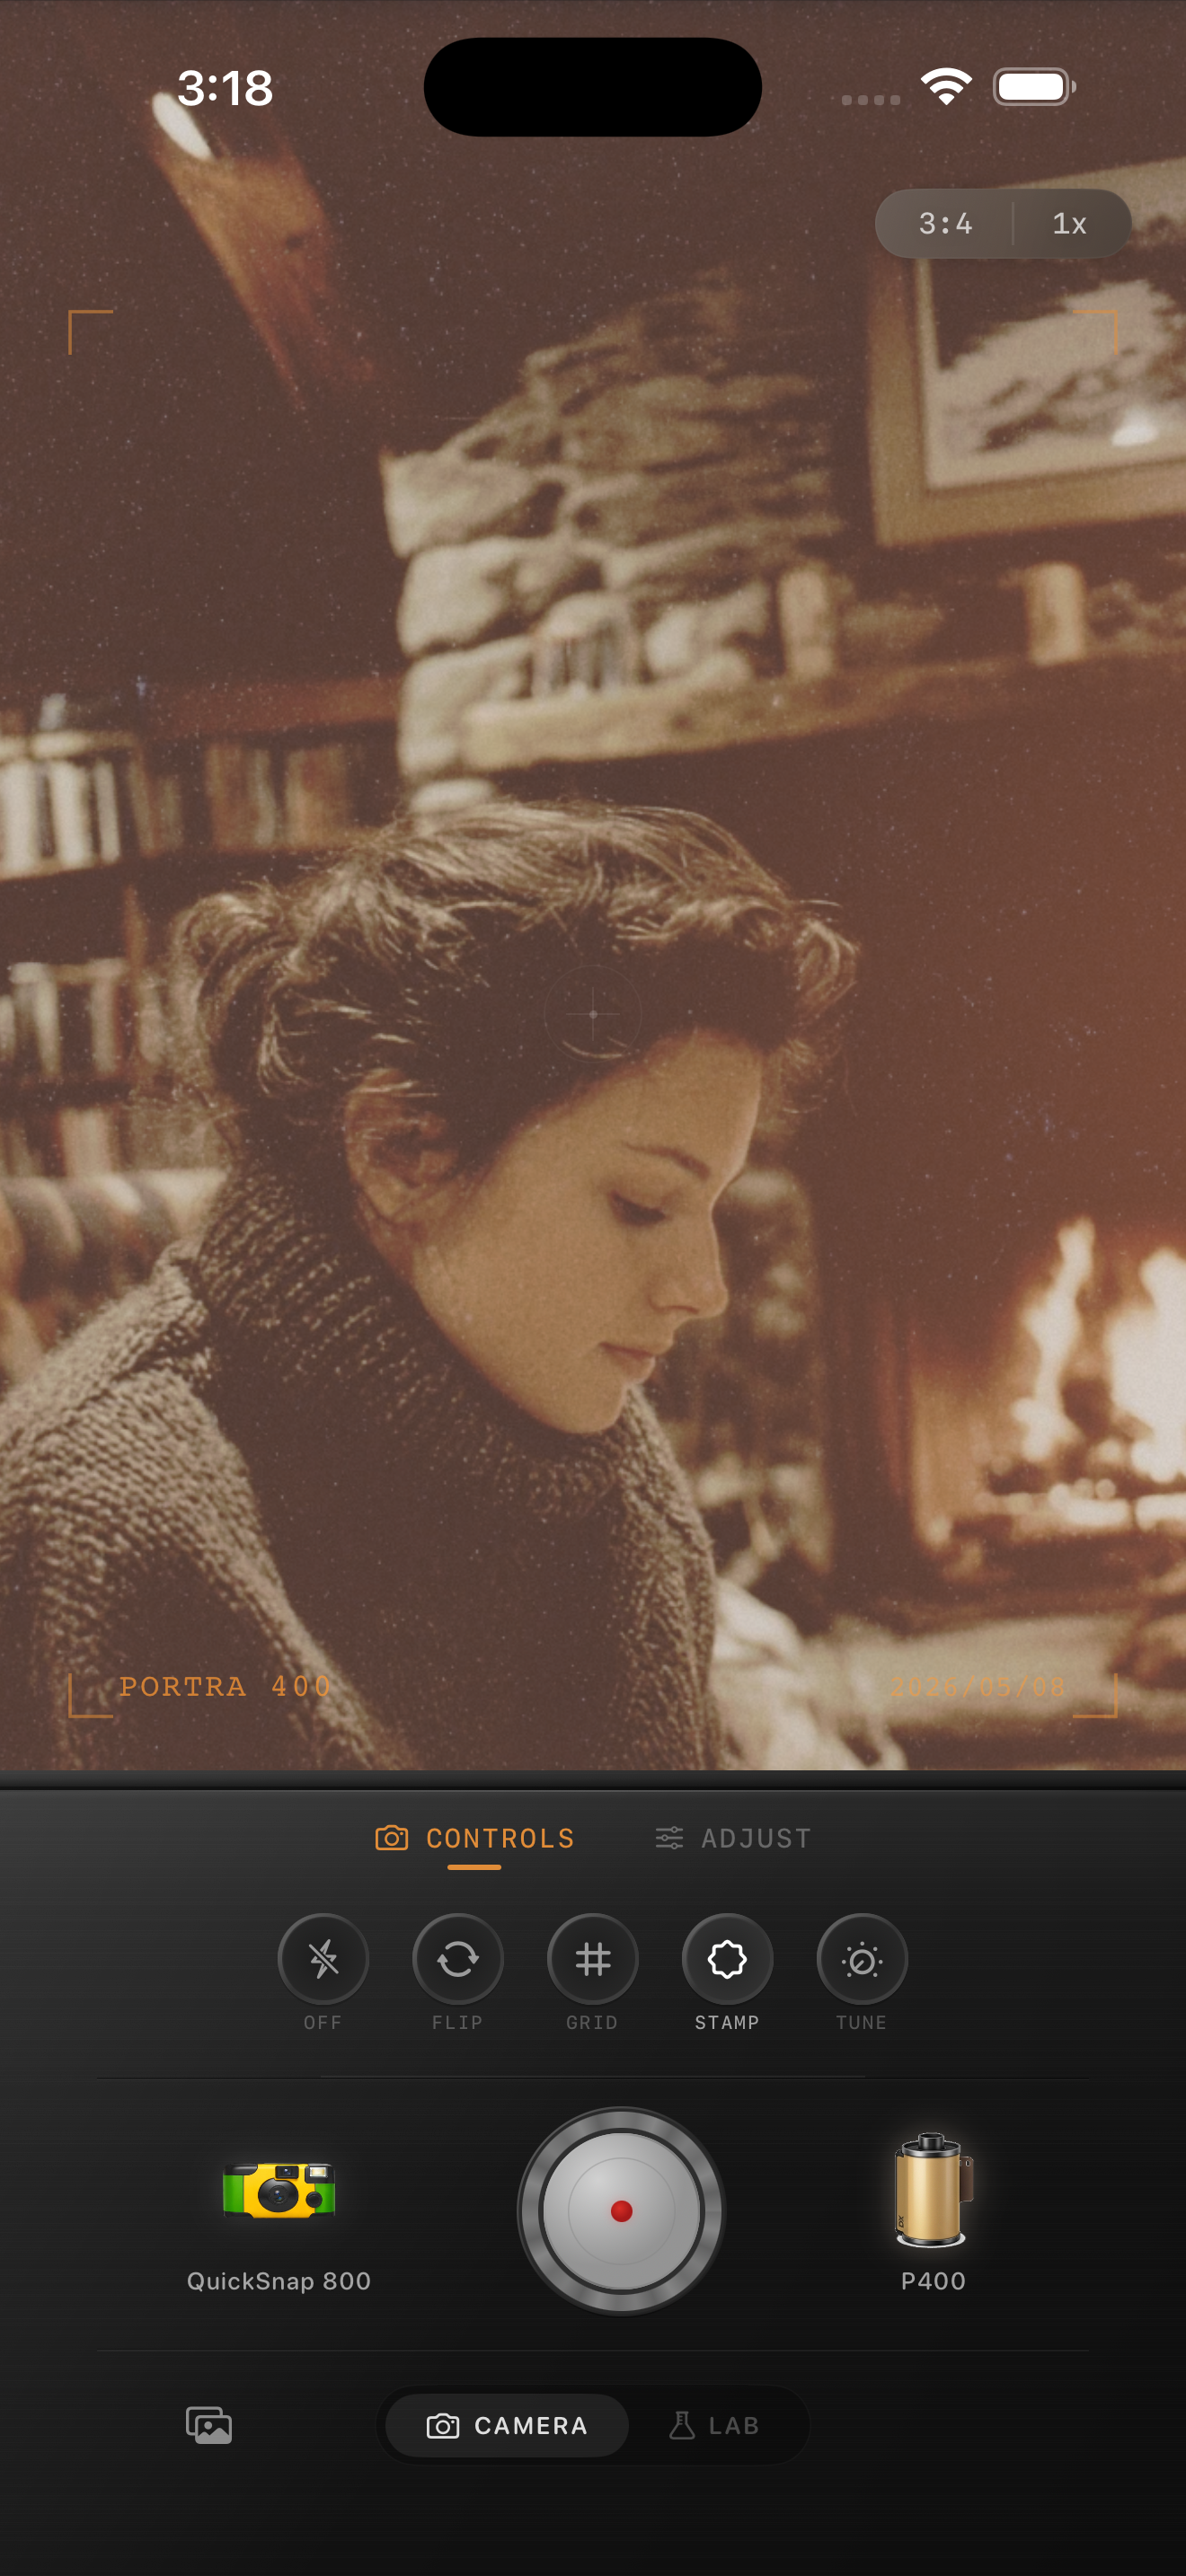
Use the fireplace portrait as a visual reference for the tradeoff: texture should give the darker wall and clothing some character without overwhelming the face. It is an app preview, not a before-and-after export comparison. Film names visible in the interface describe stylistic inspiration; Nostalgia Cam is not affiliated with or endorsed by those film brands.
- If A looks natural and B looks gritty, keep A even if its grain is subtle.
- If B preserves gentle texture without roughening skin, keep B for that sharing destination.
- If both shared versions lose grain and fabric detail, investigate delivery quality before raising grain again.
- If both exports already look rough, reduce grain and compare fresh versions from the original.
Check your film texture from edit to export
Choose a film look in Nostalgia Cam, adjust grain gently, and save a full-resolution export. Compare two grain amounts through your usual sharing route, then keep the version that gives the photo texture without distracting from the subject.
FAQ
Why is film grain visible in the editor but missing after sharing?
First compare the saved export and shared image at the same size. Fine grain can be hard to see in a smaller view, and resizing or lossy compression can change texture. If the export looks right, check the delivery route before changing your edit.
Should I turn grain all the way up before exporting?
No. Compare your preferred edit with a second version that has only a small grain increase. Judge the delivered images at normal viewing size and reject a version that makes skin look gritty.
Will a full-resolution export guarantee visible grain after upload?
No. It gives you a useful master, but the destination may resize or compress its displayed copy. Keep the master and compare the actual shared result.