Film grain
How to Add Realistic Dust and Scratches to Photos on iPhone
Add dust and scratches without making photos look fake: where to use them, how much texture is enough, and how to keep the effect believable on iPhone.
Dust should support the photo, not take it over
Dust and scratches work when they feel accidental. If the texture becomes the first thing you notice, the effect usually reads like an overlay instead of a photograph.
Most film photos do not have damage everywhere. They may have a few small specks, a faint hairline scratch, or a little scan dust near the edges. Realism comes from restraint and uneven placement.
Start with the film look before damage
Build the core edit first: softer contrast, believable grain, slight warmth, and a little fade if the scene needs it. Only add dust and scratches after the image already feels photographic.
If the base image is still too sharp and too digital, damage textures will not save it. They will only make a modern-looking photo look busier.
- Set the film color first.
- Add grain before scratches.
- Use fade carefully so dust does not flatten the image.
- Check the photo at normal phone-feed size, not just zoomed in.
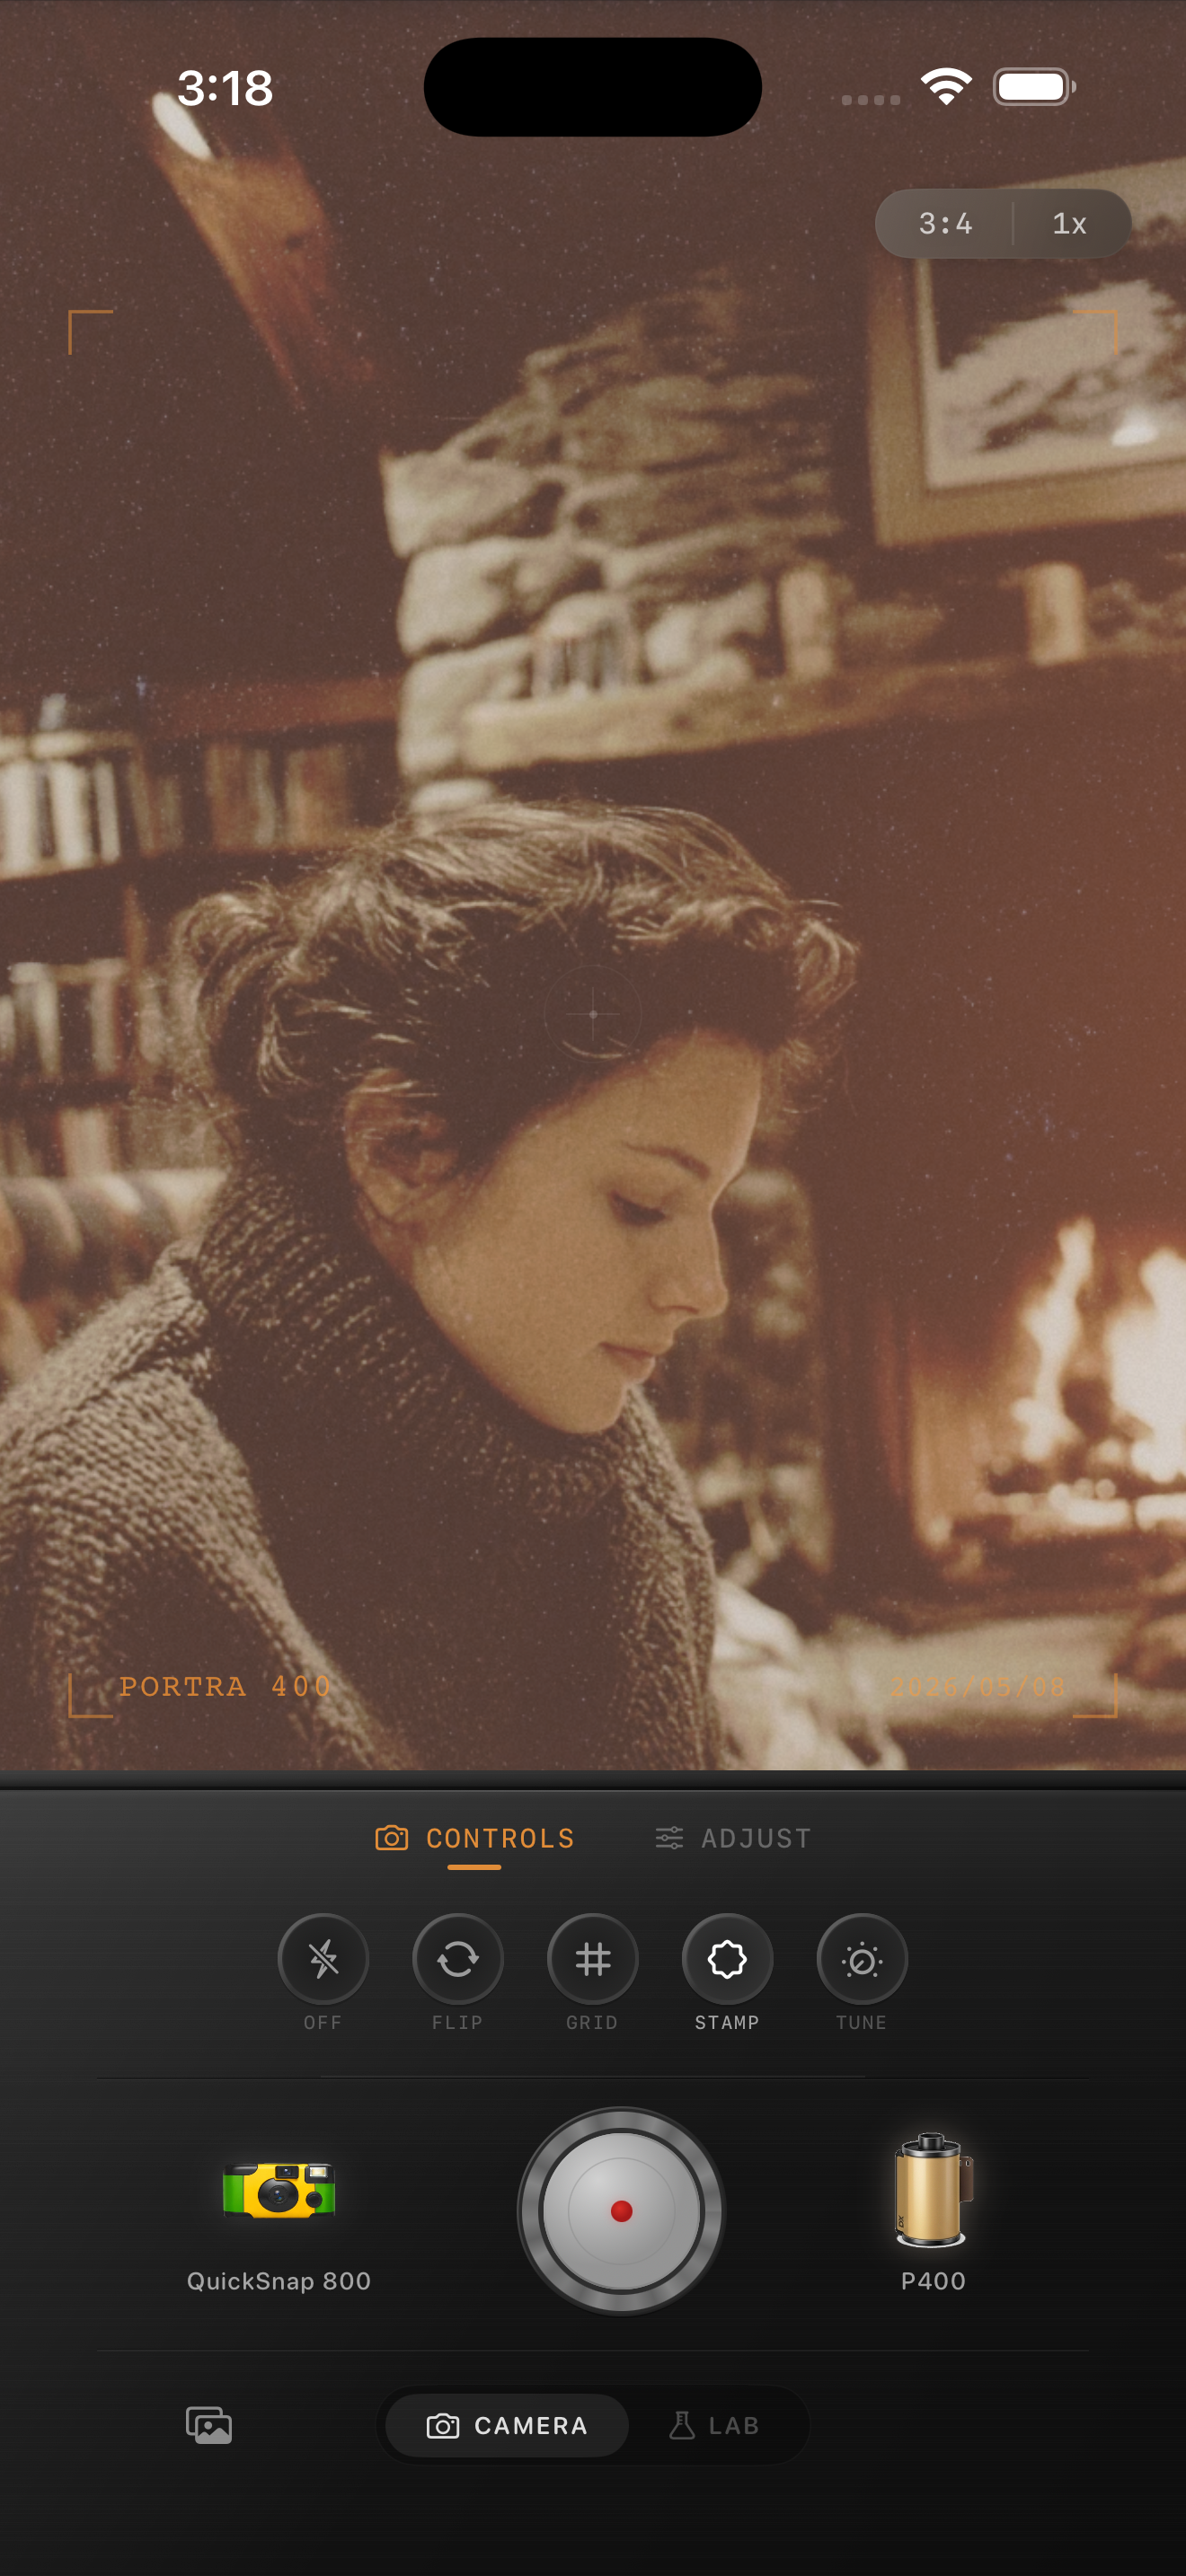
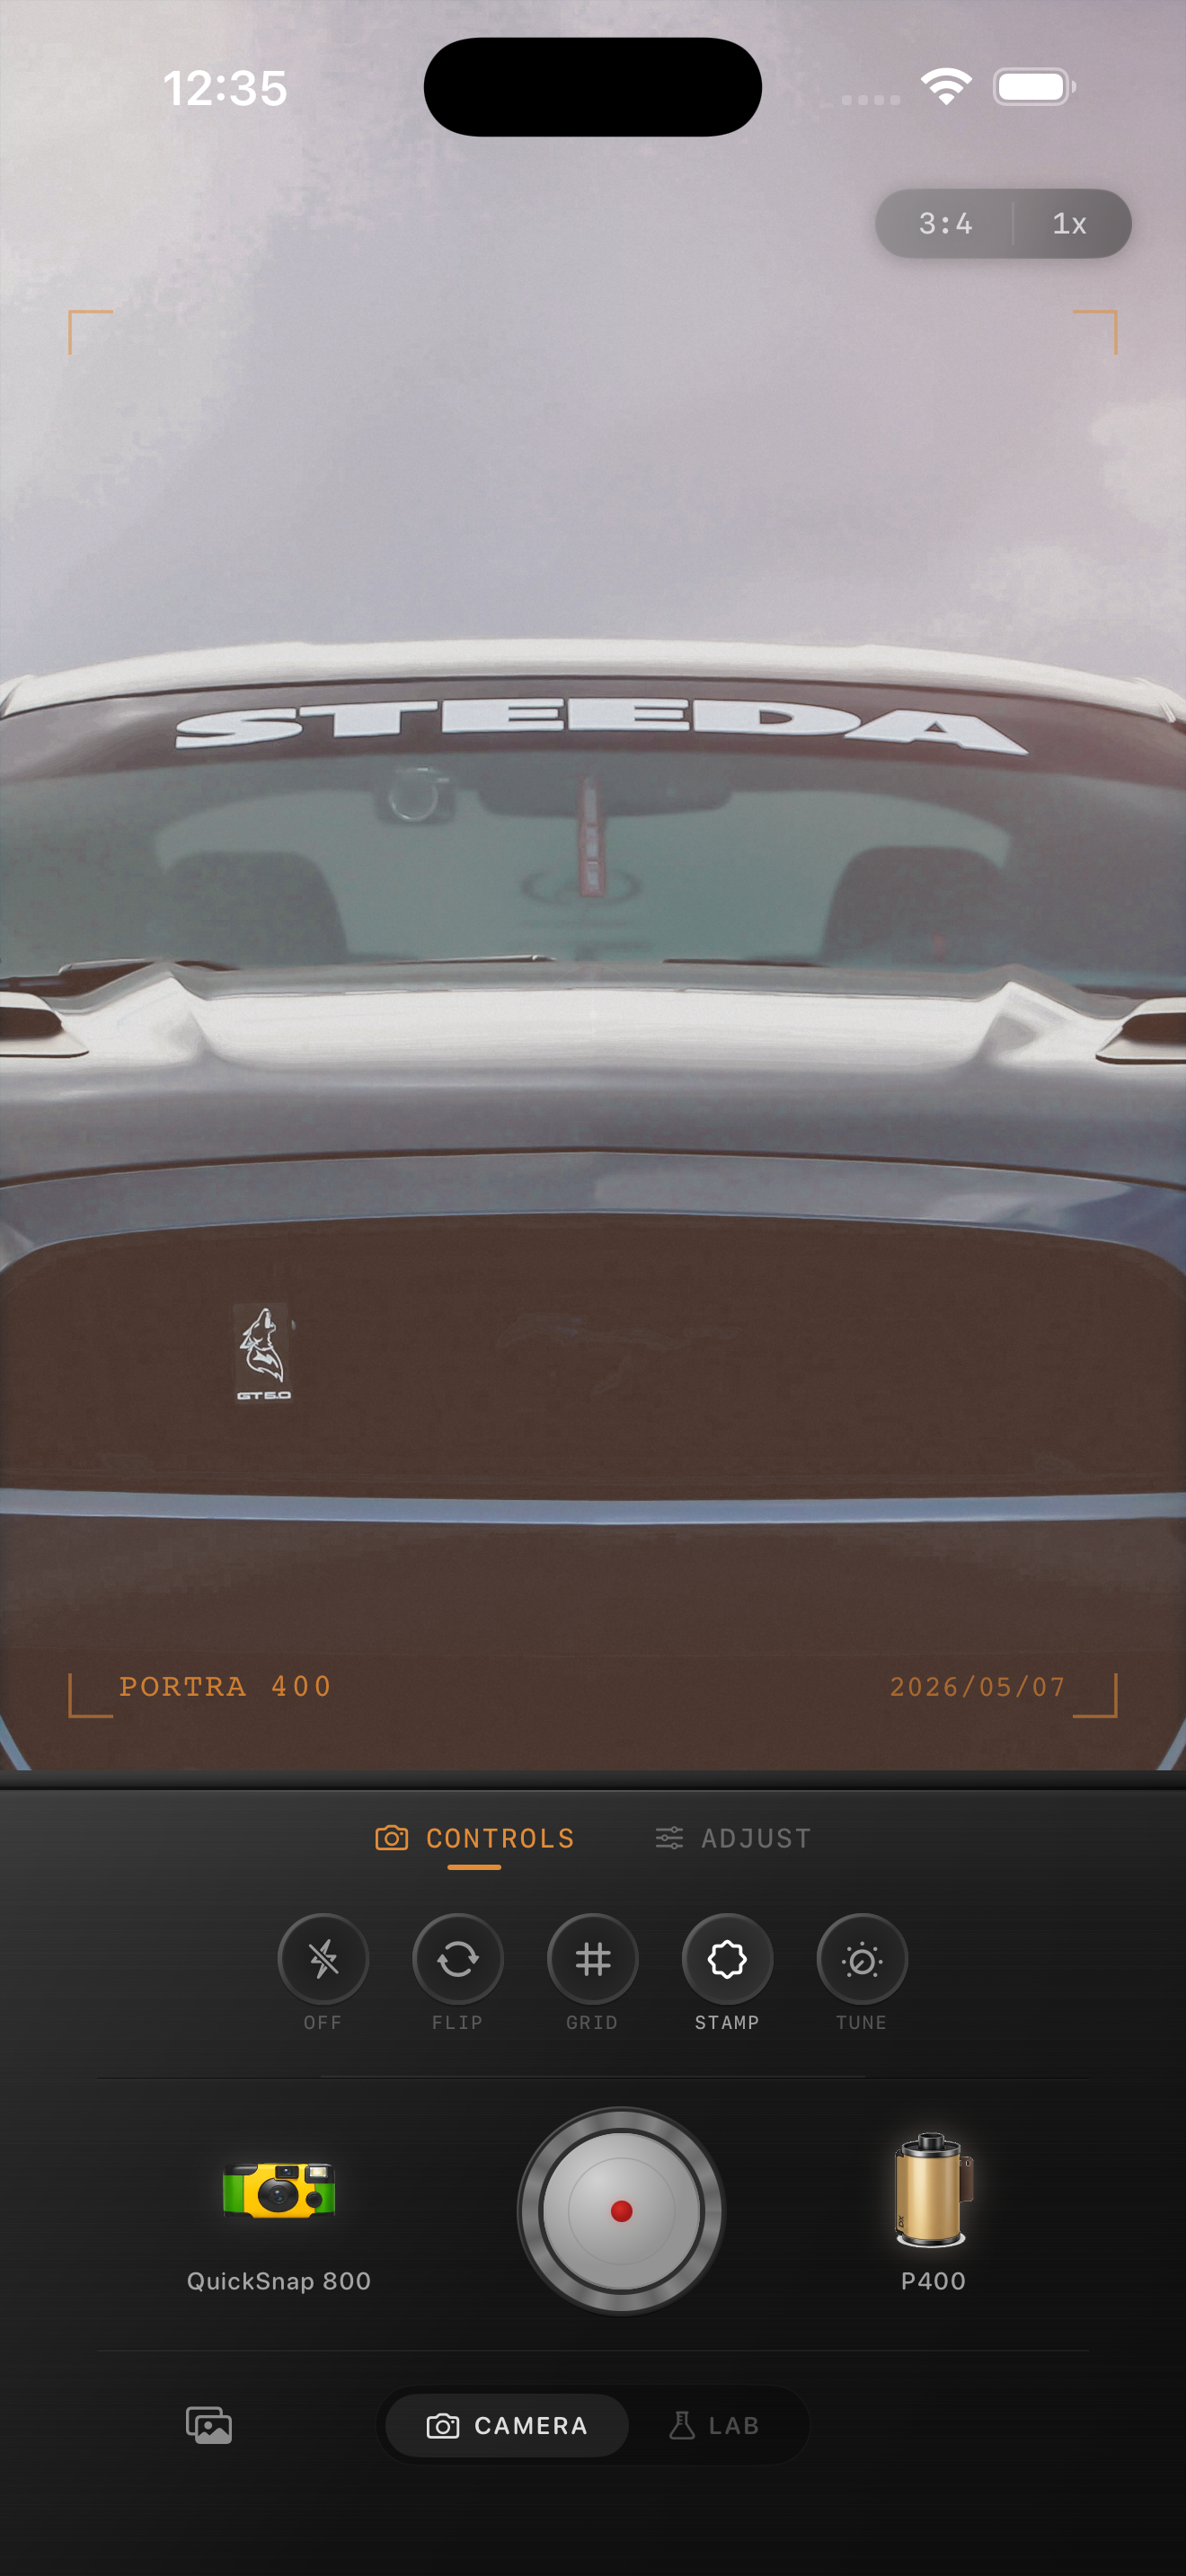
What realistic dust and scratches look like
Believable dust is sparse, soft-edged, and inconsistent. A few tiny white or dark flecks can help. Scratches should be rare and thin, with one or two marks doing more work than a whole screen of damage.
Stronger damage makes sense for old-print, thrift-store, found-photo, or disposable-camera aesthetics. Cleaner travel and portrait edits usually need almost none.
A practical amount guide
For clean 35mm-inspired photos, think minimal: occasional dust and almost no scratches. For old-print edits, use a bit more dust plus one subtle scratch if the image can carry it. For damaged-film or disposable looks, you can push texture further, but keep faces, skies, and snow from looking dirty.
A simple rule helps: if you can count multiple scratches immediately, there are probably too many. Realistic damage is something you discover after you feel the photo, not before.
Use texture like a finishing detail
Nostalgia Cam lets you stack film color, grain, dust, scratches, fade, and vignette so you can stop at subtle wear or push into a rougher found-film mood when the scene supports it.
FAQ
Should every film-style photo use dust and scratches?
No. Many good film edits only need color, grain, and softer contrast. Dust and scratches work best as an optional finishing detail for older or rougher looks.
Why do dust overlays look fake so often?
They often look fake because they are too dense, too even, or too sharp. Real dust is irregular and subtle, and most photos only need a little of it.