iPhone film look
How to Edit Tokyo Neon Photos to Look Like Film on iPhone
A practical Tokyo-neon film recipe for iPhone: controlled highlights, cooler shadows, visible grain, and enough softness to make dense night color feel cinematic instead of overly processed.
Tokyo neon scenes need highlight control first
Tokyo night photos usually fail in one of two directions: either the iPhone file stays too sharp and clinical, or the edit pushes glow so far that signs turn into flat blocks of color. A film-inspired version should keep the energy while calming the digital precision.
Start by protecting the brightest signs, windows, and reflections. Once the highlights hold shape, you can add grain and softness without losing the scene.
- Keep the brightest signs readable before adding more glow.
- Use visible but not crunchy grain in the shadows.
- Let blues and cyans stay cooler than indoor restaurant scenes.
- Add only slight fade so the street still feels like night.
- Use a mild vignette only if the frame feels too clean.
A practical neon-night settings recipe
Start around film intensity 78-90%, grain 34-48%, warmth -2 to +5, fade 4-8%, and vignette 6-12%. If the image is heavy on magenta or red signage, use less warmth and rely more on grain plus softer contrast to get the film feeling.
For rainy pavement or reflective storefronts, keep highlights slightly lower than you think. Film-inspired night edits usually look better when reflections glow softly instead of peaking hard white.
Use grain to break up processed shadows
City night photos often have the smooth, waxy shadow look that comes from aggressive phone processing. Grain helps restore texture to coats, asphalt, walls, and dark sky without turning the frame noisy.
If the image has a lot of black negative space, pull grain back slightly and lean more on softness. If the frame is dense with people and signs, it can usually carry a stronger grain setting.
Aim for travel memory, not cyberpunk exaggeration
Most people want a Tokyo neon photo to feel like a vivid memory from a real night walk, not a synthetic wallpaper. That usually means keeping skin believable, letting some shadows stay dark, and stopping before every sign glows equally.
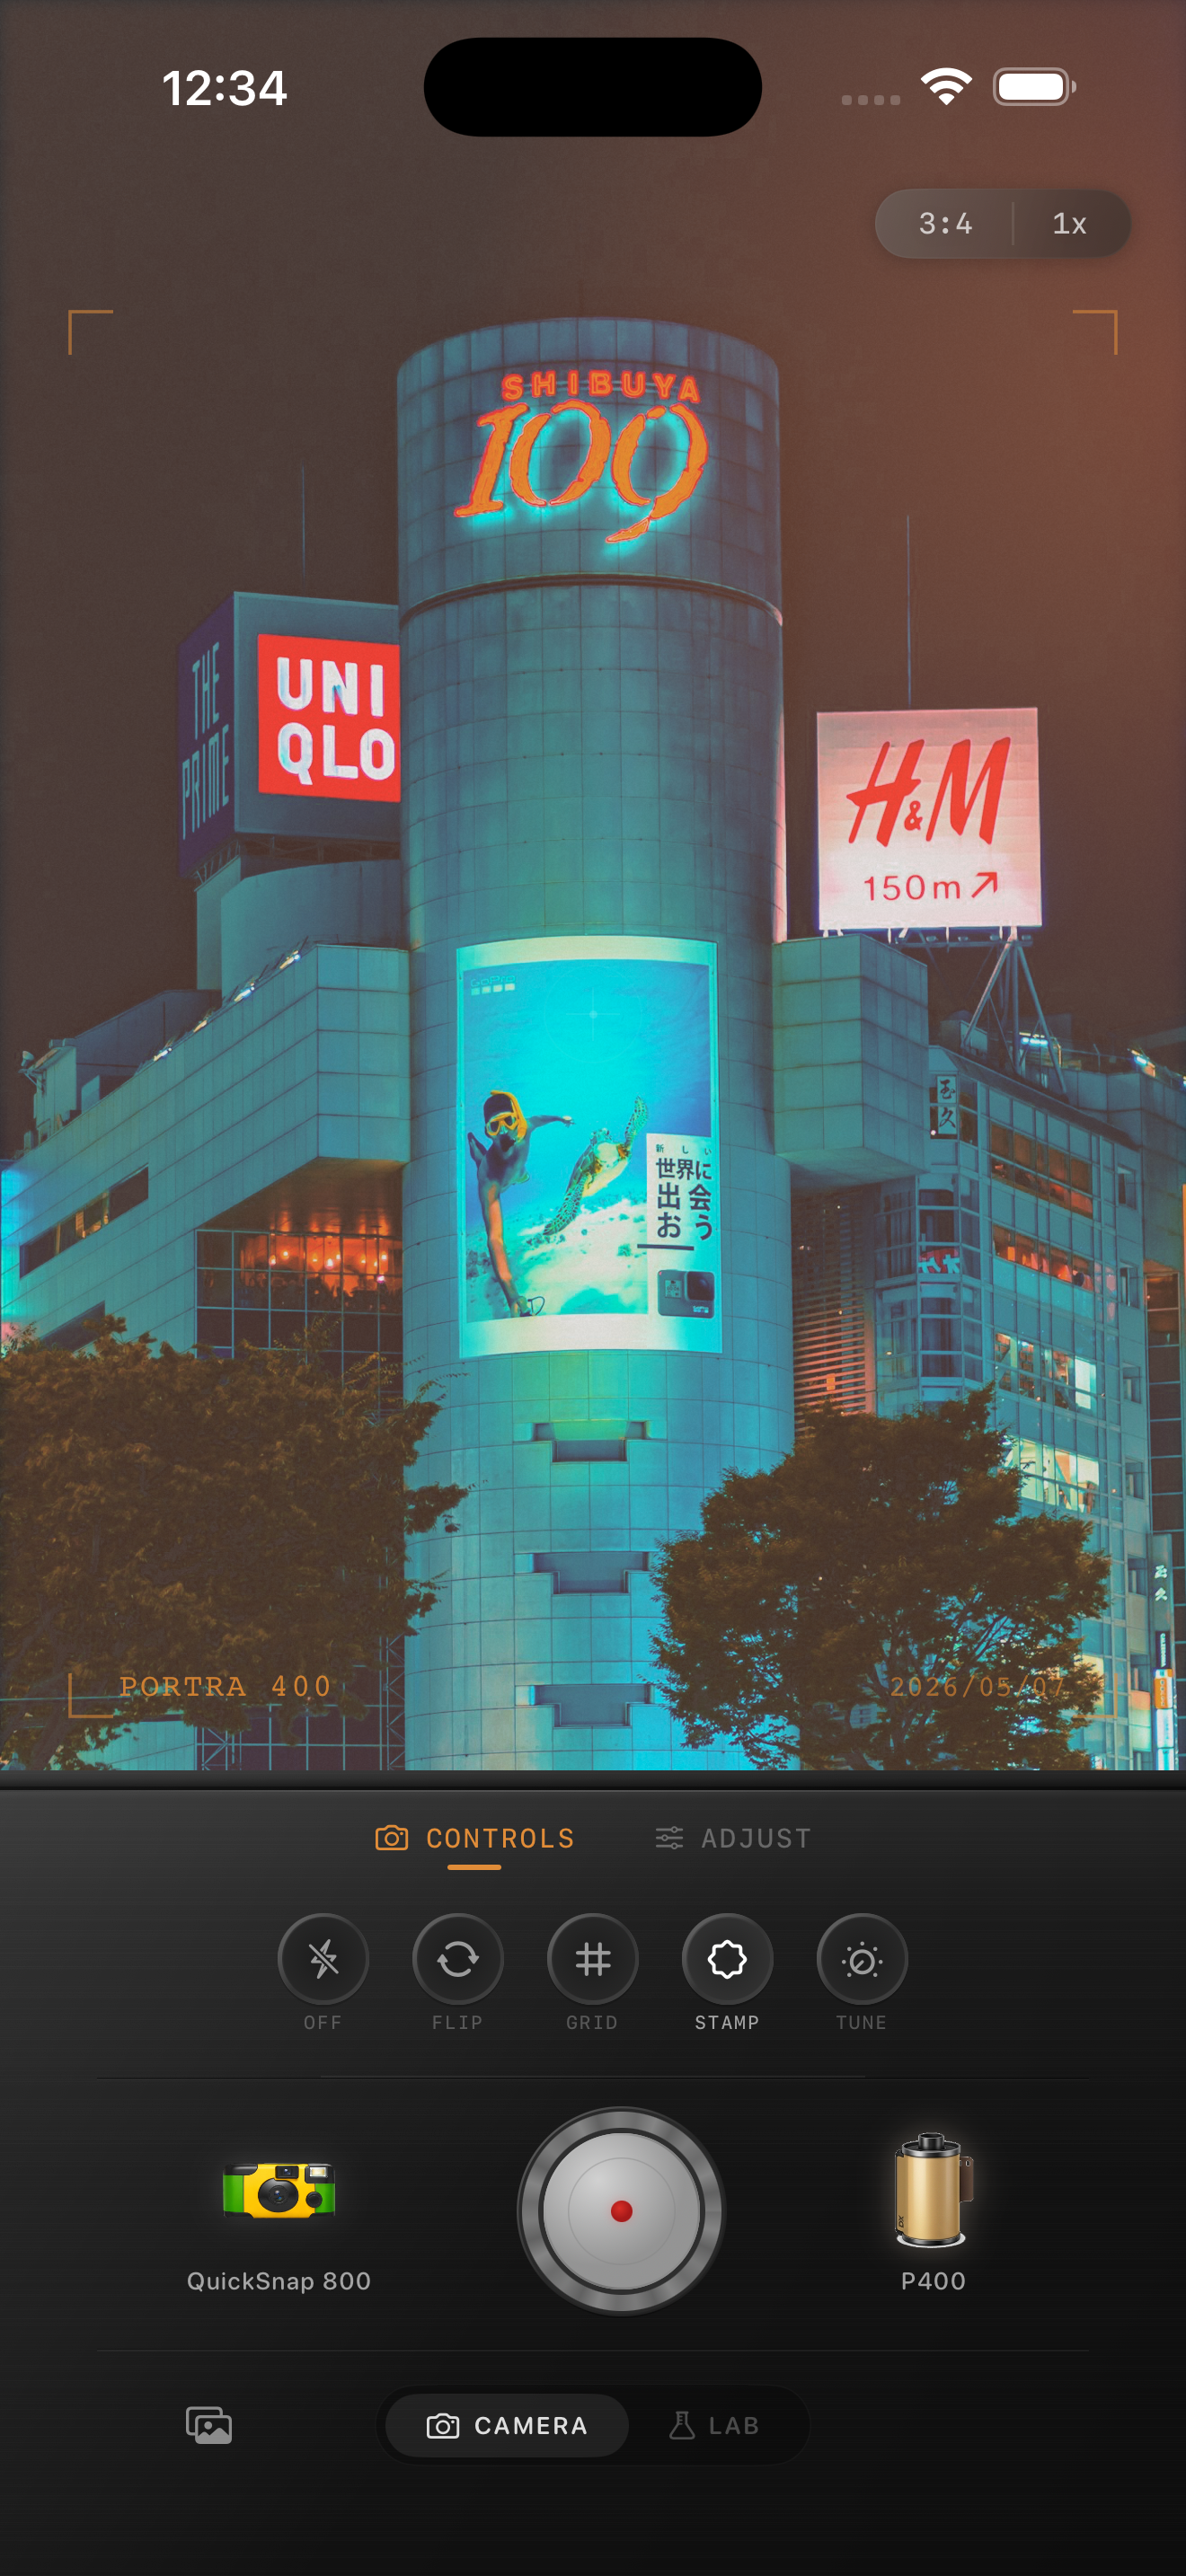
In Nostalgia Cam, start with a balanced 35mm or compact-night body, then adjust grain, warmth, fade, and vignette until the image feels printed and cinematic instead of aggressively stylized.
Turn neon travel shots into cinematic film memories
Use Nostalgia Cam to shoot or import night-city photos, then combine camera body, grain, warmth, fade, and vignette so Tokyo-style neon scenes feel textured, atmospheric, and naturally film-inspired.
FAQ
Should Tokyo neon photos be warm or cool?
Usually a balanced or slightly cool edit works better than a warm one. The goal is to preserve the color separation in signs and reflections while still softening the digital look.
Why do neon iPhone photos look too sharp?
Night phone images often combine sharpening, HDR, and noise reduction. A film-style edit reduces that clinical edge with controlled highlights, softer contrast, and grain in the shadows.