iPhone film look
How to Edit Summer Road Trip Photos to Look Like Film on iPhone
A practical summer road-trip film recipe for iPhone photos: sun-washed highlights, warm color that stays clean, moderate grain, and travel edits that feel like printed memories instead of heavy presets.
Road trip photos should feel sun-worn, not oversaturated
Summer road-trip photos already carry nostalgia through cars, gas stations, overlooks, motel signs, snacks, friends, and long daylight. The edit works best when it supports that feeling instead of coating every frame in orange.
A believable film look usually means protecting bright highlights, calming iPhone saturation a little, and adding enough grain to soften the clean digital finish. The goal is a memory you could imagine pulling from a glovebox or a small print envelope.
- Keep warmth moderate so skies and white paint stay clean.
- Use medium grain rather than rough disposable texture.
- Lower contrast gently if the midday light feels too hard.
- Save stronger vignette for snapshots with a clear subject.
- Let color come from the location before adding extra tint.
A dependable summer travel settings baseline
Start around film intensity 70-84%, grain 24-36%, warmth +5 to +11, fade 3-8%, and vignette 4-9%. That range usually softens the default iPhone look without making road signs, chrome, clouds, or skin feel muddy.
If the photo was taken in harsh noon sun, stay lower on warmth and grain. If it was taken closer to dusk or in the car with softer light, you can push warmth slightly more before adding fade.
Match the edit to the stop
Not every road-trip frame wants the same treatment. Landscapes, motel exteriors, parked cars, roadside diners, and inside-the-car snapshots all carry different kinds of light. Clean scenic stops usually want a calmer 35mm-inspired body, while quick passenger-seat or gas-station photos can take a little more compact-camera roughness.
That is the easiest way to keep an album cohesive without making every image identical. Keep one film direction, then adjust the camera mood based on whether the moment feels quiet, playful, or spontaneous.
Check skies, skin, and paint before exporting
These three areas reveal most problems fast. If skies go yellow, reduce warmth. If skin looks dusty, lower grain first. If car paint loses its punch, pull fade back before adding saturation.
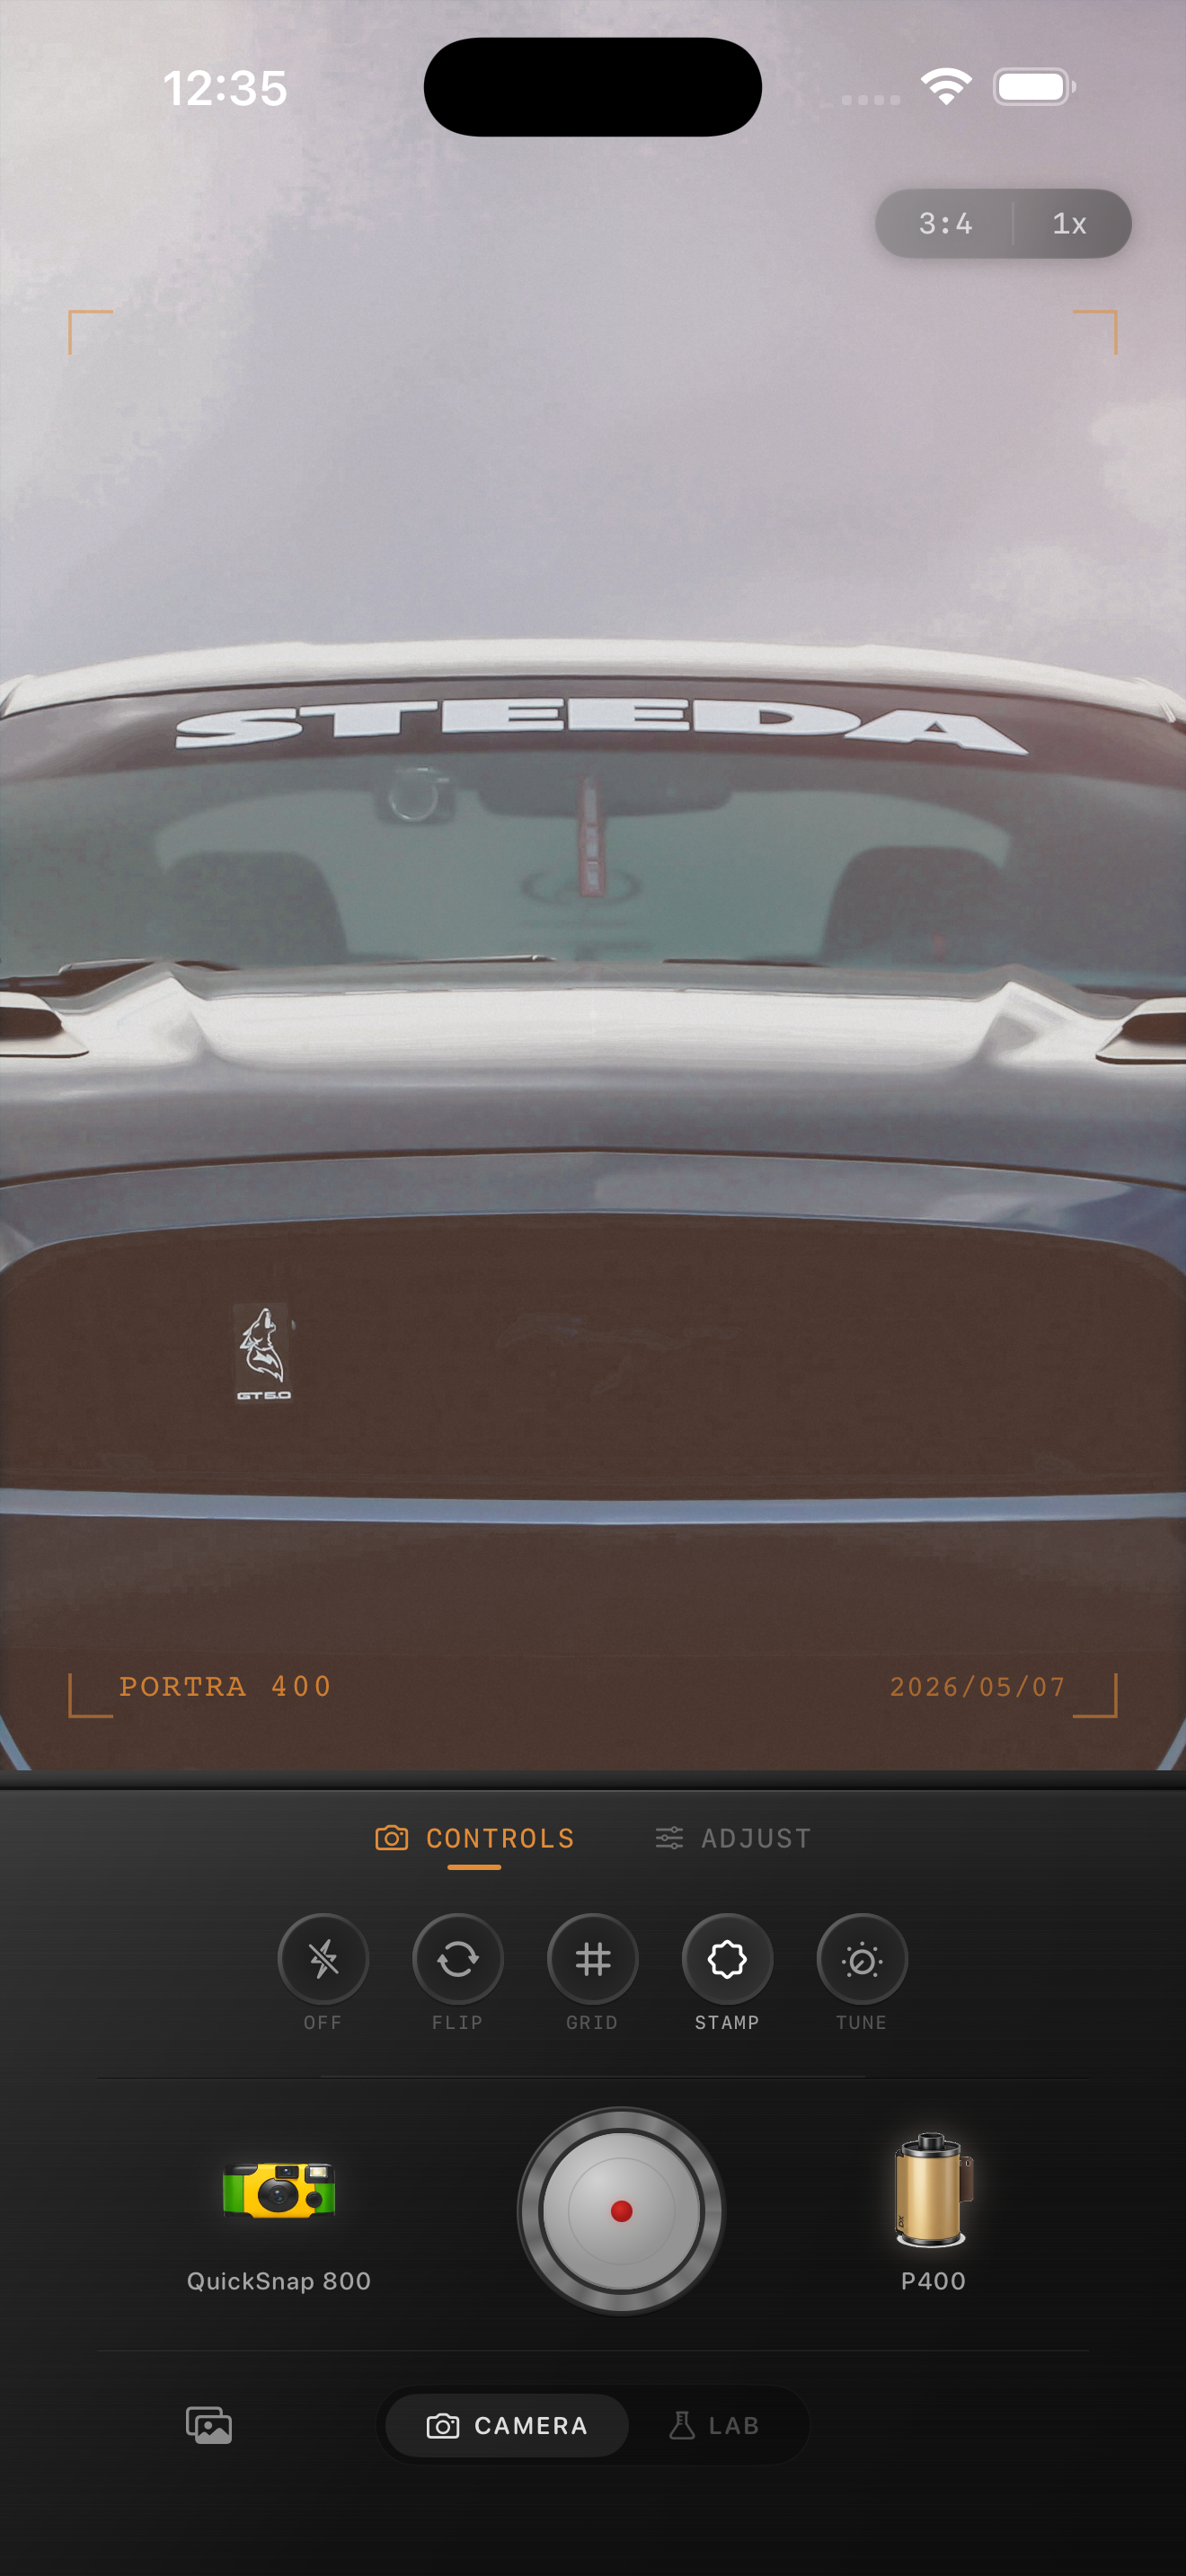
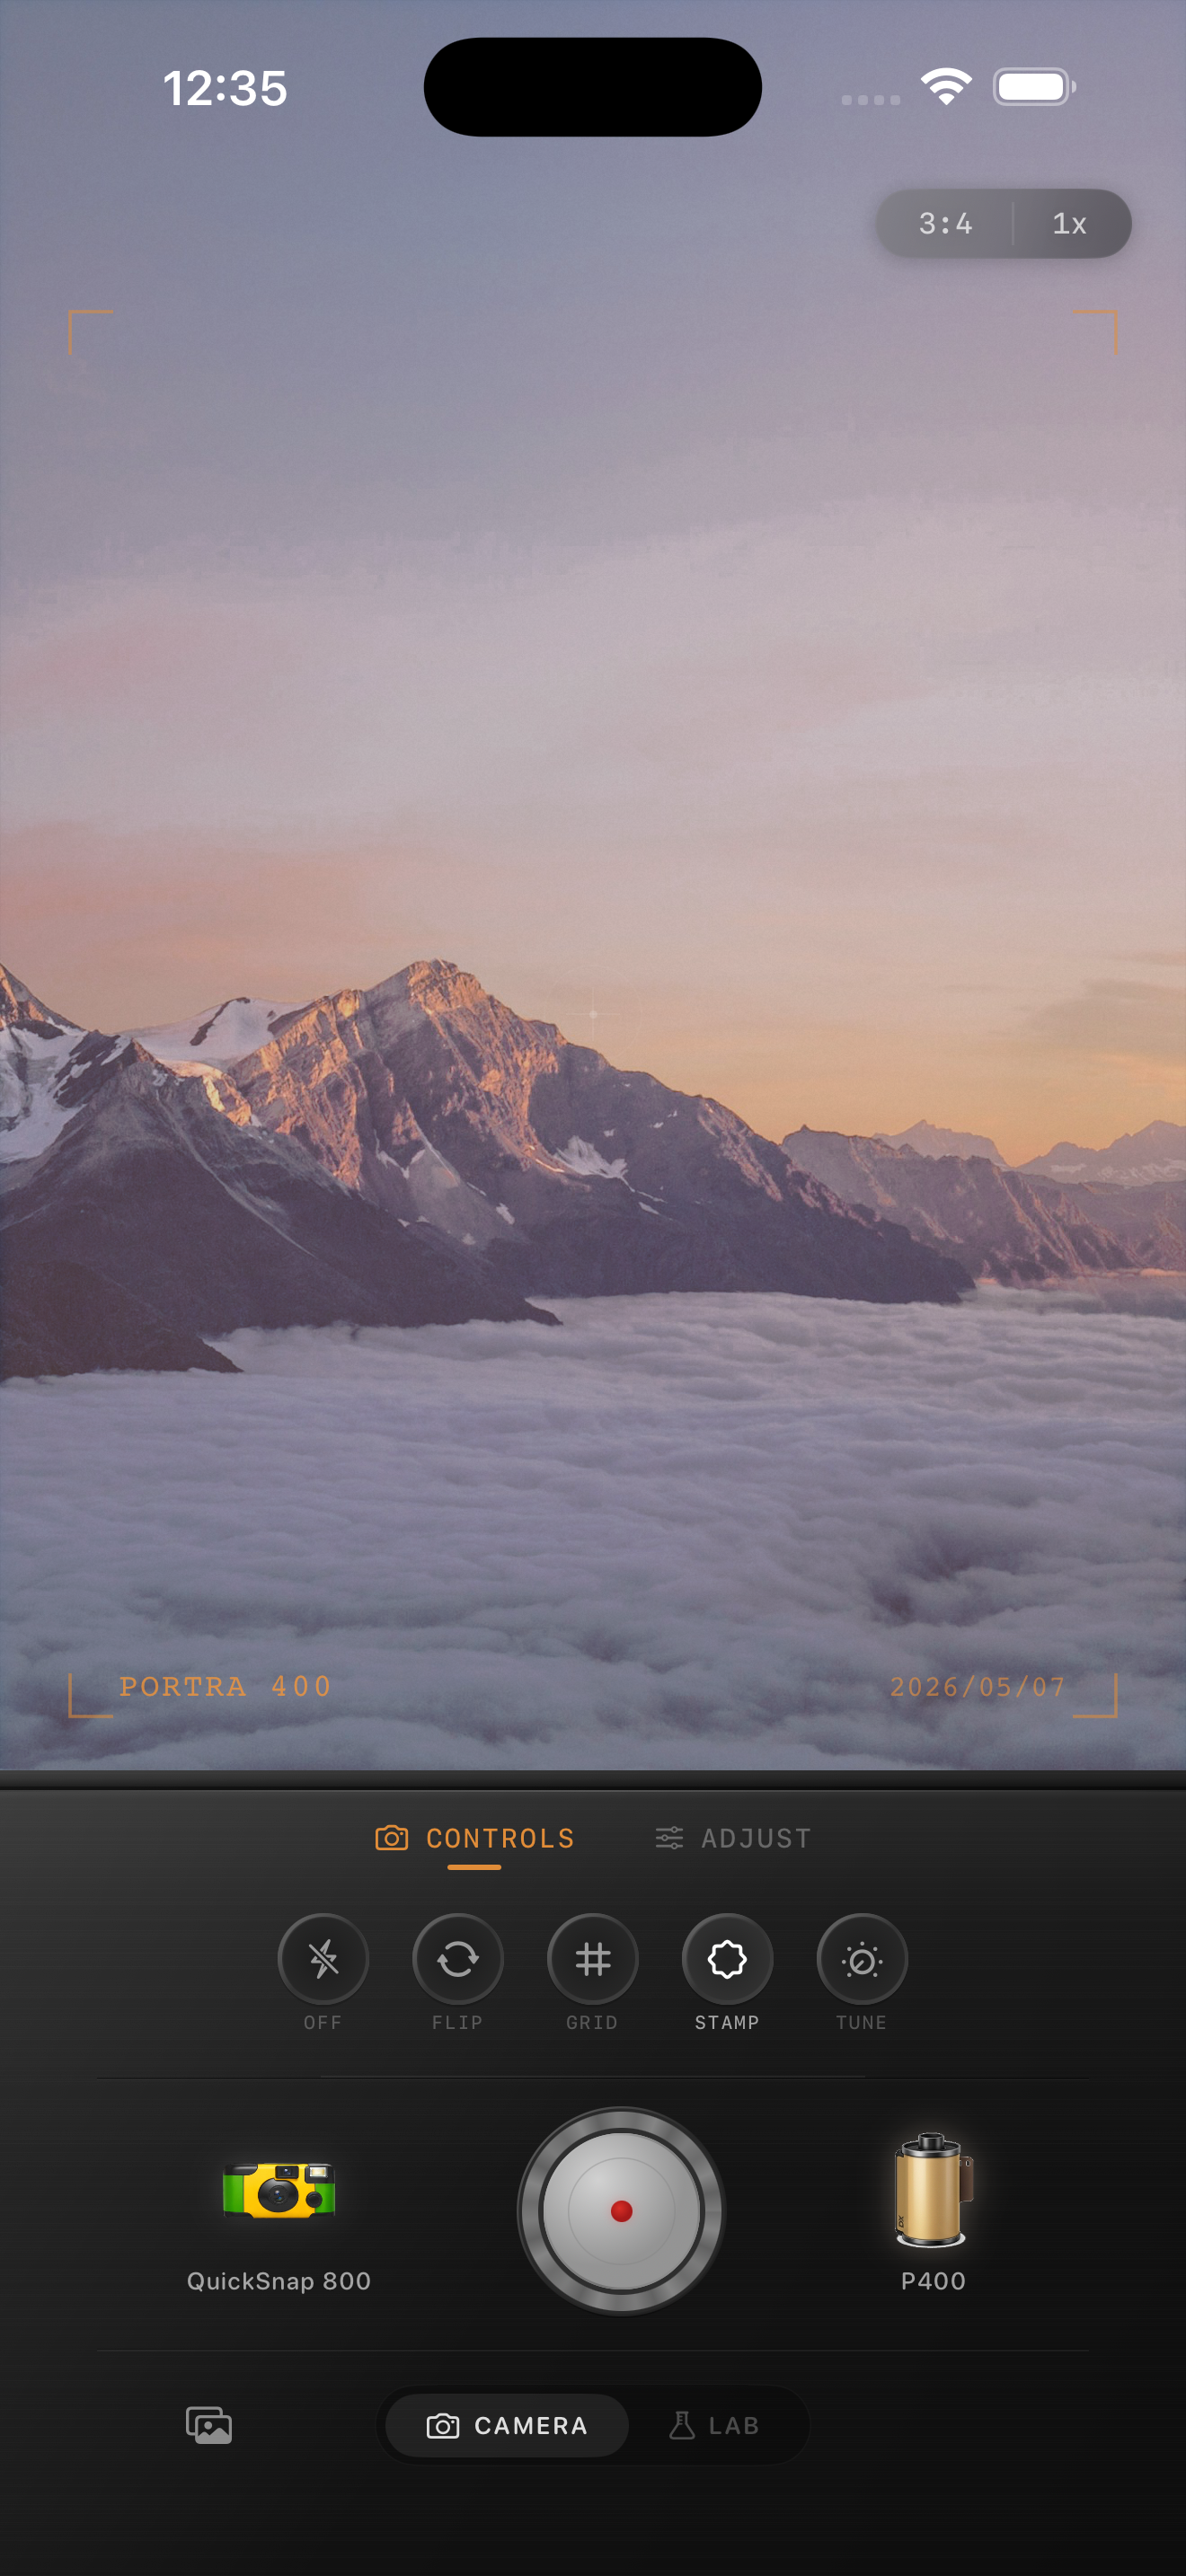
In Nostalgia Cam, start with the camera body, then tune grain, warmth, fade, and vignette until the photo feels like a summer print rather than a modern file with a preset sitting on top.
Keep summer trip photos tactile in Nostalgia Cam
Use Nostalgia Cam to shoot or import road-trip photos, then balance camera mood, grain, warmth, fade, and vignette so cars, overlooks, and roadside moments feel warm, printed, and naturally film-inspired.
FAQ
What grain level works best for summer road trip photos on iPhone?
A moderate range around 24-36% is a strong starting point. It softens the digital file without making bright skies, car paint, or skin look dirty.
Why do summer travel film edits turn too orange?
Bright daylight is already warm. Adding too much extra warmth on top of it can push skies, concrete, and skin into the same orange cast. Controlled warmth and softer contrast usually look better.