Disposable camera effect
How to Edit Direct Flash Bar Photos to Look Like Film on iPhone
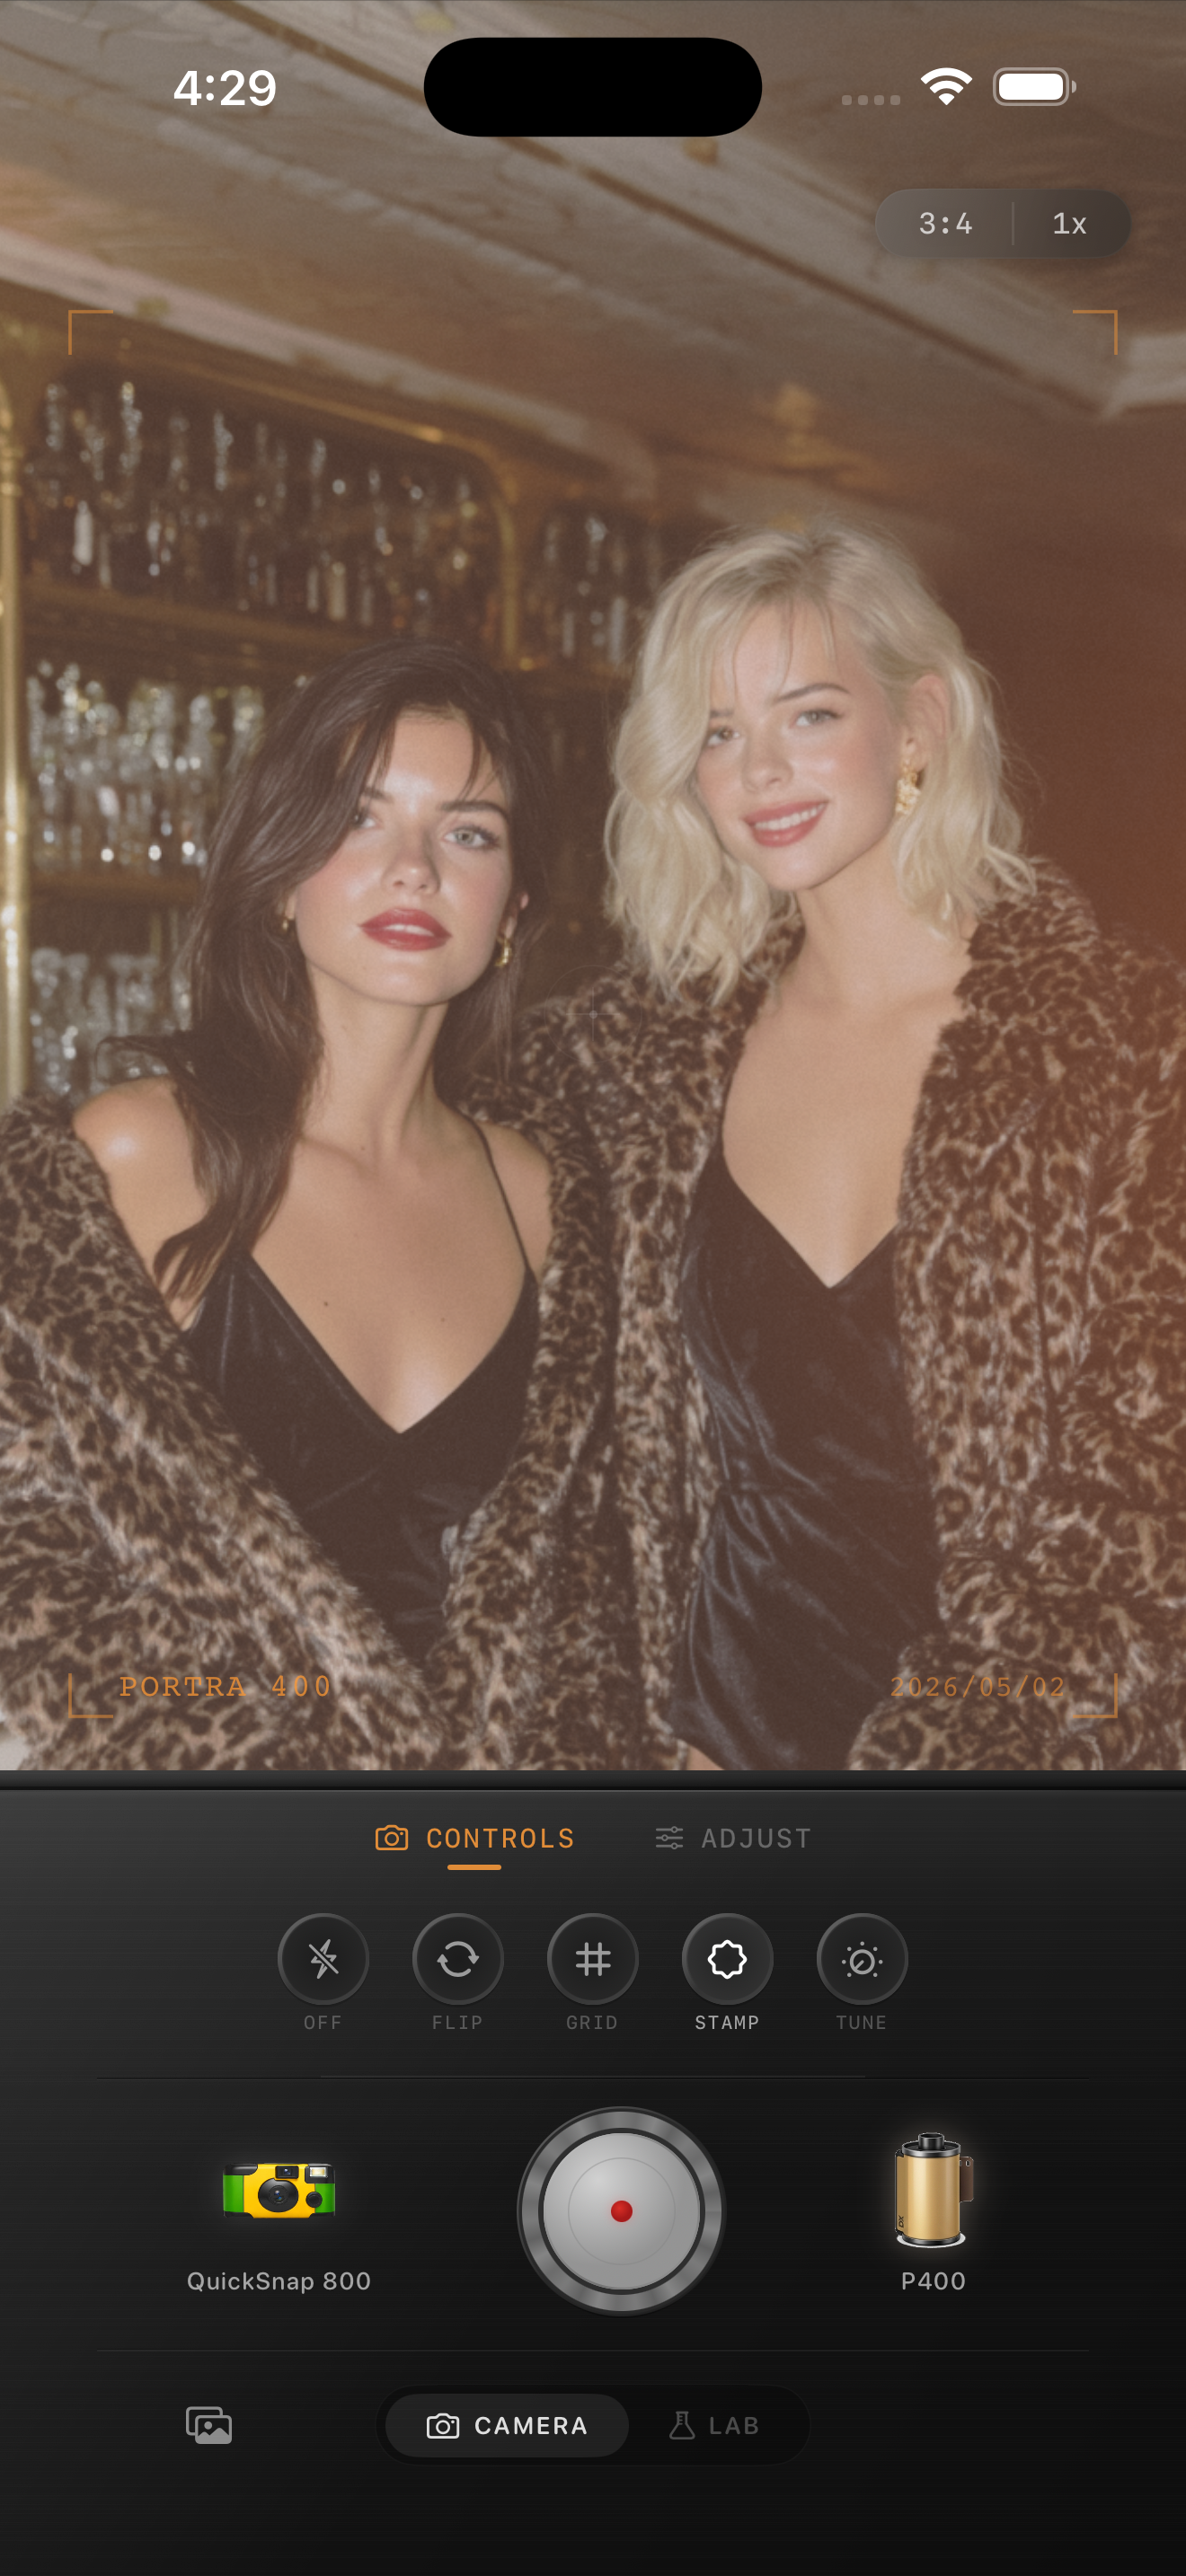
A practical direct-flash bar photo guide for iPhone: bright highlights, warm skin, lively grain, and enough restraint to keep late-night shots feeling like film instead of muddy presets.
Direct flash should stay punchy
The charm of a direct-flash bar photo is the collision between a bright subject and a darker room. If the edit smooths that contrast away, the image loses the fast late-night feeling that made it work.
A film-inspired edit should keep the flash visible while making the file feel less clinical. That means texture, softer color transitions, and a little analog roughness, not heavy blur or muddy shadows.
A dependable flash-bar settings baseline
Start around film intensity 78-90%, grain 34-48%, warmth +6 to +12, fade 2-6%, and vignette 7-13%. That range usually keeps skin, glass, and room light lively while adding enough texture to break the iPhone polish.
Keep fade lower than you would for ambient-light bar photos. Direct flash already gives the image its own shape, so too much fade can make faces chalky and flatten the best part of the shot.
- Let the flash stay bright instead of muting highlights.
- Use moderate grain with character, not crunchy noise.
- Warm skin carefully so whites and chrome stay clean.
- Add vignette only if the frame edges feel distracting.
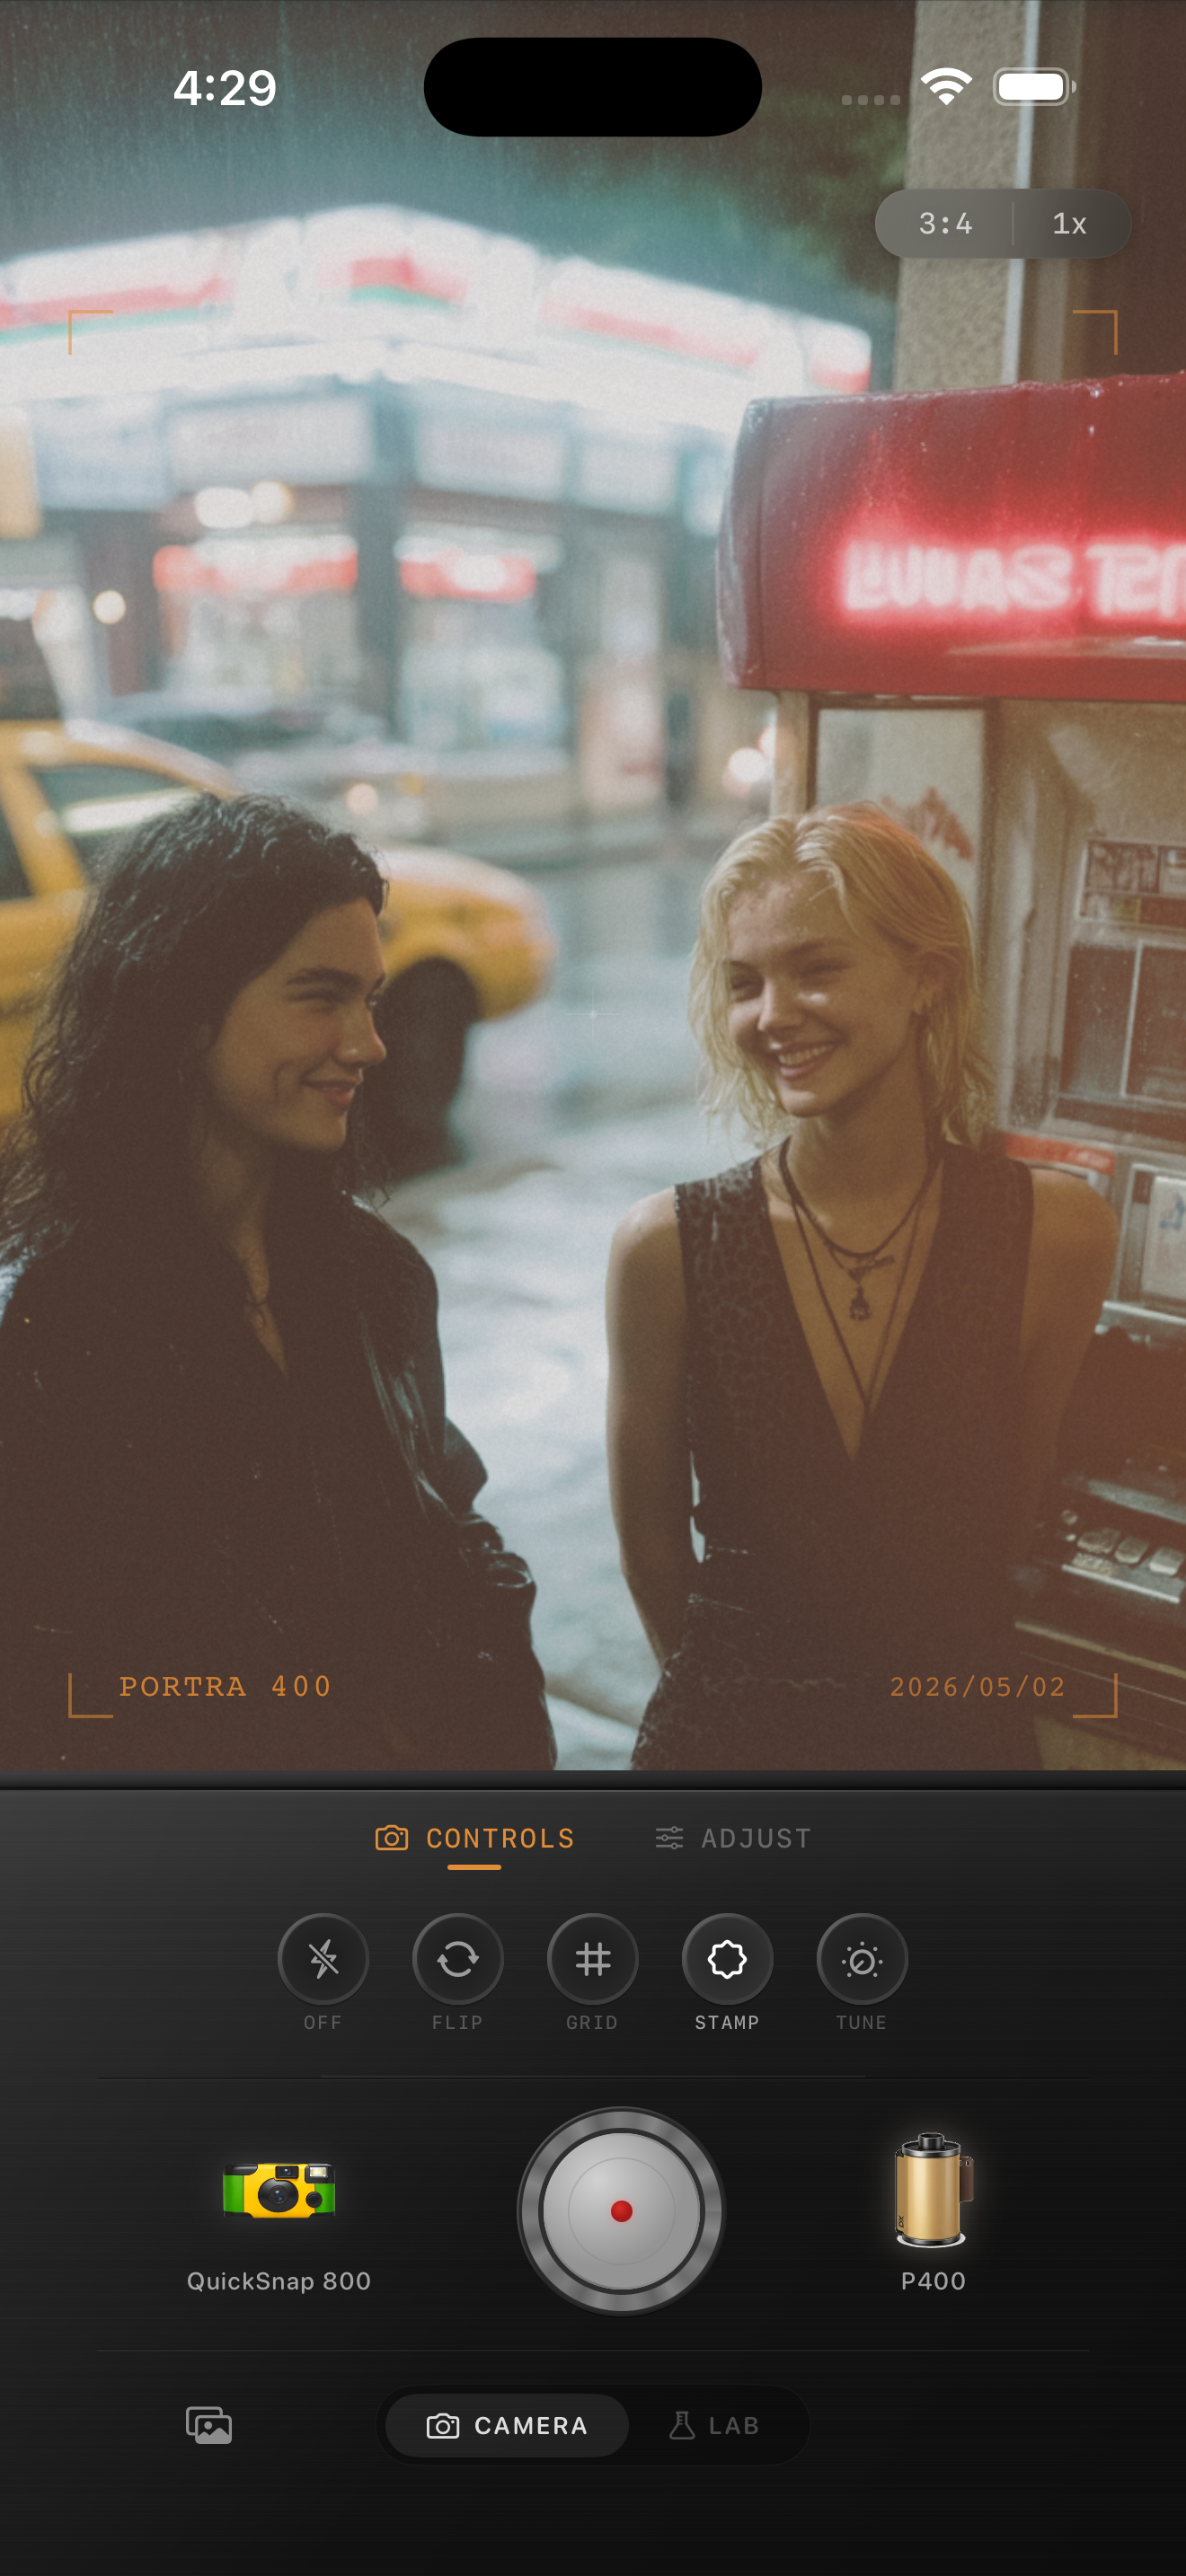
Know when to stay cleaner
Not every flash bar photo wants maximum disposable chaos. If the image is really a portrait with a drink in hand, a cleaner compact-film mood often looks better than rough damage, leaks, or exaggerated scratches.
Reserve the roughest camera mood for crowded, playful, obviously snapshot-driven frames. Cleaner flash portraits still look nostalgic when the grain and color are right.
Check faces first, then the room
If skin looks orange, pull warmth back. If foreheads and cheeks look flat white, reduce fade before changing grain. If the room turns into one brown block, lower warmth or vignette before doing anything else.
In Nostalgia Cam, choose the camera body first, then tune grain, warmth, fade, and vignette until the photo feels like a developed party print instead of a heavy one-click effect.
Keep flash bar shots lively in Nostalgia Cam
Use Nostalgia Cam to pair direct-flash bar photos with a film-style camera body, warm but controlled color, natural grain, and restrained fade so nightlife memories stay bright, textured, and believable.
FAQ
Should direct flash bar photos use stronger grain than normal portraits?
Usually yes. Flash-heavy nightlife shots can handle more grain than daylight portraits, but it should still feel textured rather than harsh or noisy.
Why do direct flash bar edits turn muddy so quickly?
Because warmth, grain, and fade are easy to stack too aggressively. Keeping fade lower and protecting bright flash highlights usually preserves the late-night energy better.