
Editing guide
How to Edit Snowy iPhone Photos to Look Like Film Without Blue Shadows
A practical snow-photo film recipe for iPhone shots: cleaner whites, calmer blue shadows, softer contrast, and grain that adds texture without making winter scenes look dirty.
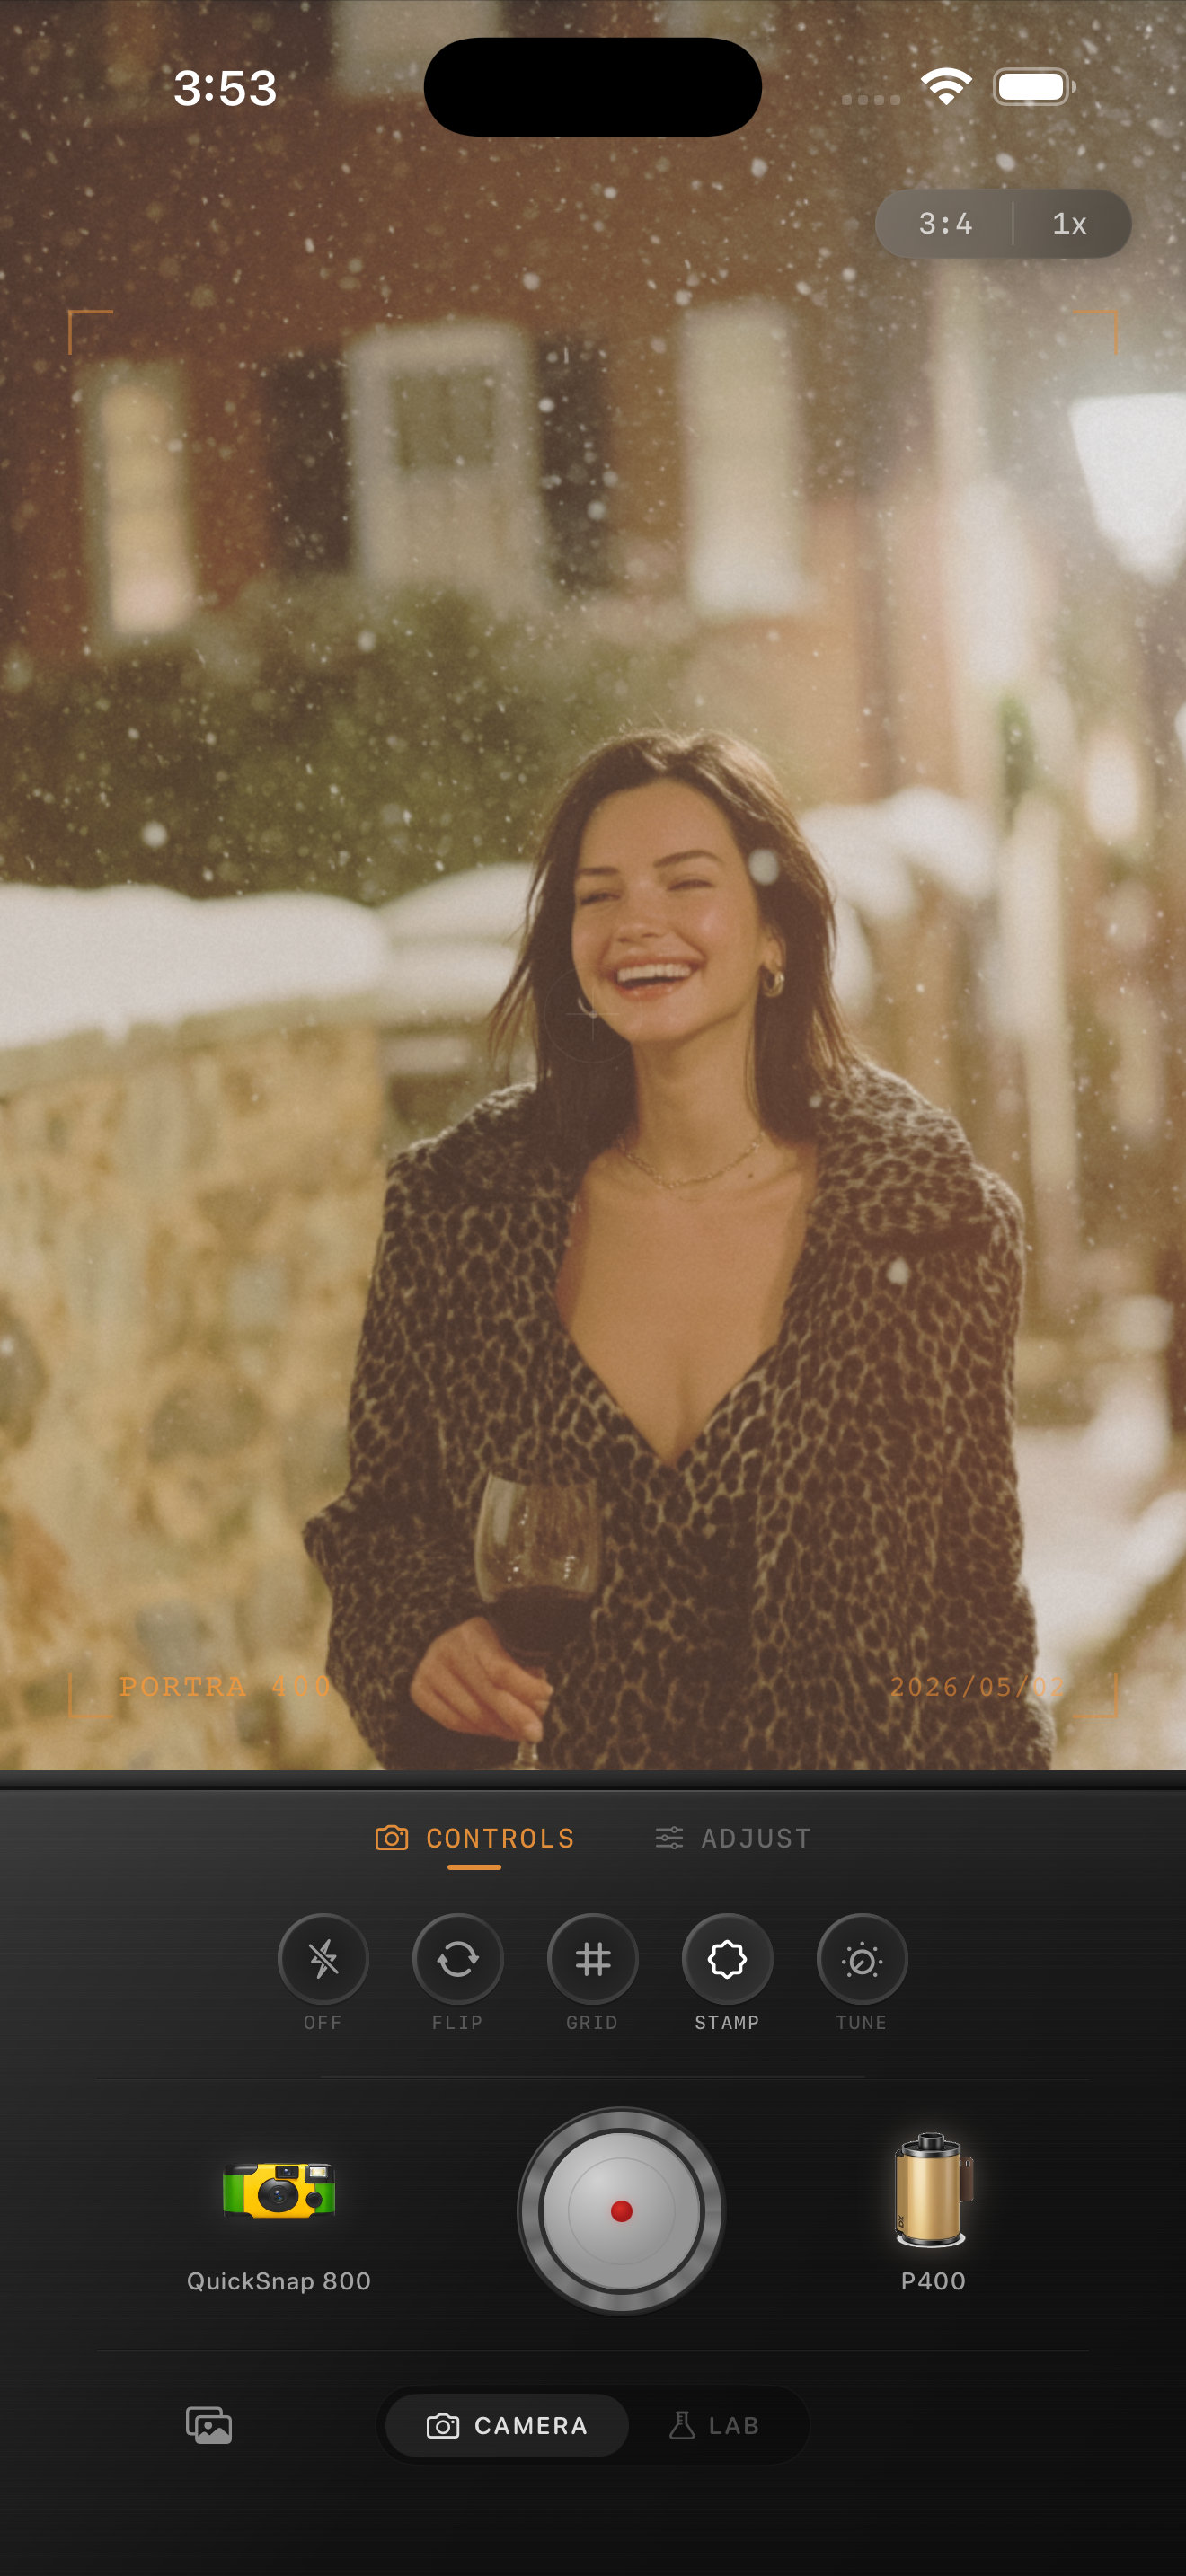
Blue snow usually comes from the phone trying to stay too neutral
Snowy iPhone photos often lean cold because the scene is full of bright reflective surfaces, open shade, and a camera system that tries to preserve detail everywhere. The result can be clean, but it does not always feel like film. Shadows go cyan, skin gets drained, and the whole frame starts feeling more technical than emotional.
A film-inspired winter edit should warm the scene just enough to feel human while keeping the snow believable. The goal is not golden snow. It is cleaner whites, calmer blue shadows, and contrast soft enough that coats, buildings, and faces still sit together naturally.
- Warm the frame gently instead of pushing the whole image orange.
- Keep snow bright, but do not let highlights go metallic.
- Use fine grain so white areas stay clean.
- Lift shadows only a little so boots, coats, and hair keep depth.
- Check skin and snow together before you call the edit finished.
A dependable baseline for winter scenes
Start around film intensity 74-88%, grain 18-28%, warmth +4 to +10, fade 3-7%, and vignette 3-8%. That range usually reduces the harsh digital coldness without making the scene feel sepia or muddy.
If the snow still looks blue after adding warmth, lower the intensity of the coolest tones before you add more global color. Winter photos often fall apart when you solve a blue-shadow problem by tinting every part of the frame equally.
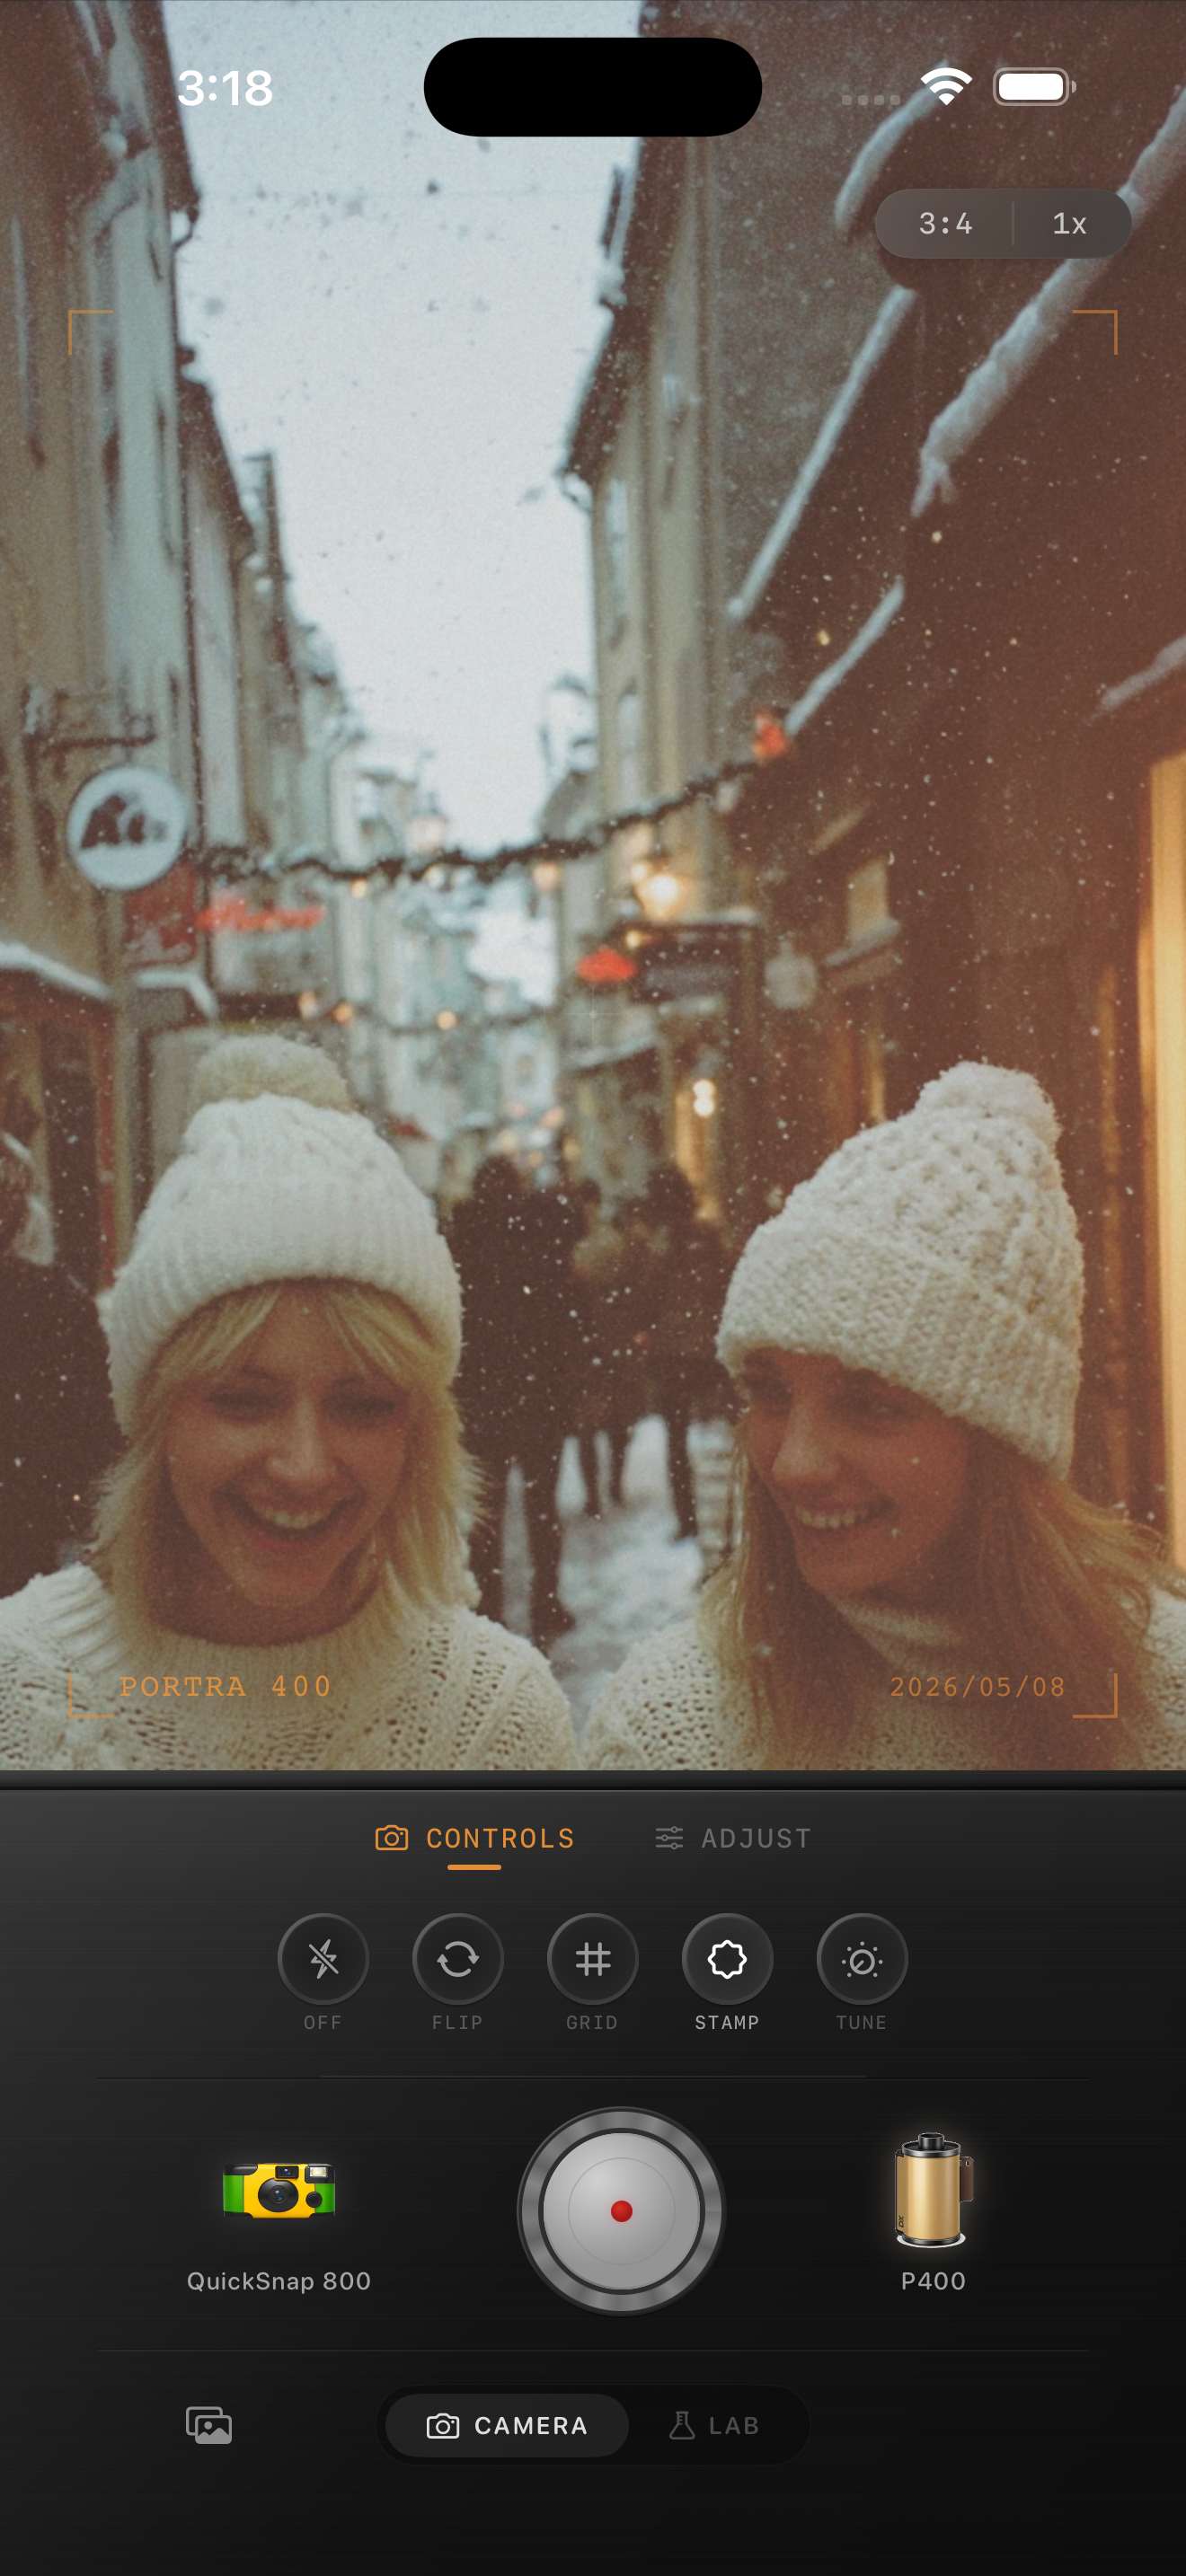
Use buildings, coats, and skin as your reality check
A snowy edit is rarely judged by snow alone. Brick, wool, hair, denim, and skin tell you whether the color is believable. If those textures still look honest, the winter atmosphere usually follows.
This is why brownstones, scarves, and darker coats are helpful reference points. They should keep natural separation from the snow instead of merging into one flat gray-blue wash.
Choose the film mood based on the kind of winter memory
A cleaner color-negative inspired look works well for portraits, family walks, and daytime city scenes where skin tone matters. A rougher point-and-shoot inspired body can work for playful friend photos or snowy evening snapshots, but it still needs careful grain so the snow does not turn speckled.
In Nostalgia Cam, pick the camera body first, then adjust warmth, grain, fade, and vignette until the scene feels like a winter print or scan rather than a cold HDR phone file. If you want Portra-style softness or Fuji-style coolness, treat those as inspiration only and keep the result natural to the scene.
Make winter iPhone photos feel like real prints
Use Nostalgia Cam to soften contrast, calm blue shadows, and add natural film texture so snowy portraits and street scenes keep their winter atmosphere without looking sterile or overprocessed.
FAQ
Why do snowy iPhone photos get blue shadows so easily?
Because snow reflects a lot of cool ambient light, especially in shade. iPhone processing can preserve that cool cast a little too aggressively, which makes winter scenes feel cold and digital.
Should snow photos have strong grain?
Usually no. Snow shows texture quickly, so fine or moderate grain is safer. Heavy grain often makes white areas look dirty instead of film-like.