
Editing guide
How to Edit Late-Night Diner Photos to Look Like Film on iPhone Without Blown Highlights
A practical late-night diner film recipe for iPhone: softer neon, controlled booth highlights, natural skin tones, and grain that adds mood without turning chrome and menus harsh.
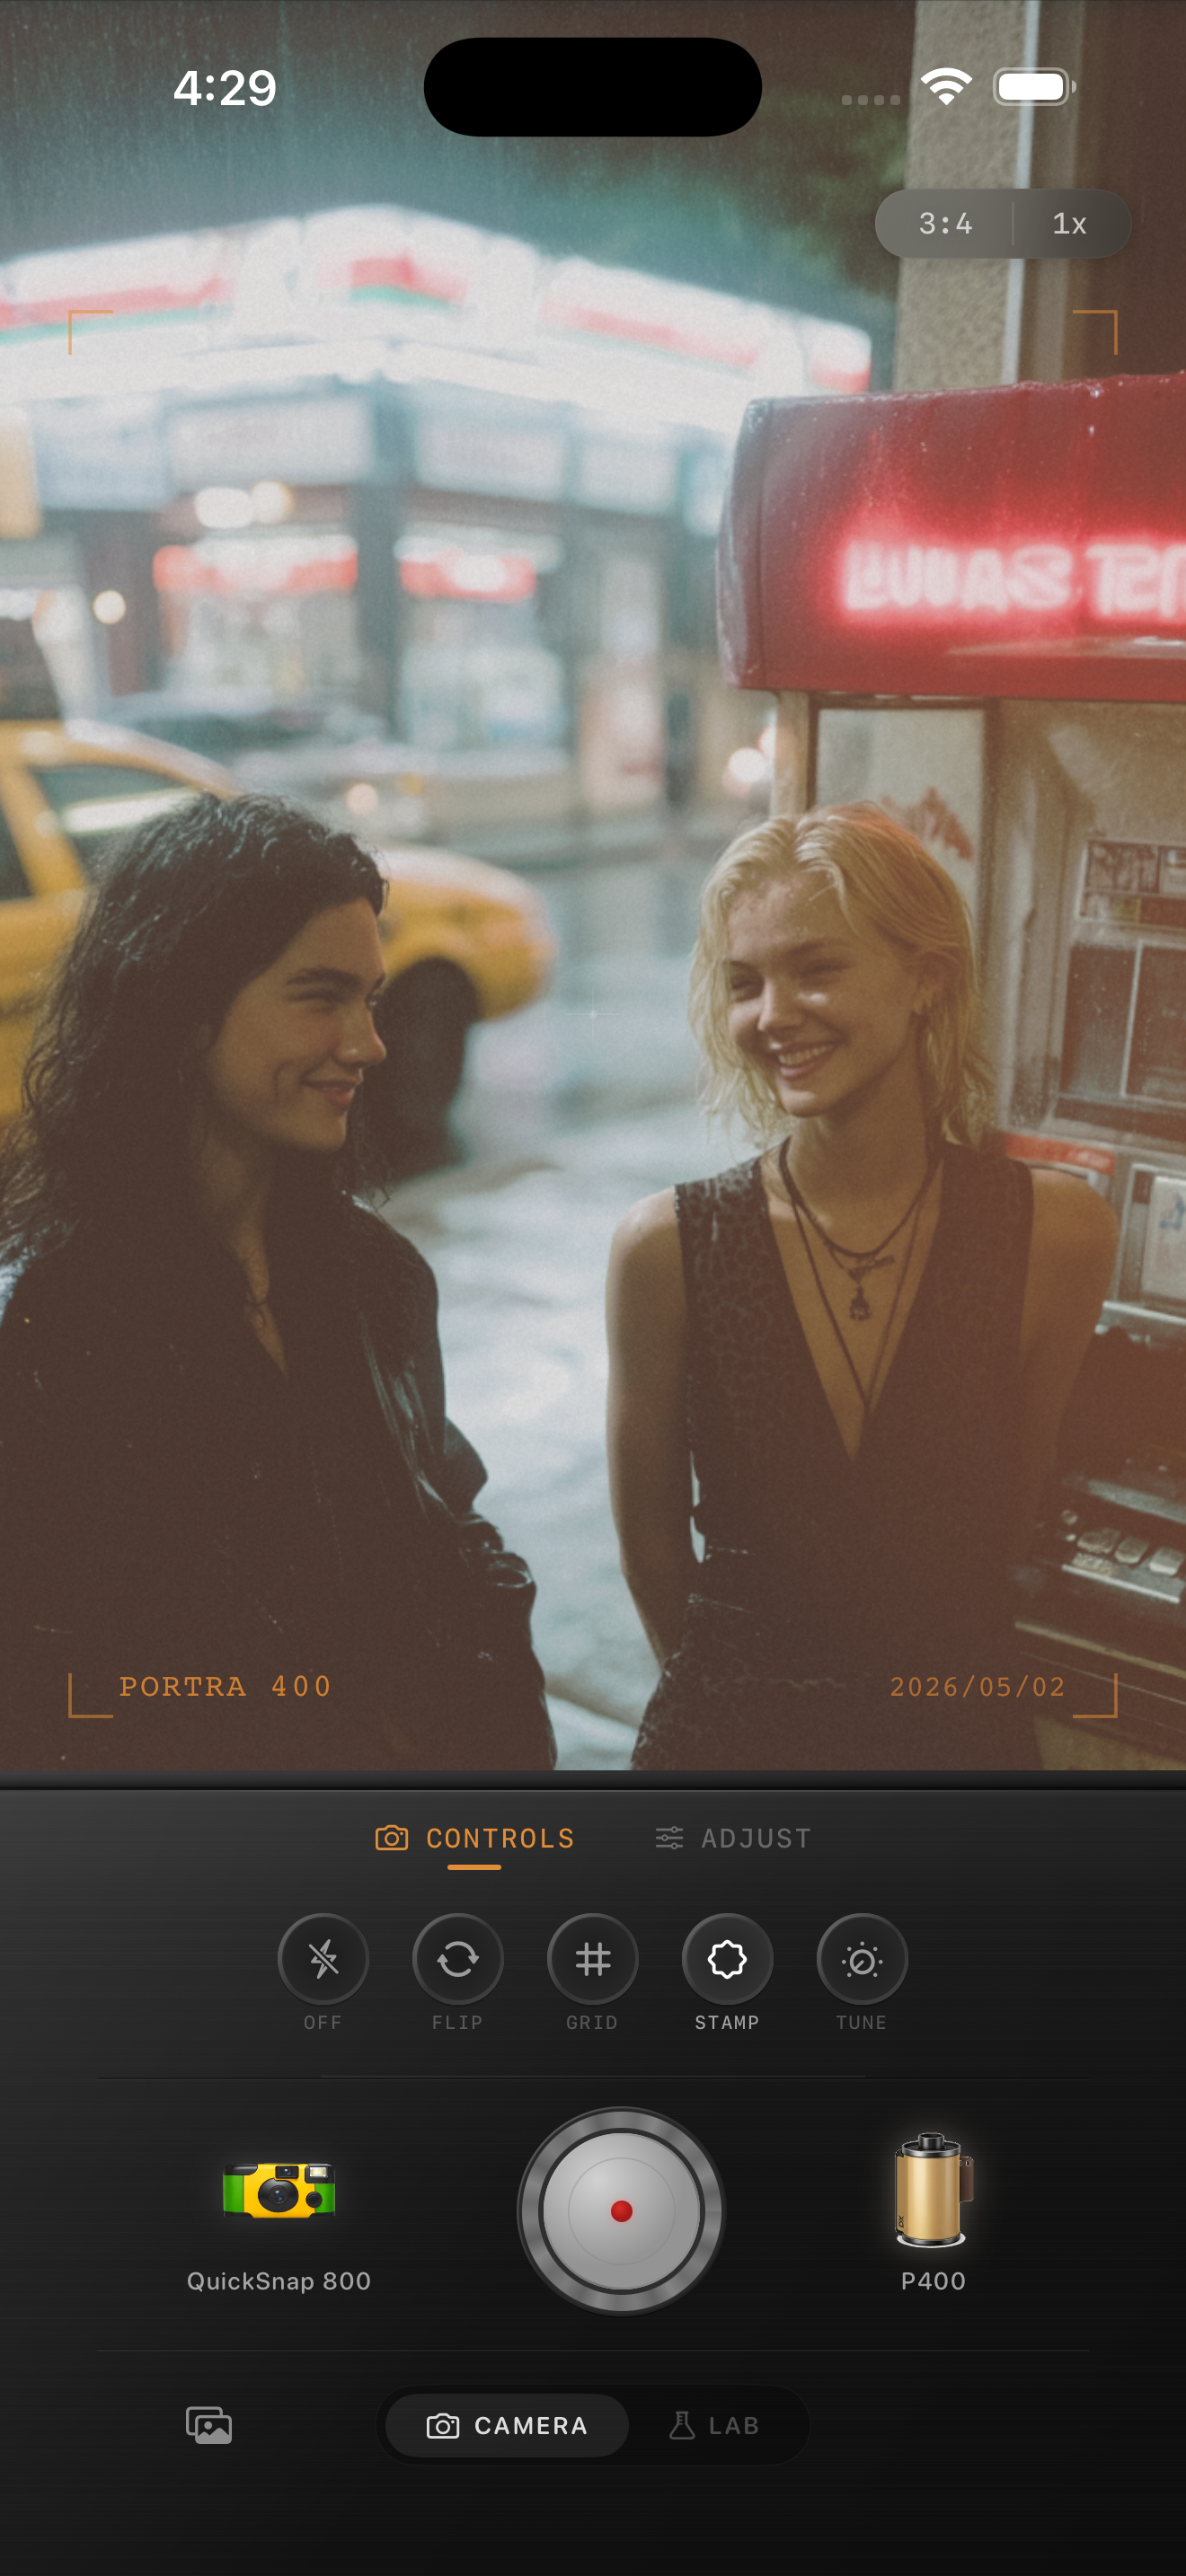
Why diner highlights break first
Late-night diner photos usually have exactly what makes people want a film look: glowing signs, chrome, vinyl booths, menus, glass, and mixed light that feels alive. The problem is that iPhone processing can make those bright areas turn hard and clinical before the mood has a chance to land.
A film-inspired diner edit should calm the brightest parts first. Once the highlights stop shouting, the rest of the frame usually needs only moderate grain and softer contrast to feel nostalgic.
- Protect neon and reflective chrome before adding more warmth.
- Keep booth reds and menu whites from clipping into flat patches.
- Use moderate grain so faces and lettering stay readable.
- Let mixed light stay mixed instead of forcing one global color cast.
- Use vignette lightly because many diner frames already have darker corners.
A dependable diner-film baseline
Start around film intensity 74-88%, grain 28-40%, warmth +4 to +10, fade 3-7%, and vignette 4-9%. That range usually softens the polished digital finish while keeping booth color, skin, and sign detail intact.
If the photo already has strong red, blue, or yellow light, lower warmth before lowering film intensity. Diner scenes often get muddy because the edit adds a second color cast on top of light that was already doing the storytelling.
Keep faces, signs, and surfaces separate
The easiest mistake is treating skin, signage, and reflective surfaces as one problem. They each fail differently. Skin goes orange, signs lose their lettering, and chrome turns into white streaks.
Check one face, one bright sign, and one reflective surface together before you finish the edit. If those three elements still hold their own shape, the film look usually reads as natural instead of forced.
Choose the right camera mood
A late-night diner shot can handle a little compact-camera roughness, but it rarely needs the full disposable treatment. Too much damage or vignette makes menus, glass, and table details feel gimmicky fast.
In Nostalgia Cam, start with a balanced 35mm-inspired or compact-film body, then add only enough grain and softness to make the frame feel like a printed memory from the end of the night.
Keep diner light cinematic in Nostalgia Cam
Use Nostalgia Cam to balance camera body, film-inspired color, grain, fade, and vignette so late-night diner photos feel soft and analog without losing sign detail or skin tone.
FAQ
Why do late-night diner photos lose detail so easily in film edits?
Because they already contain bright signs, chrome, menus, and mixed light. If the edit adds too much warmth, grain, or fade at once, those small highlight differences disappear first.
Should diner photos use heavy grain to look like film?
Usually no. Moderate grain works better because it adds texture while keeping faces, lettering, and reflective surfaces readable.