
Editing guide
How to Edit iPhone Pumpkin Patch Photos to Look Like Film Without Orange Skin
A practical iPhone film-editing guide for pumpkin patch photos: keep faces, pale pumpkins, denim, and fall light natural while adding a soft printed finish.
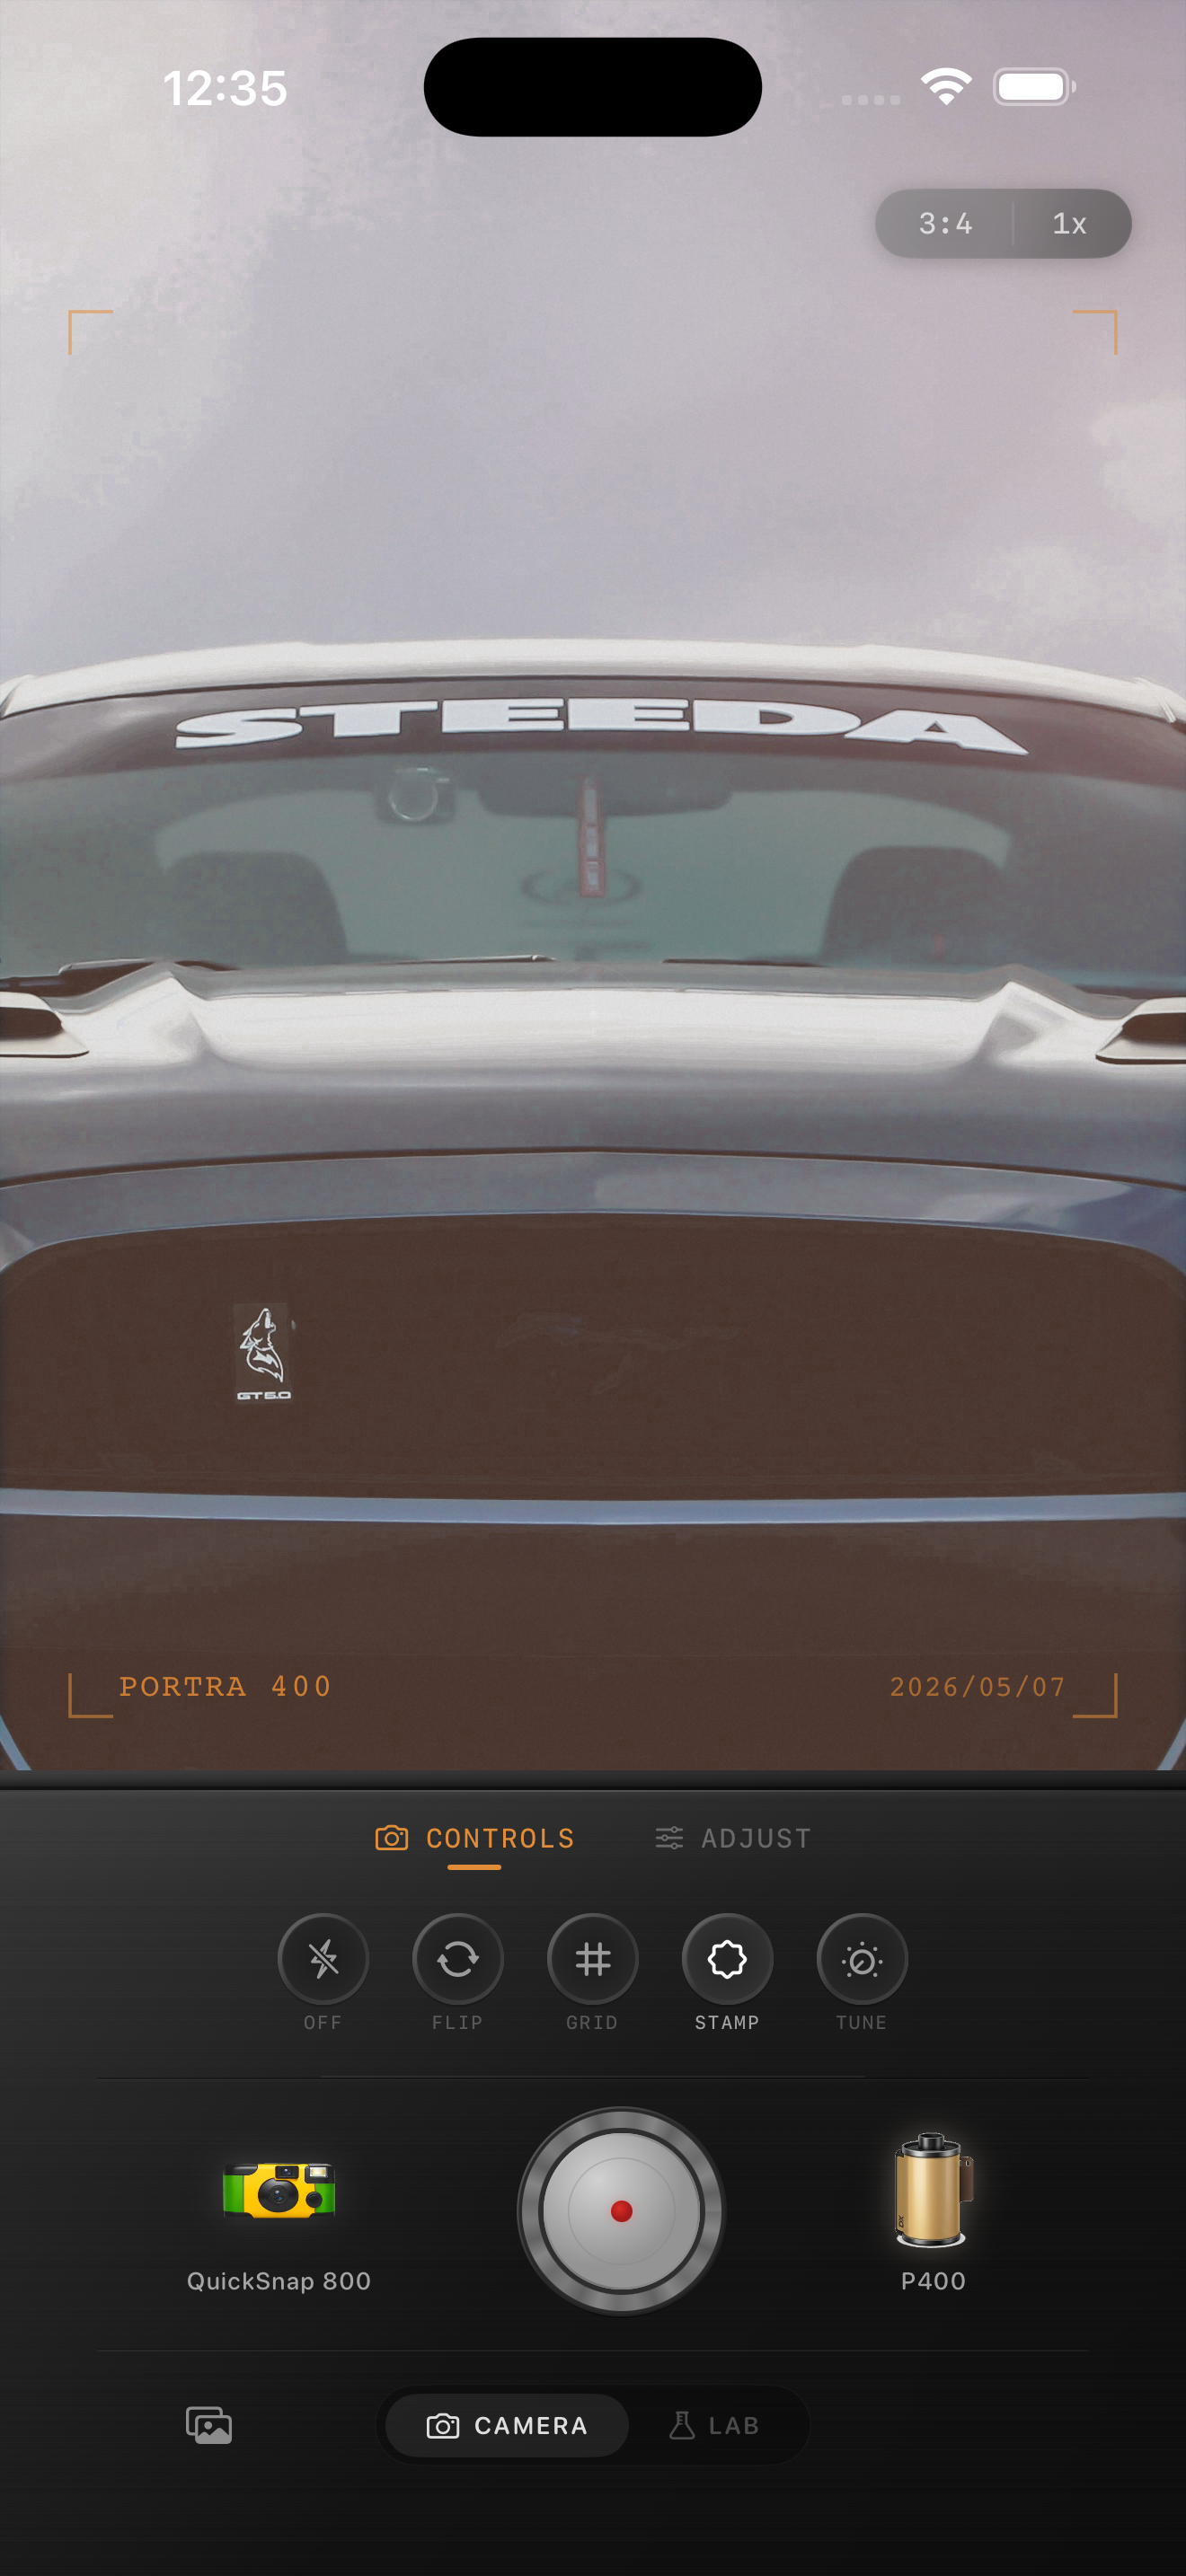
Choose a frame with a clear color anchor
Pumpkin patch photos often include several warm colors at once: orange pumpkins, dry grass, wood fences, late-afternoon sun, and autumn clothes. That is already plenty of atmosphere. Start with the frame where the person, pumpkin, or gesture you care about is readable before editing, rather than relying on a stronger filter to create the moment.
Keep the original beside your edit and pick one less-warm reference area, such as denim, a white pumpkin, a neutral sign, or a patch of sky. It will tell you quickly if the entire scene is drifting toward orange. The existing preview above is a seasonal-light style reference, not a pumpkin patch comparison.
Check skin before you enrich the pumpkins
A pumpkin can handle a rich orange color; a face usually cannot. Compare a lit cheek, hand, or neck with a pumpkin in the same light after each broad change. If the pumpkin looks vivid but skin turns coppery, reduce film intensity or warmth before adjusting grain or contrast.
Do not try to neutralize every warm cast. Golden light is part of many fall memories. The useful goal is variation: skin stays recognizable, the pumpkin retains darker ridges and lighter highlights, and the grass or wood keeps a different color family instead of merging into one orange wash.
- Use a face or hand as the first color check when people are in frame.
- Use a pale pumpkin or light fabric as a second check.
- Reduce a broad effect before adding more warmth to weak-looking shadows.
- Compare at normal phone size, where an overly warm face is easiest to notice.
Start with a quieter fall-film recipe
Begin around film intensity 68–80%, grain 20–32%, warmth +3 to +8, fade 3–7%, and vignette 3–8%. In open sun, stay near the lower end for warmth and fade; the source image already has strong color and contrast. In shade, a small warmth increase can help, but compare it against the neutral area you chose first.
A cleaner compact-film or 35mm-inspired camera body is usually a better starting point than a rough disposable look. Pumpkin patches have plenty of natural texture in stems, straw, and clothing, so coarse damage can make the frame busy before it makes it feel nostalgic.
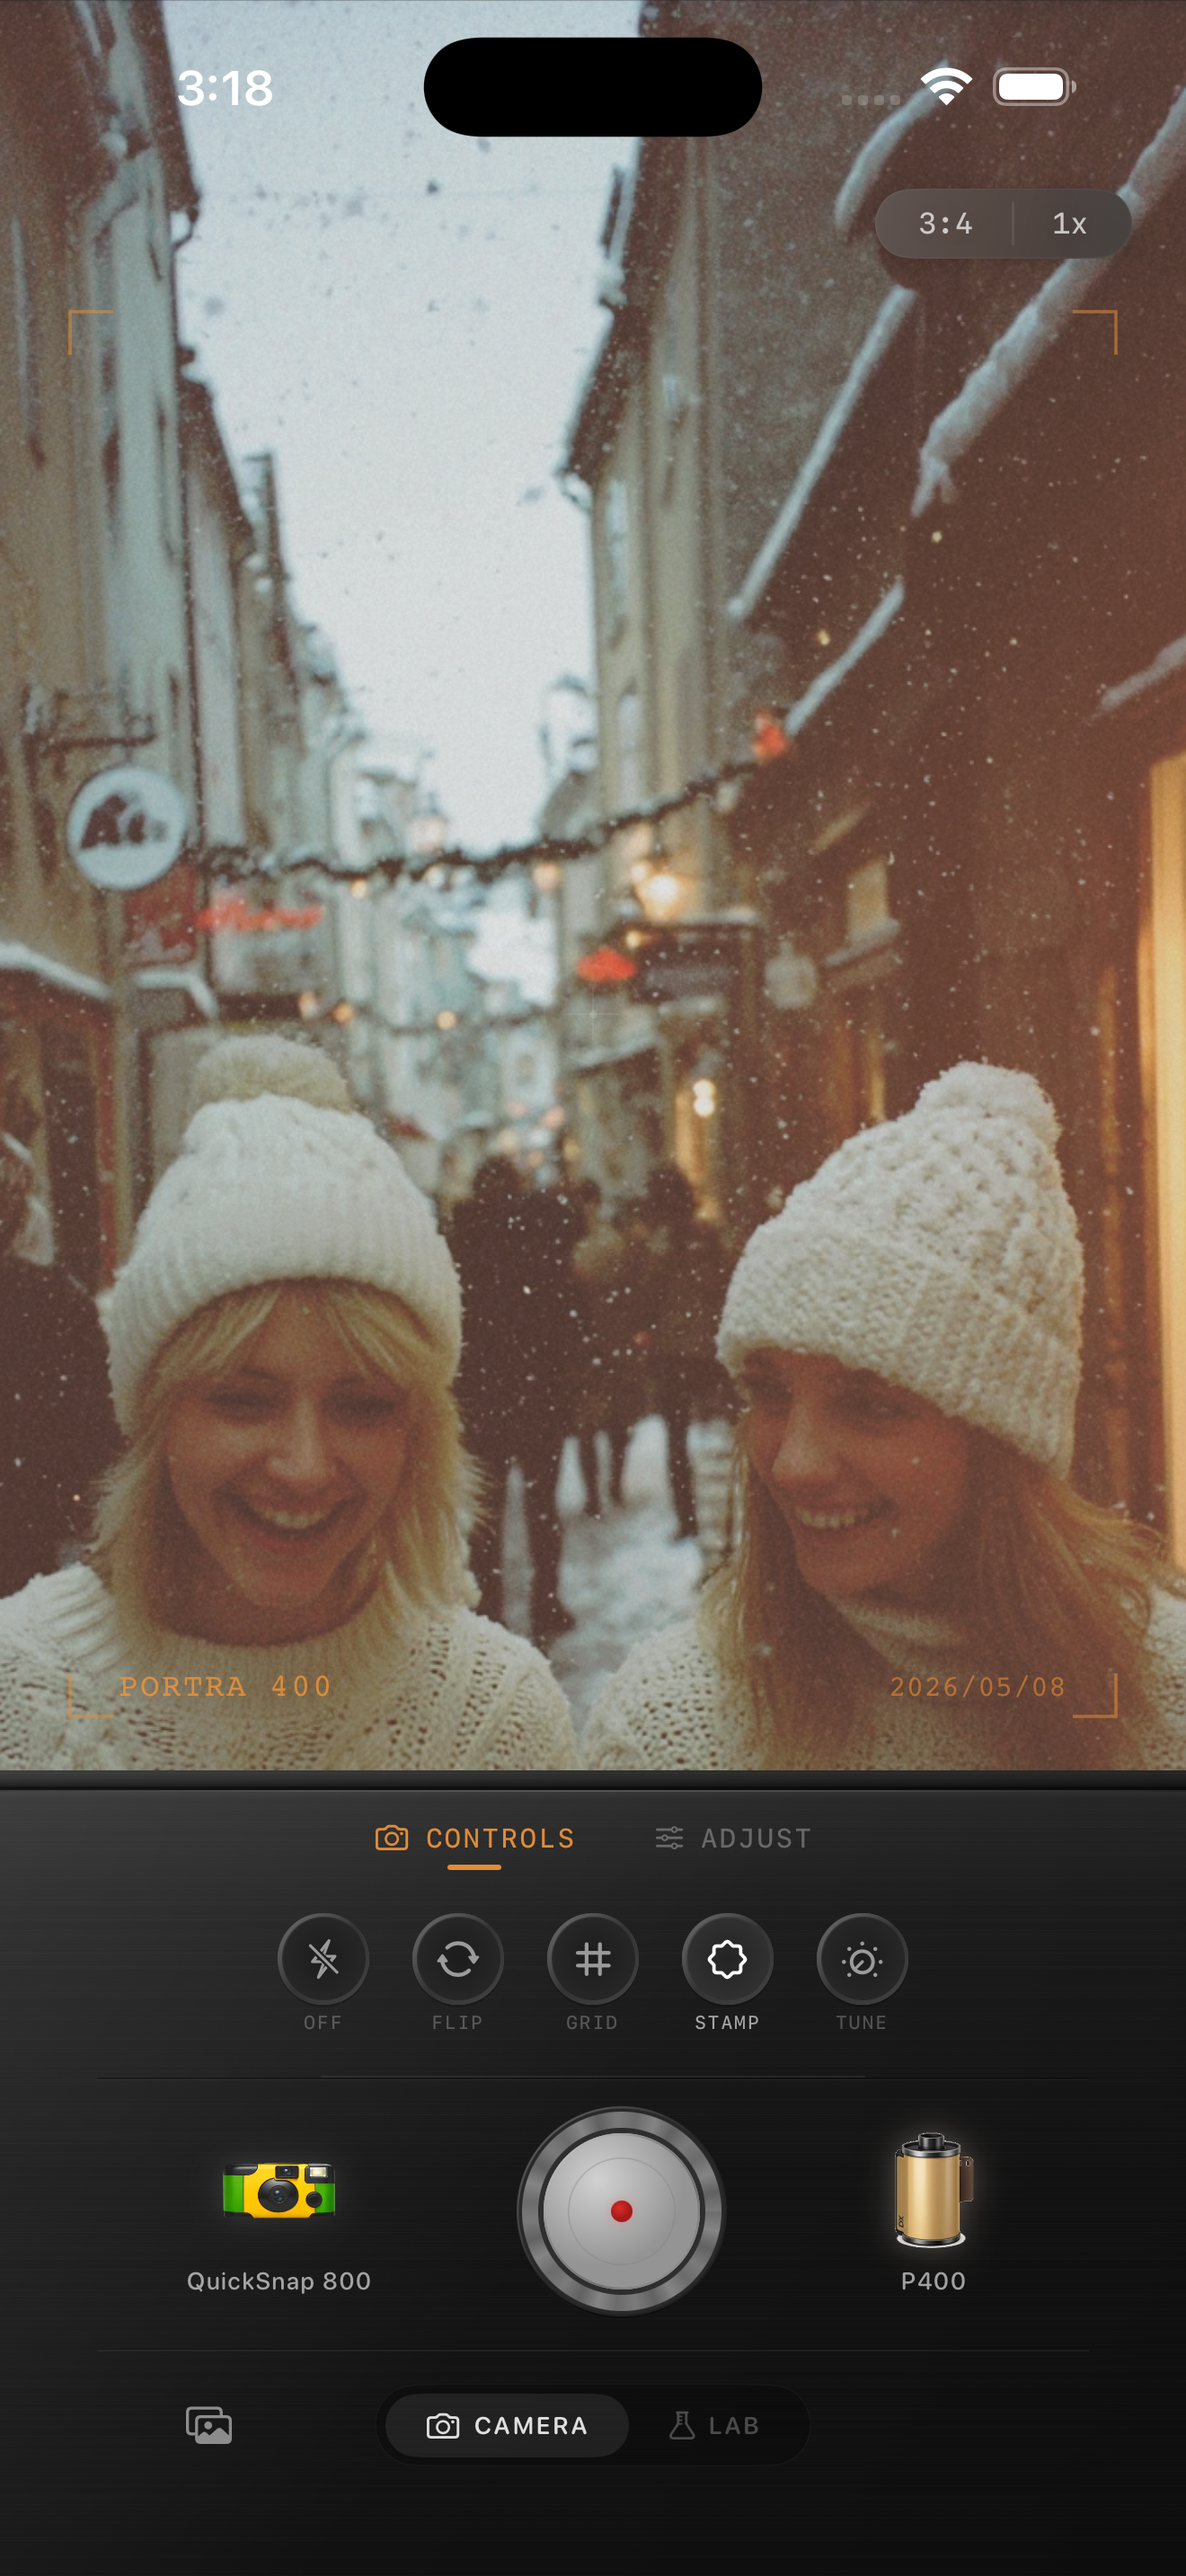
Add texture without roughening straw and foliage
Straw, leaves, stems, and knit clothing already contain fine detail. Set color and brightness first, then add grain slowly while watching one smooth area and one textured area. If the smooth sky turns sandy or the straw begins to look crunchy before the image feels softer, lower the grain.
Keep fade restrained too. A little can soften the digital edge, but too much removes the shadow shape that separates a jacket from the pumpkins behind it. The edit should make the scene feel tactile without turning it flat or dusty.
Finish with a memory, not a preset, check
View the finished photo away from the editing controls. Your eye should find the person or moment first, then the pumpkins and setting, then the film character. If orange or grain is the first thing you notice, return to the gentler version and keep the real fall light doing more of the work.
In the Nostalgia Cam Lab, compare camera bodies and film looks at moderate intensity before fine-tuning warmth, fade, vignette, and grain. Film names describe stylistic inspiration only; Nostalgia Cam is not affiliated with or endorsed by Kodak, Fujifilm, or other camera or film manufacturers.
Keep the fall color warm and the people real
Import a favorite pumpkin patch photo into the Nostalgia Cam Lab, compare camera bodies and film looks at moderate intensity, then refine warmth, grain, fade, and vignette. Check a face, a pumpkin, and one neutral area before saving the version that feels most like the day.
FAQ
Why does skin turn orange in my pumpkin patch film edits?
Pumpkins, dry grass, and golden light may already make the original warm, so extra warmth or a strong film look can push faces too far. Compare a lit cheek or hand with a pumpkin and a neutral area, then lower the broad treatment before changing texture.
Should I use heavy grain for pumpkin patch photos on iPhone?
Usually no. Straw, leaves, stems, and clothing already provide a lot of fine texture. Add a modest amount after color is balanced, and reduce it if smooth sky or faces start looking noisy at the size you plan to share.
How do I keep pale pumpkins from looking yellow?
Use a pale pumpkin, light fabric, or neutral sign as a reference while comparing film looks. If it shifts yellow or beige, try a lower-intensity or less-warm version before making a broad brightness change that could flatten its shape.