
Editing guide
How to Edit iPhone Pumpkin Carving Photos to Look Like Film Without Muddy Shadows
A practical iPhone film-editing guide for pumpkin carving photos: keep candlelit faces, orange pumpkins, and dark porches clear without flattening the nighttime mood.
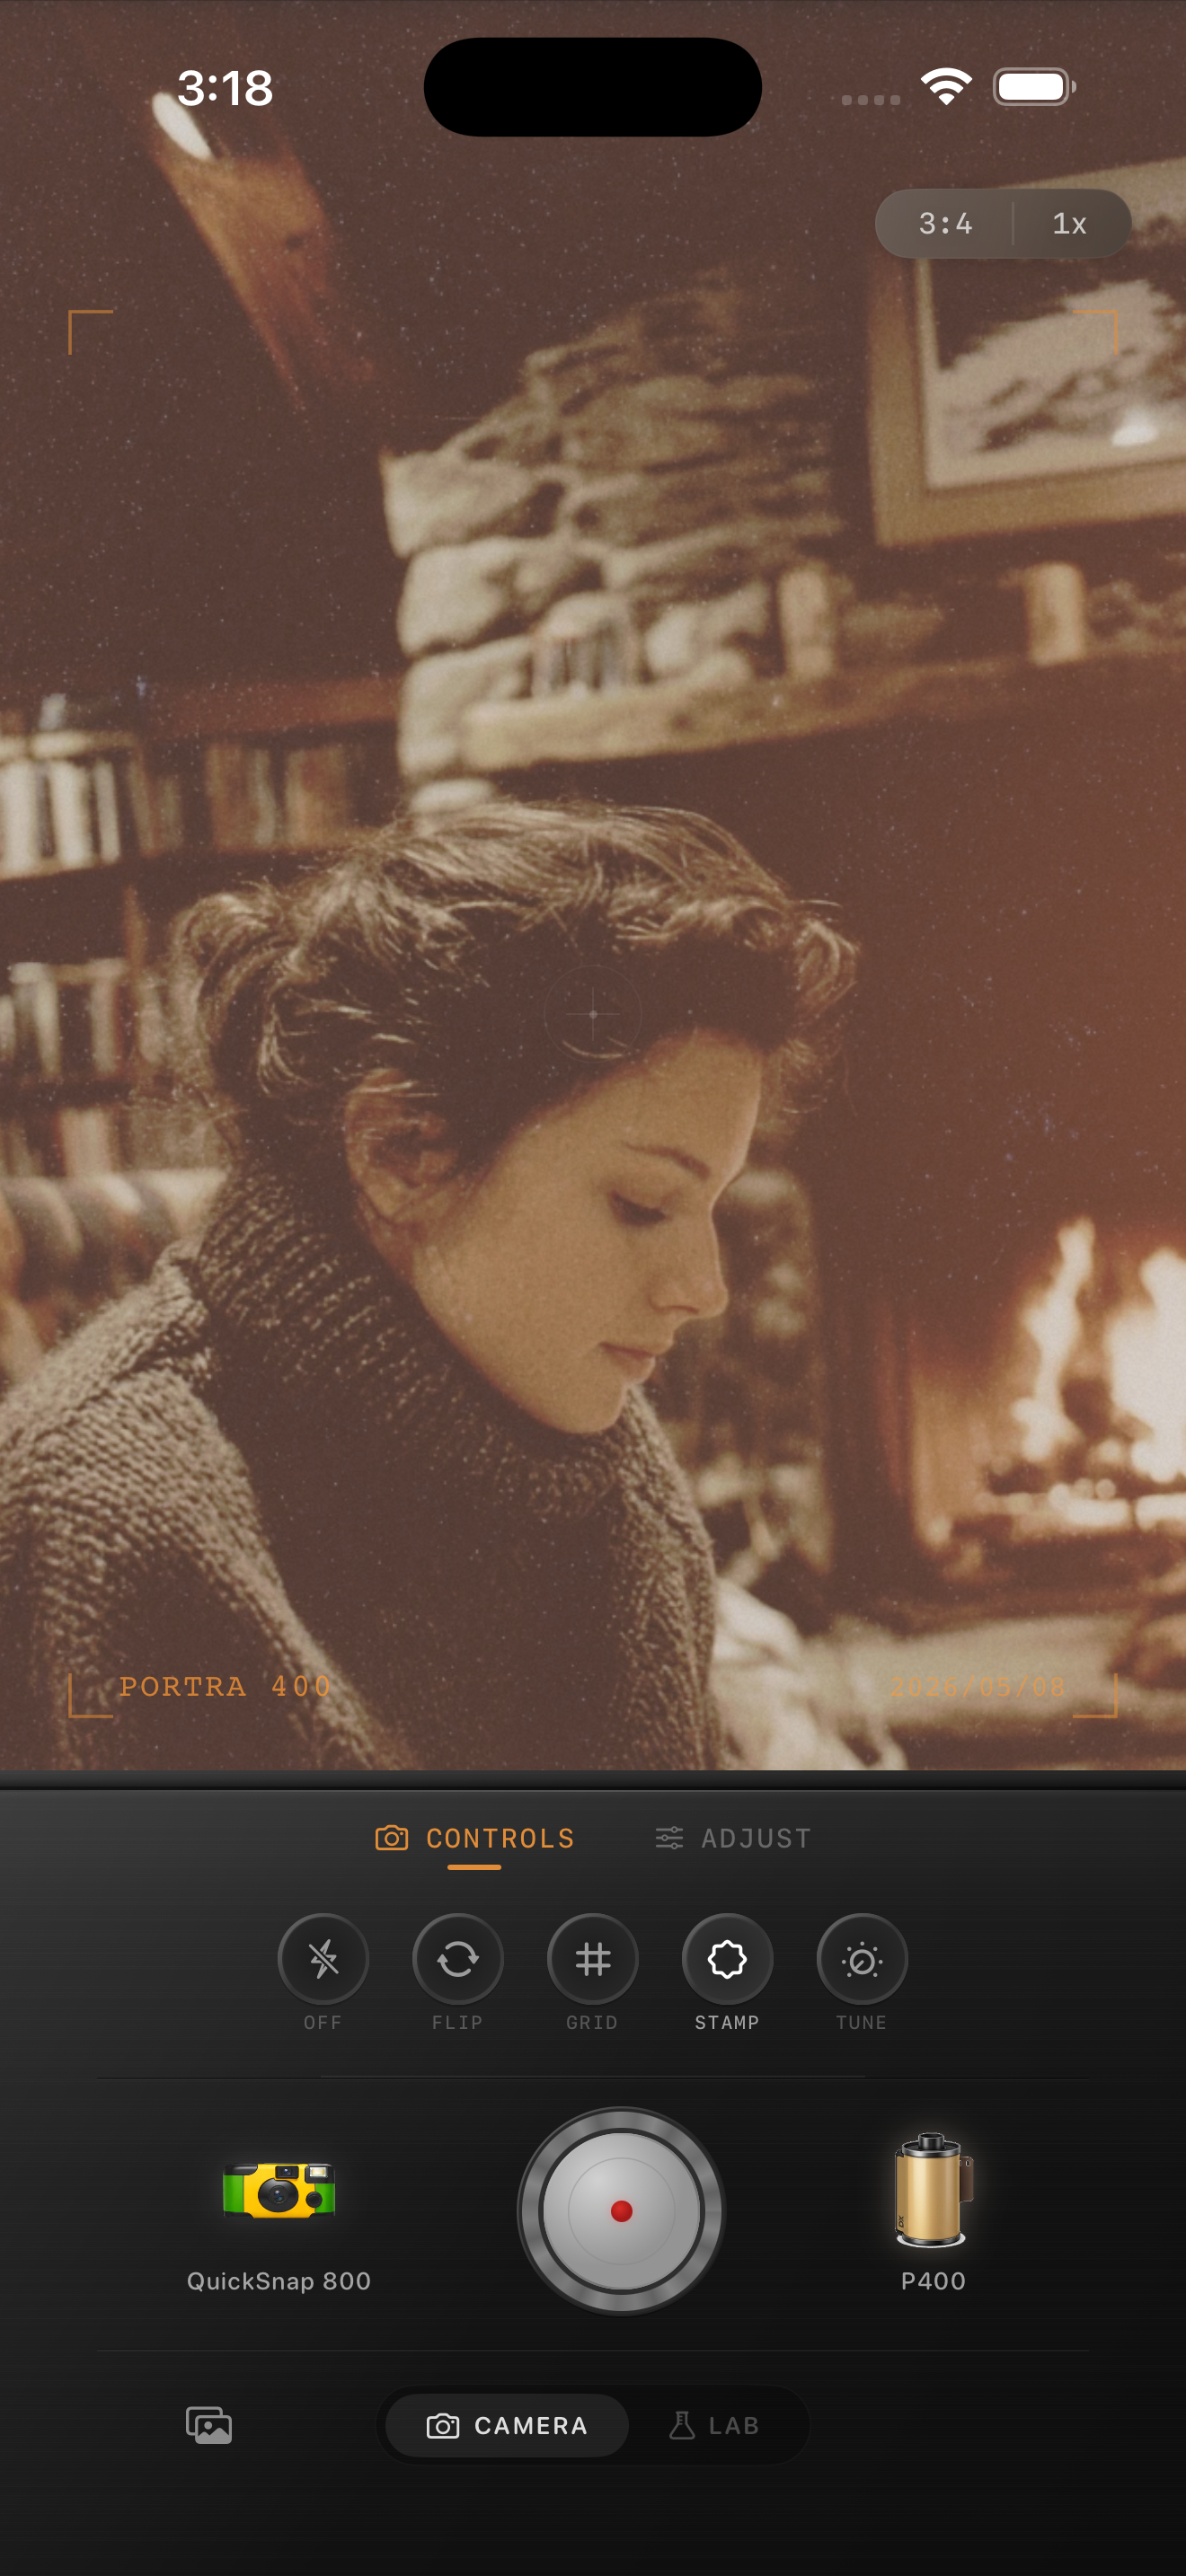
Start with the frame where the face and the pumpkin both read
Pumpkin carving photos often have a small candle or LED inside the pumpkin, a darker porch or table, and a person leaning into the warm light. Before editing, compare nearby frames at normal phone size and choose one where the expression, carving, or hands are already easy to recognize. A film-inspired finish can make the evening feel softer, but it cannot recover a face or design that disappeared into the original shadow.
Keep the original beside the edit while you work. The goal is not to brighten every corner; it is to let the pumpkin glow while the person and the surrounding space still feel connected. The existing preview above is a warm low-light style reference, not a pumpkin-carving comparison.
Check a face, the pumpkin glow, and one dark detail together
Pick three small references before changing the film look: a face or hand, the bright cutout edge of the jack-o'-lantern, and a dark but meaningful detail such as a sleeve, porch step, or table edge. Revisit all three after each broad adjustment. This makes it easier to catch a treatment that turns skin too orange, clips the candle glow into a flat patch, or makes the shadows merge into one brown block.
The pumpkin does not need to be dim to look believable. It can remain the brightest part of the frame as long as the cutout shape and nearby details still have some separation.
- Judge the finished photo at the size you expect to share.
- Use a hand or a pale sleeve to check whether warmth is spreading too far.
- Keep the carved opening shaped rather than turning it into a plain white-orange spot.
- Change one broad control at a time so you can see what affected the shadows.
Begin with a restrained candlelit film recipe
Start around film intensity 60–74%, grain 16–28%, warmth +2 to +7, fade 2–5%, and vignette 3–8%. Stay toward the lower end when the candle or LED is already very bright. A small warmth adjustment can make the porch feel welcoming, but compare it against a face and a darker detail before pushing the look further.
A cleaner compact-film or 35mm-inspired camera body is often a better starting point than the roughest disposable look. Pumpkin skins, carved edges, sweaters, and natural phone-camera noise already bring plenty of texture. Let the edit soften the digital finish without making the background look gritty.
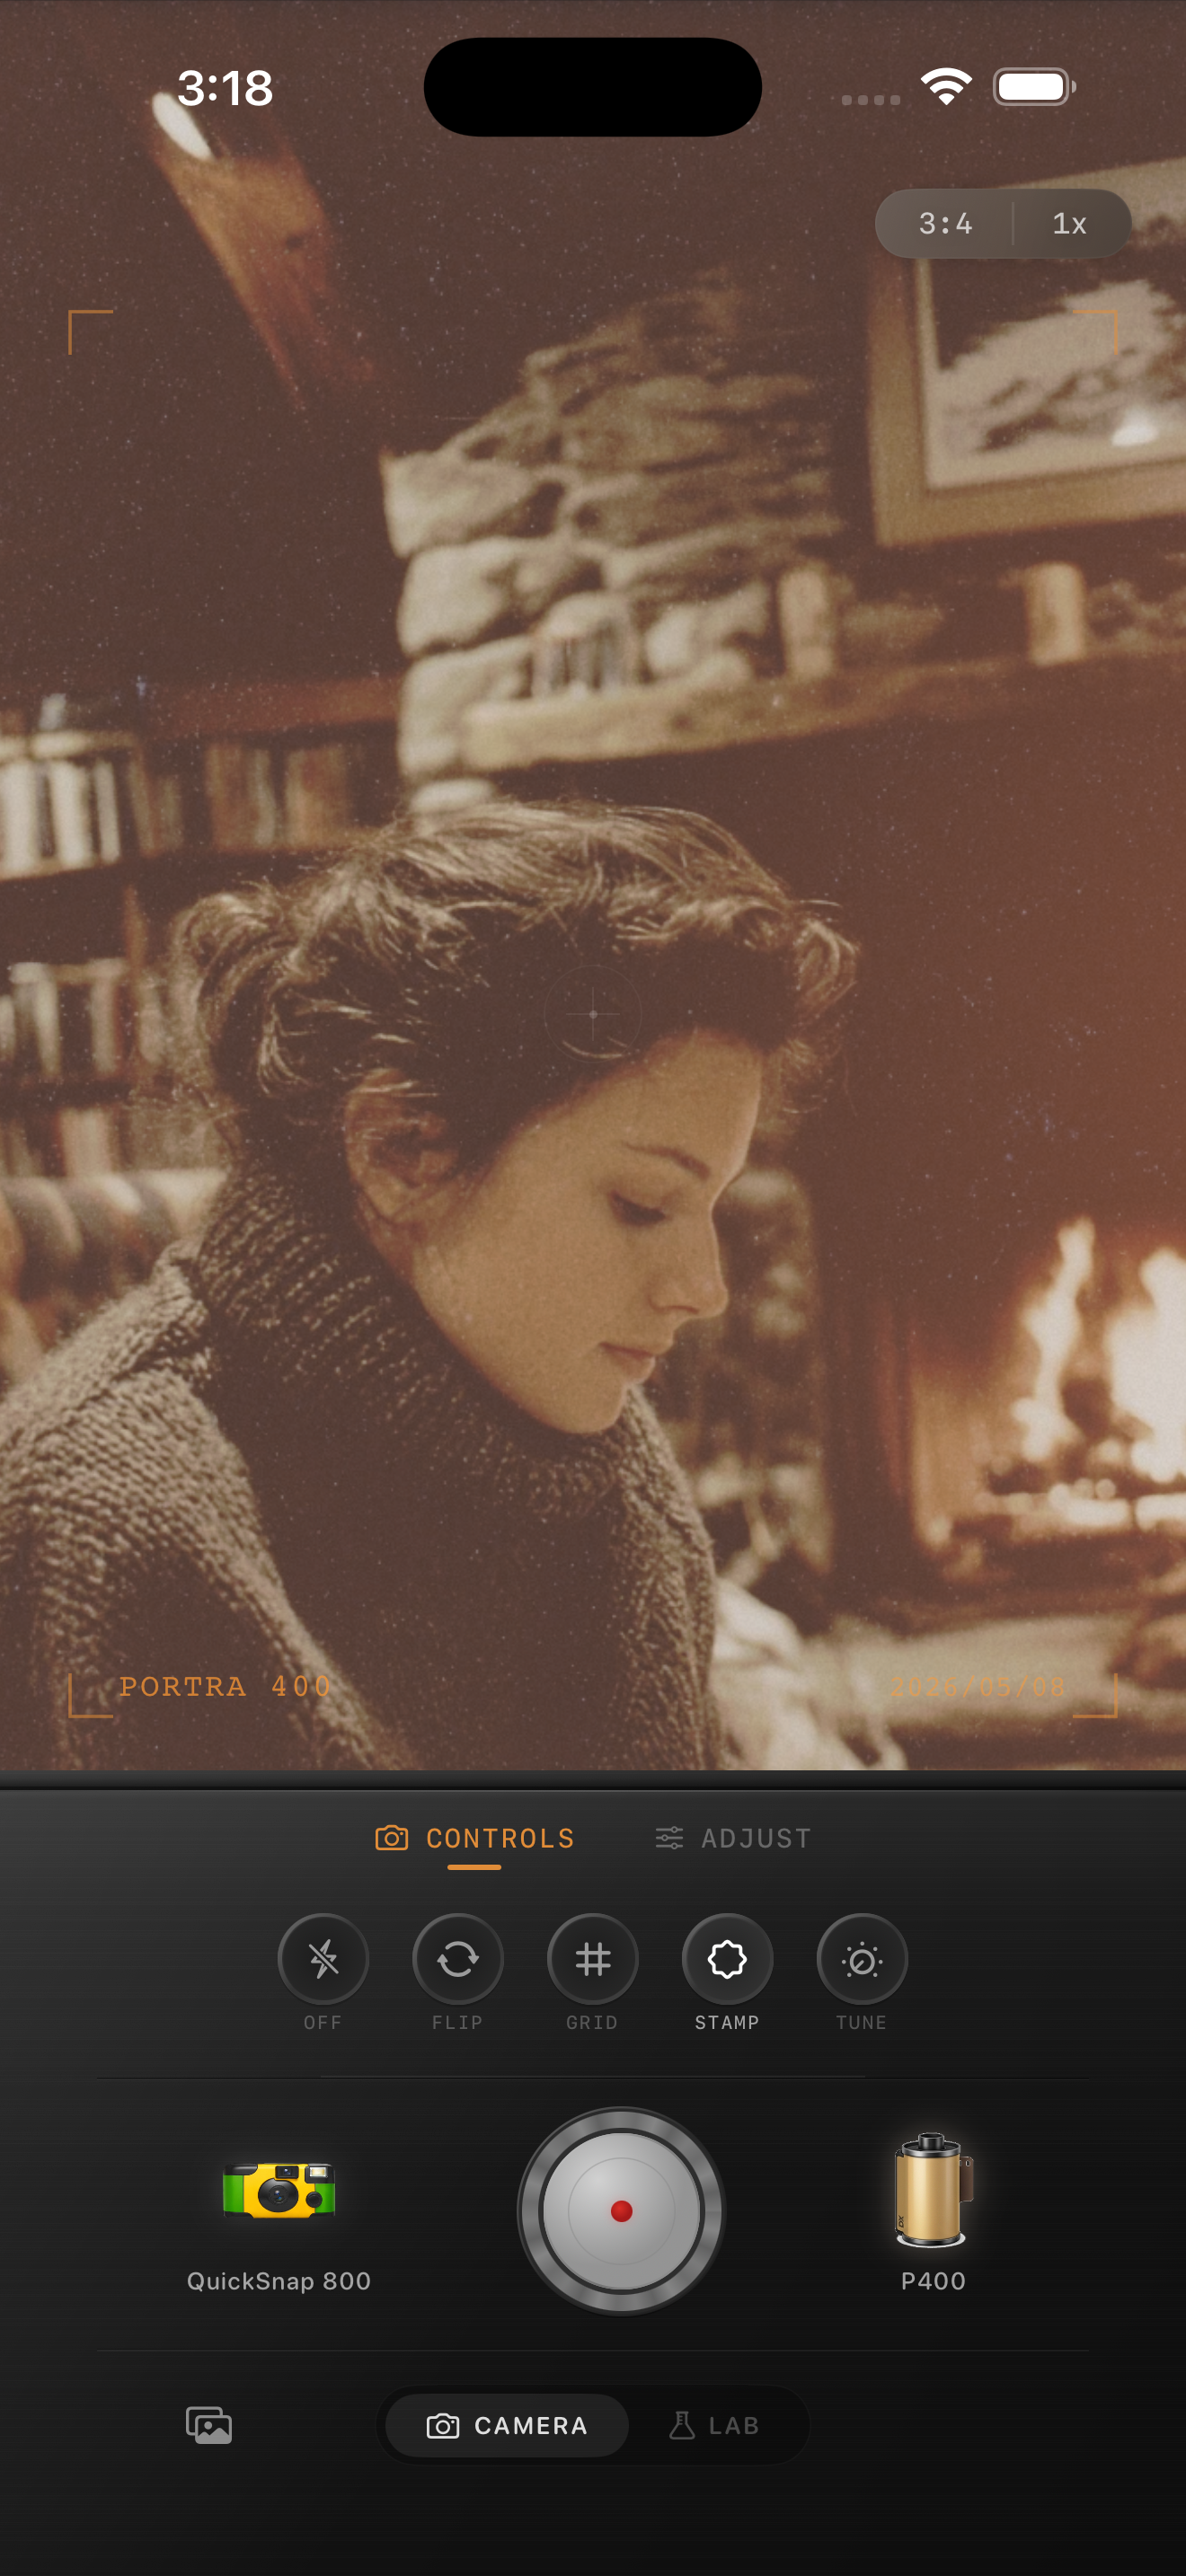
Add grain after the dark areas stay separate
Grain can make an October evening feel tactile, but too much makes a dark sweatshirt, porch boards, and the space behind the pumpkin melt into rough noise. Set brightness and color first, then add texture slowly while watching a smooth shadow, the pumpkin opening, and the person together. If the shadows look busy before the image feels less digital, lower the grain.
Keep fade modest for the same reason. A little can soften harsh iPhone contrast, while too much lifts the darks until the carving loses depth. Compare two gentle versions at normal viewing size and choose the one where the carved face and the real moment appear before the effect does.
Finish with a porch-to-pumpkin check
View the saved image away from the editing controls. Your eye should find the person or pumpkin first, then the carved glow and the rest of the evening, and only then the film character. If the first thing you notice is orange skin, a clipped pumpkin opening, or muddy darkness, return to the gentler version and let the original candlelight carry more of the mood.
In the Nostalgia Cam Lab, compare camera bodies and film looks at moderate intensity before fine-tuning warmth, fade, vignette, and grain. Film names describe stylistic inspiration only; Nostalgia Cam is not affiliated with or endorsed by Kodak, Fujifilm, or other camera or film manufacturers.
Keep the carved glow and the evening clear
Import a favorite pumpkin-carving photo into the Nostalgia Cam Lab, compare camera bodies and film looks at moderate intensity, then refine warmth, grain, fade, and vignette. Check a face, the carved pumpkin glow, and one dark detail before saving the version that feels most like the night.
FAQ
Why do my iPhone pumpkin carving photos look muddy after a film edit?
Pumpkin-carving scenes usually begin with a bright warm light beside a very dark background. Too much fade, grain, or overall warmth can erase the small tonal differences in sleeves, steps, and pumpkin edges. Compare a face, the glow, and one dark detail, then reduce the broad treatment before adding more texture.
Should I use a lot of grain for candlelit pumpkin photos?
Usually not. Low-light noise, carved edges, wood, and sweaters already contain texture. Add a modest amount only after the color and brightness feel balanced, then check at normal viewing size so dark areas do not turn gritty.
How can I keep a jack-o'-lantern glow from blowing out in a film edit?
Use the brightest carved edge as a reference alongside a face and a dark nearby detail. If the opening becomes a flat orange-white patch or the face turns too warm, try a lower-intensity or less-warm version before making a broad exposure change.