
iPhone film look
Best Film Settings for Twilight City Photos on iPhone
A practical twilight-city film recipe for iPhone photos, with cleaner neon, softer shadows, restrained grain, and color that keeps the evening mood without turning muddy.
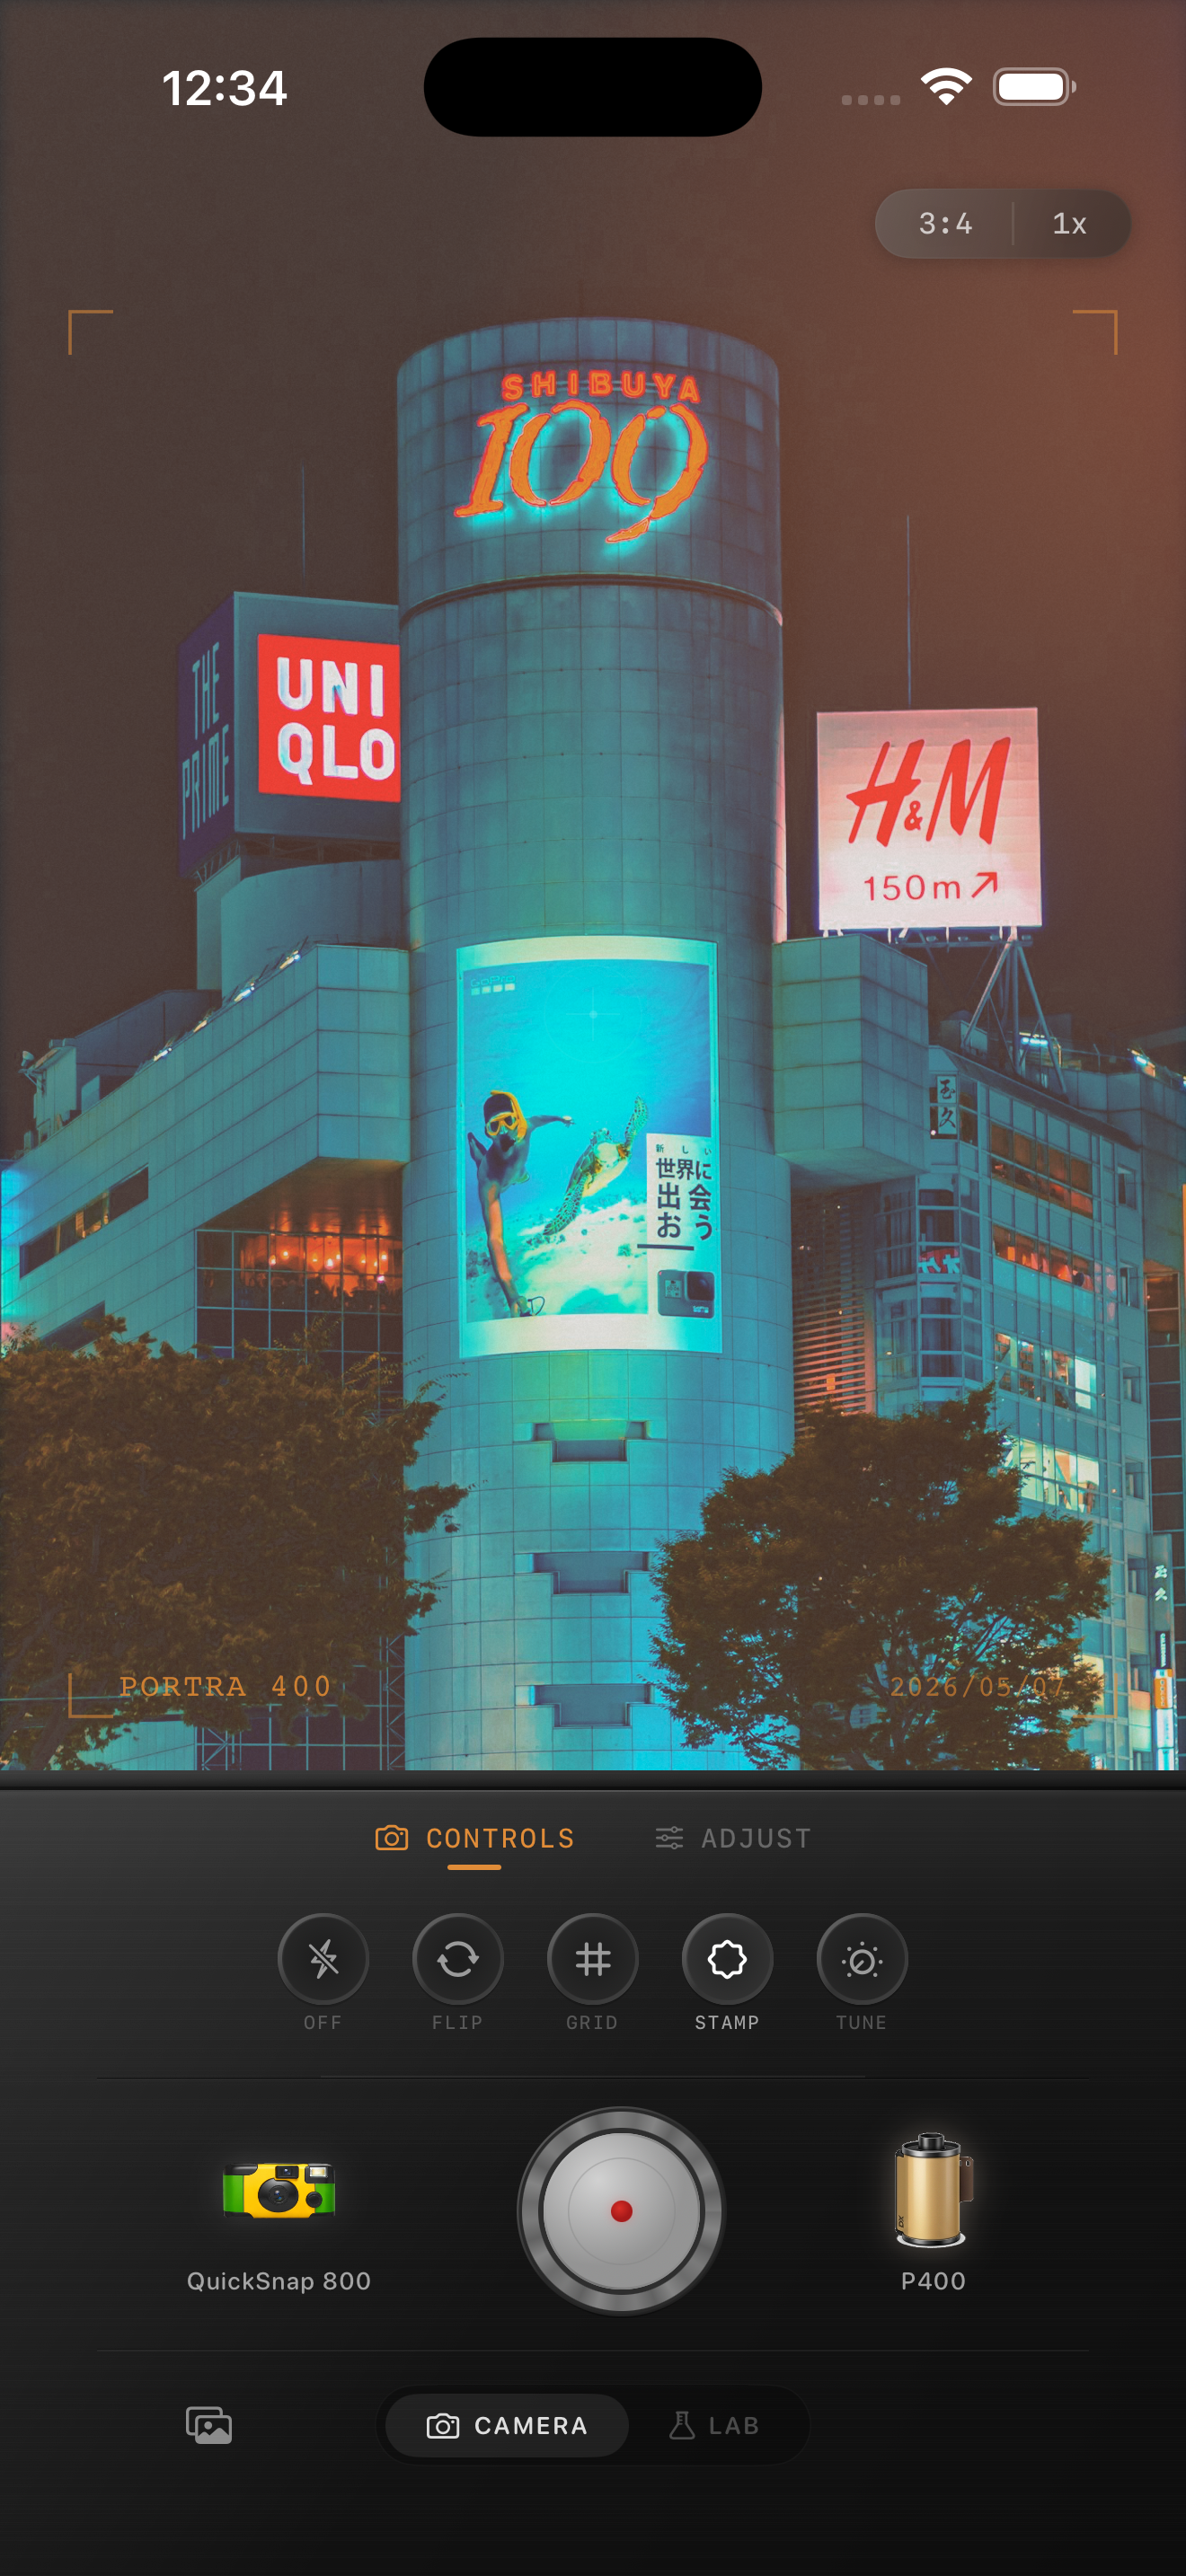
Twilight city photos need separation, not heavy darkness
The best twilight city photos still hold onto shape in the streets, windows, and people while letting the sky and signs feel moody. When the edit gets too heavy, the whole frame collapses into muddy blues and orange blobs.
A film-inspired evening edit should keep the transition between sky glow, storefront light, and street shadow readable. That is what makes the image feel cinematic instead of underexposed.
- Keep the sky slightly cleaner than the street shadows.
- Use moderate grain so neon edges stay readable.
- Add warmth carefully because mixed lighting can turn dirty fast.
- Lift shadow detail a little instead of forcing a crushed look.
- Use vignette lightly because city scenes already have depth and contrast.
A strong baseline for blue-hour and neon scenes
Start around film intensity 74-88%, grain 24-36%, warmth +2 to +7, fade 4-8%, and vignette 5-10%. That range usually gives iPhone twilight photos some analog softness while preserving the color contrast between the cool sky and warm signage.
If the scene has bright neon or LED panels, stay conservative with grain first. If the scene is dimmer and more atmospheric, you can lean slightly more on grain and fade as long as the street detail still reads clearly.
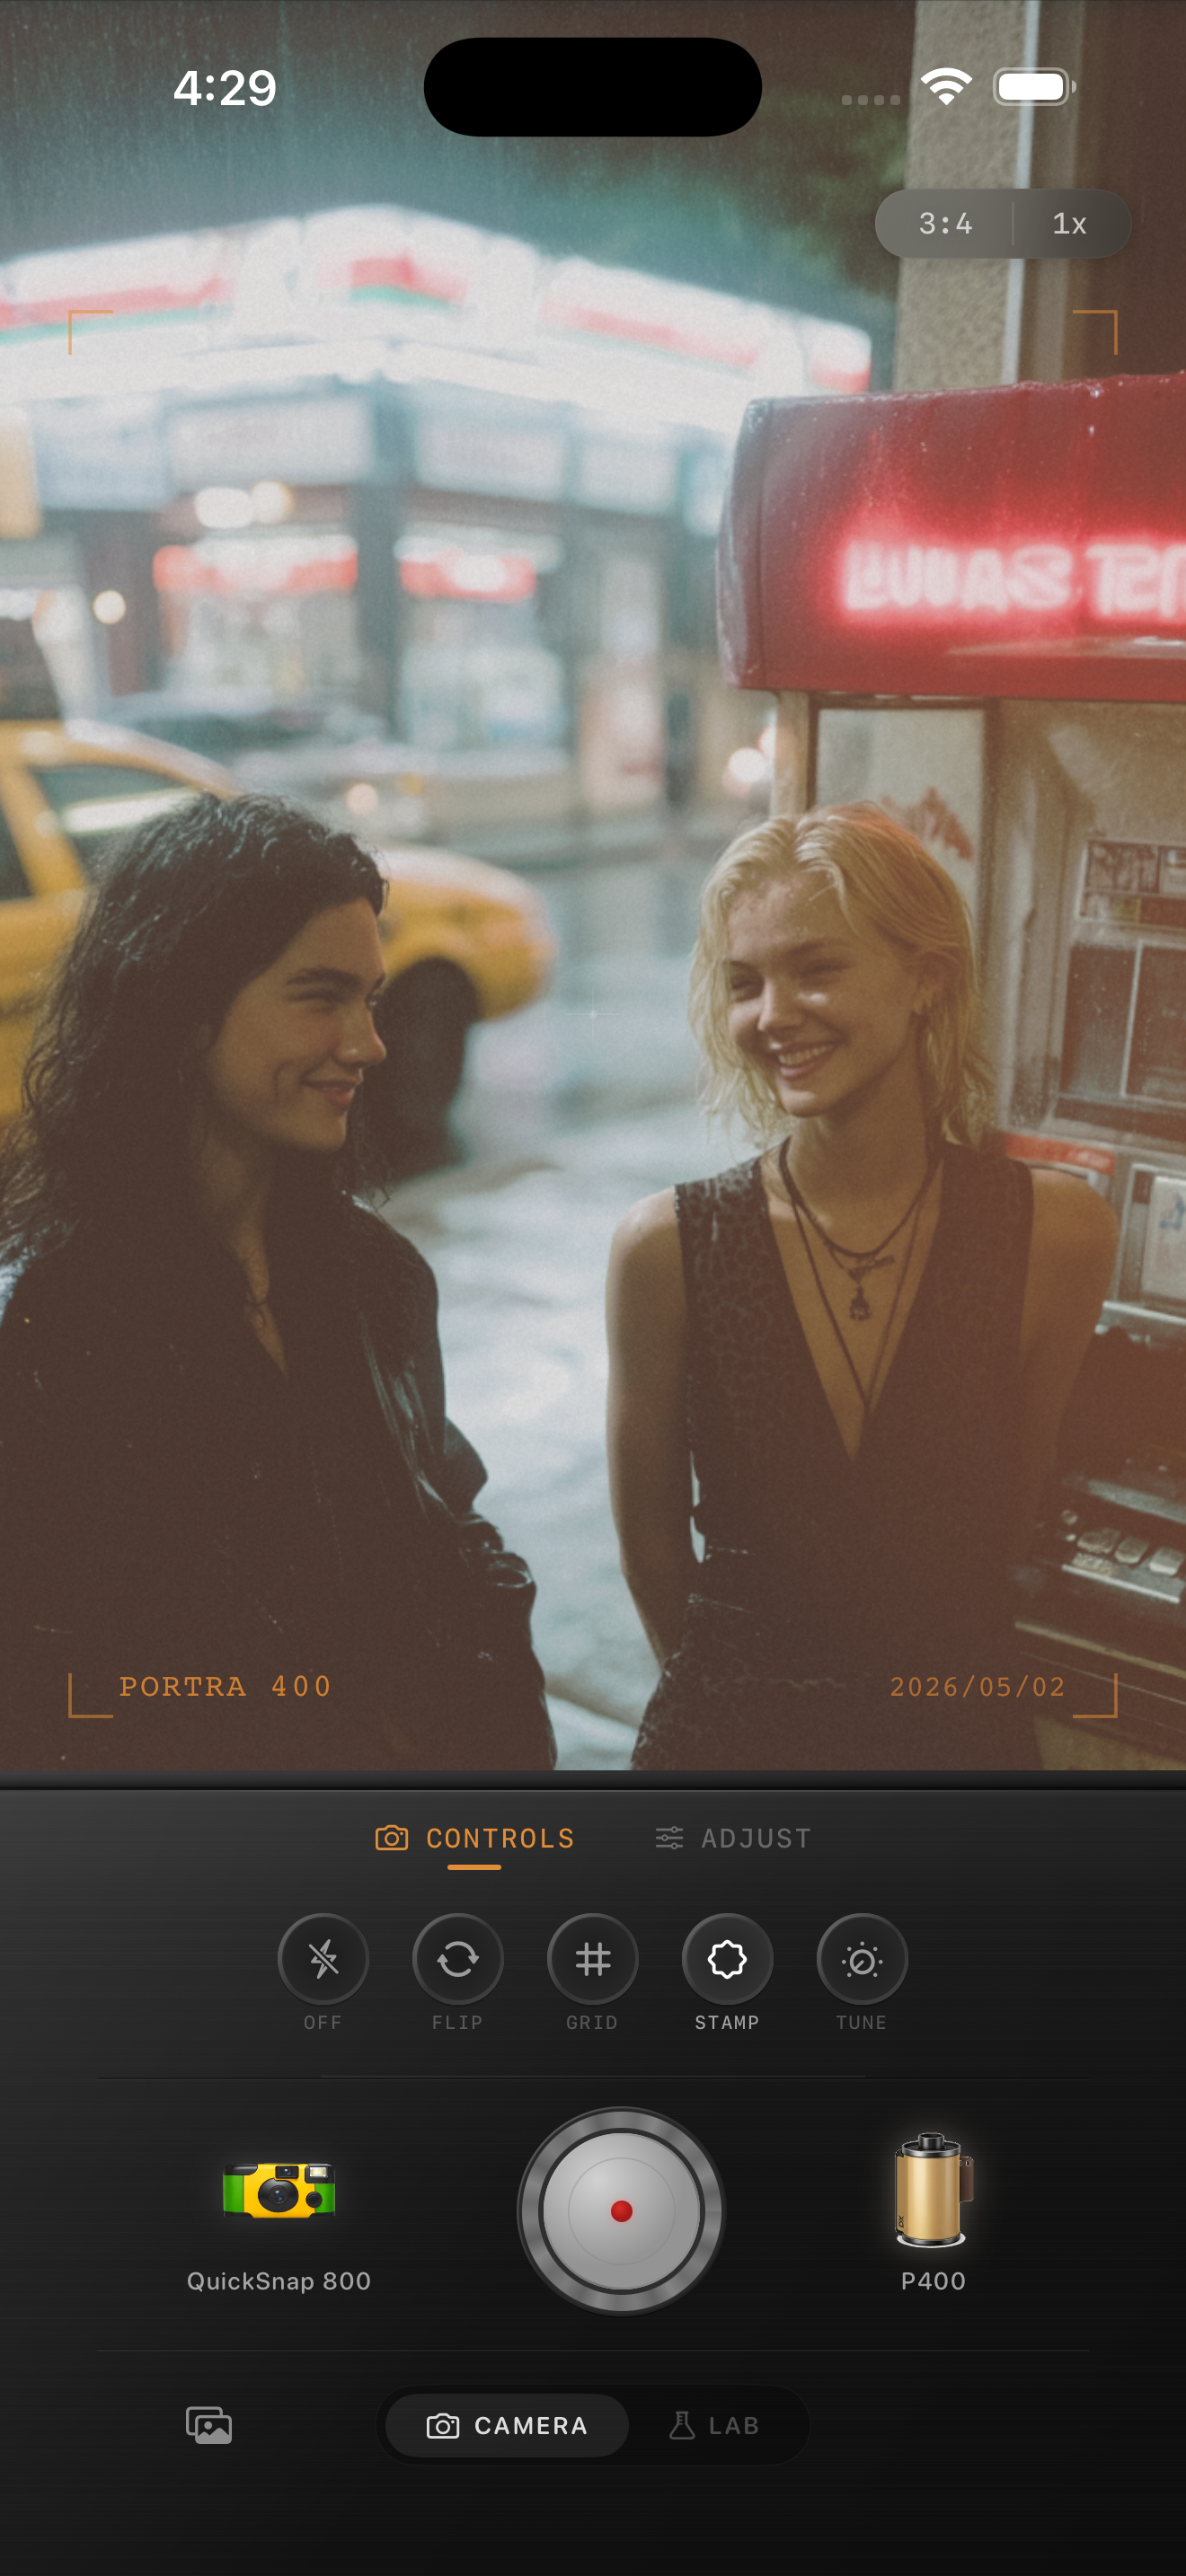
Protect skin tones and street neutrals from color cast problems
Twilight city photos often mix blue sky, green storefront light, yellow lamps, and pink neon in the same frame. If you push the film mood too aggressively, faces and sidewalks pick up ugly color casts that make the scene look edited rather than photographed.
Check skin, pavement, and white signage before you commit to the look. Those neutral areas tell you whether the edit still feels believable.
Use a moodier camera body only if the scene can carry it
Twilight streets can handle more texture than a bright landscape, but they still do better with controlled grain than with random roughness. A moodier 35mm-inspired body or a subtle disposable-inspired body can work, depending on whether the photo is more atmospheric or more party-like.
In Nostalgia Cam, choose the camera body that matches the energy of the street first, then adjust grain, warmth, fade, and vignette until the photo feels like an evening print or scan. If you want a familiar film-stock mood, treat it as inspiration rather than any official affiliation.
Keep twilight city photos moody and readable
Use Nostalgia Cam to balance neon color, softer shadows, and natural grain so iPhone evening street photos feel cinematic and film-like without turning murky.
FAQ
What grain level works for twilight city photos on iPhone?
A moderate amount is usually best. Around 24-36% adds texture without making neon signs and window lights smear together.
Why do twilight city edits turn muddy so easily?
Because mixed lighting already pushes the file hard. Too much warmth, heavy grain, or crushed shadows can remove separation between sky, street light, and subject detail.