
Editing guide
How to Edit iPhone Photos to Look Like Film in Flat Winter Light
A practical flat-winter-light film recipe for iPhone photos: cleaner snow, calmer skin tones, softer contrast, and enough grain to add memory without making cloudy winter scenes look dirty.
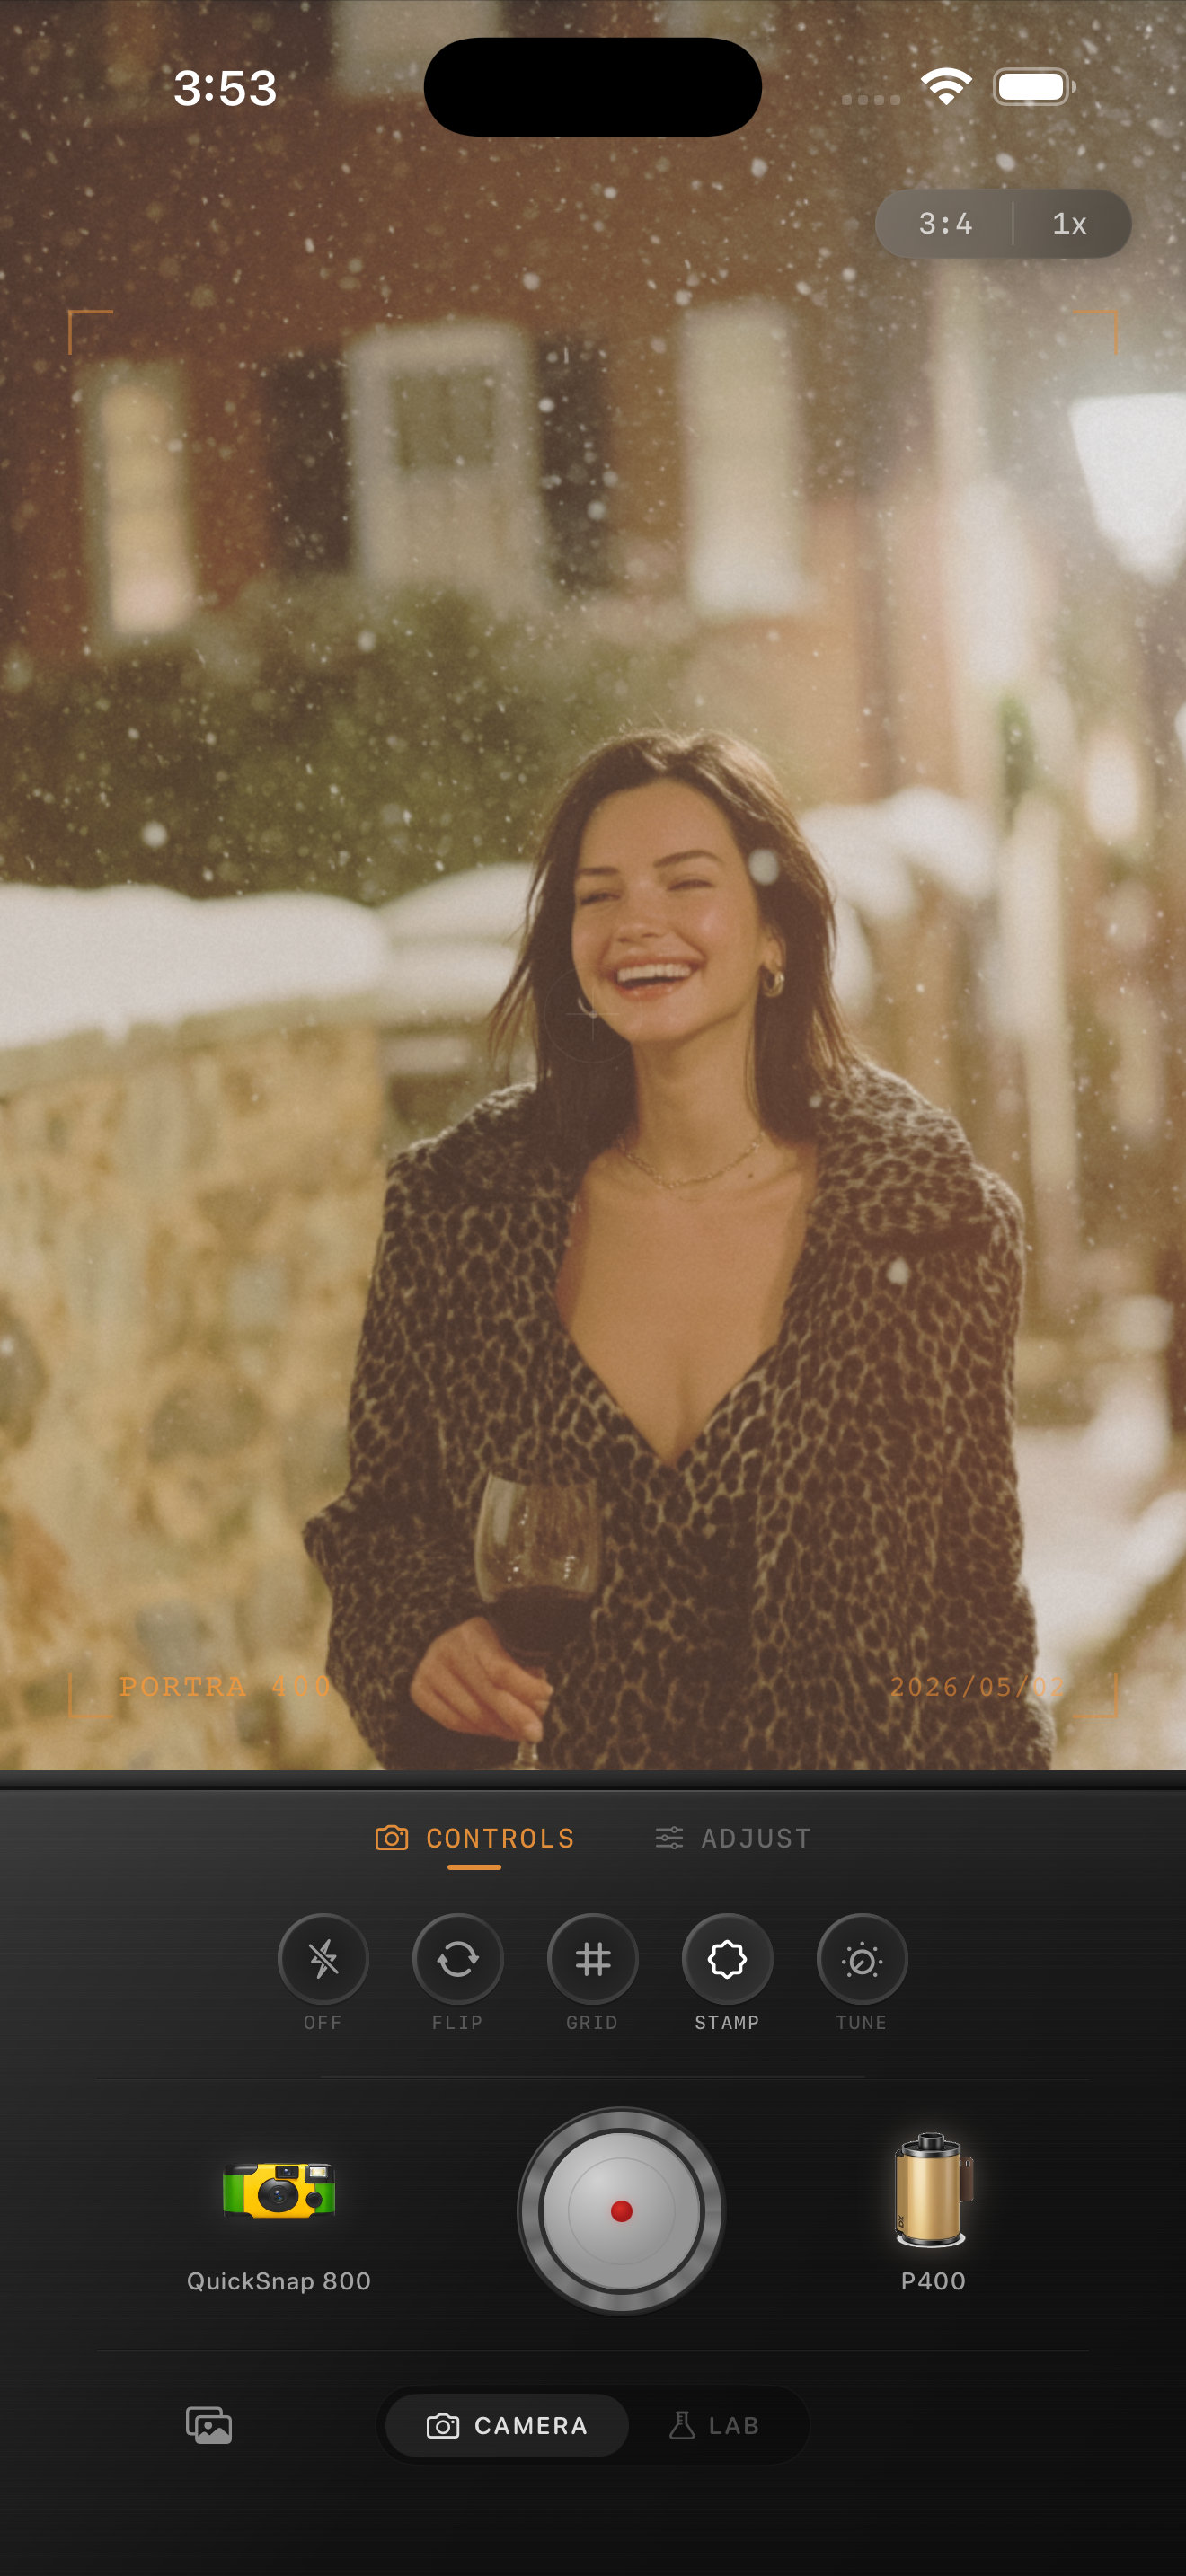
Flat winter light needs separation more than drama
Cloudy winter photos usually arrive with soft light, pale sidewalks, muted coats, and skin that can turn gray fast on an iPhone. The problem is not that the scene lacks atmosphere. The problem is that the file often treats everything with the same digital crispness.
A film-inspired edit should create gentle separation without pretending the day was golden hour. The goal is a believable winter print: soft contrast, clean snow, skin that still looks alive, and grain that adds texture without making the whole frame feel dusty.
- Keep snow and sky light, but not chalky.
- Warm faces before warming the whole frame.
- Use fine-to-medium grain instead of rough disposable texture.
- Let coats, brick, and pavement keep some tonal difference.
- Use vignette lightly because winter frames already feel enclosed.
A reliable settings baseline for cloudy winter scenes
Start around film intensity 72-86%, grain 20-32%, warmth +3 to +8, fade 4-8%, and vignette 2-6%. That range usually softens the digital edge and gives flat winter light a printed feeling without turning snow beige or skin orange.
If the frame includes brownstone brick, dark coats, or tree shadows, use those deeper tones to hold the photo together before adding more grain. Winter photos usually improve faster from tonal balance than from extra texture.
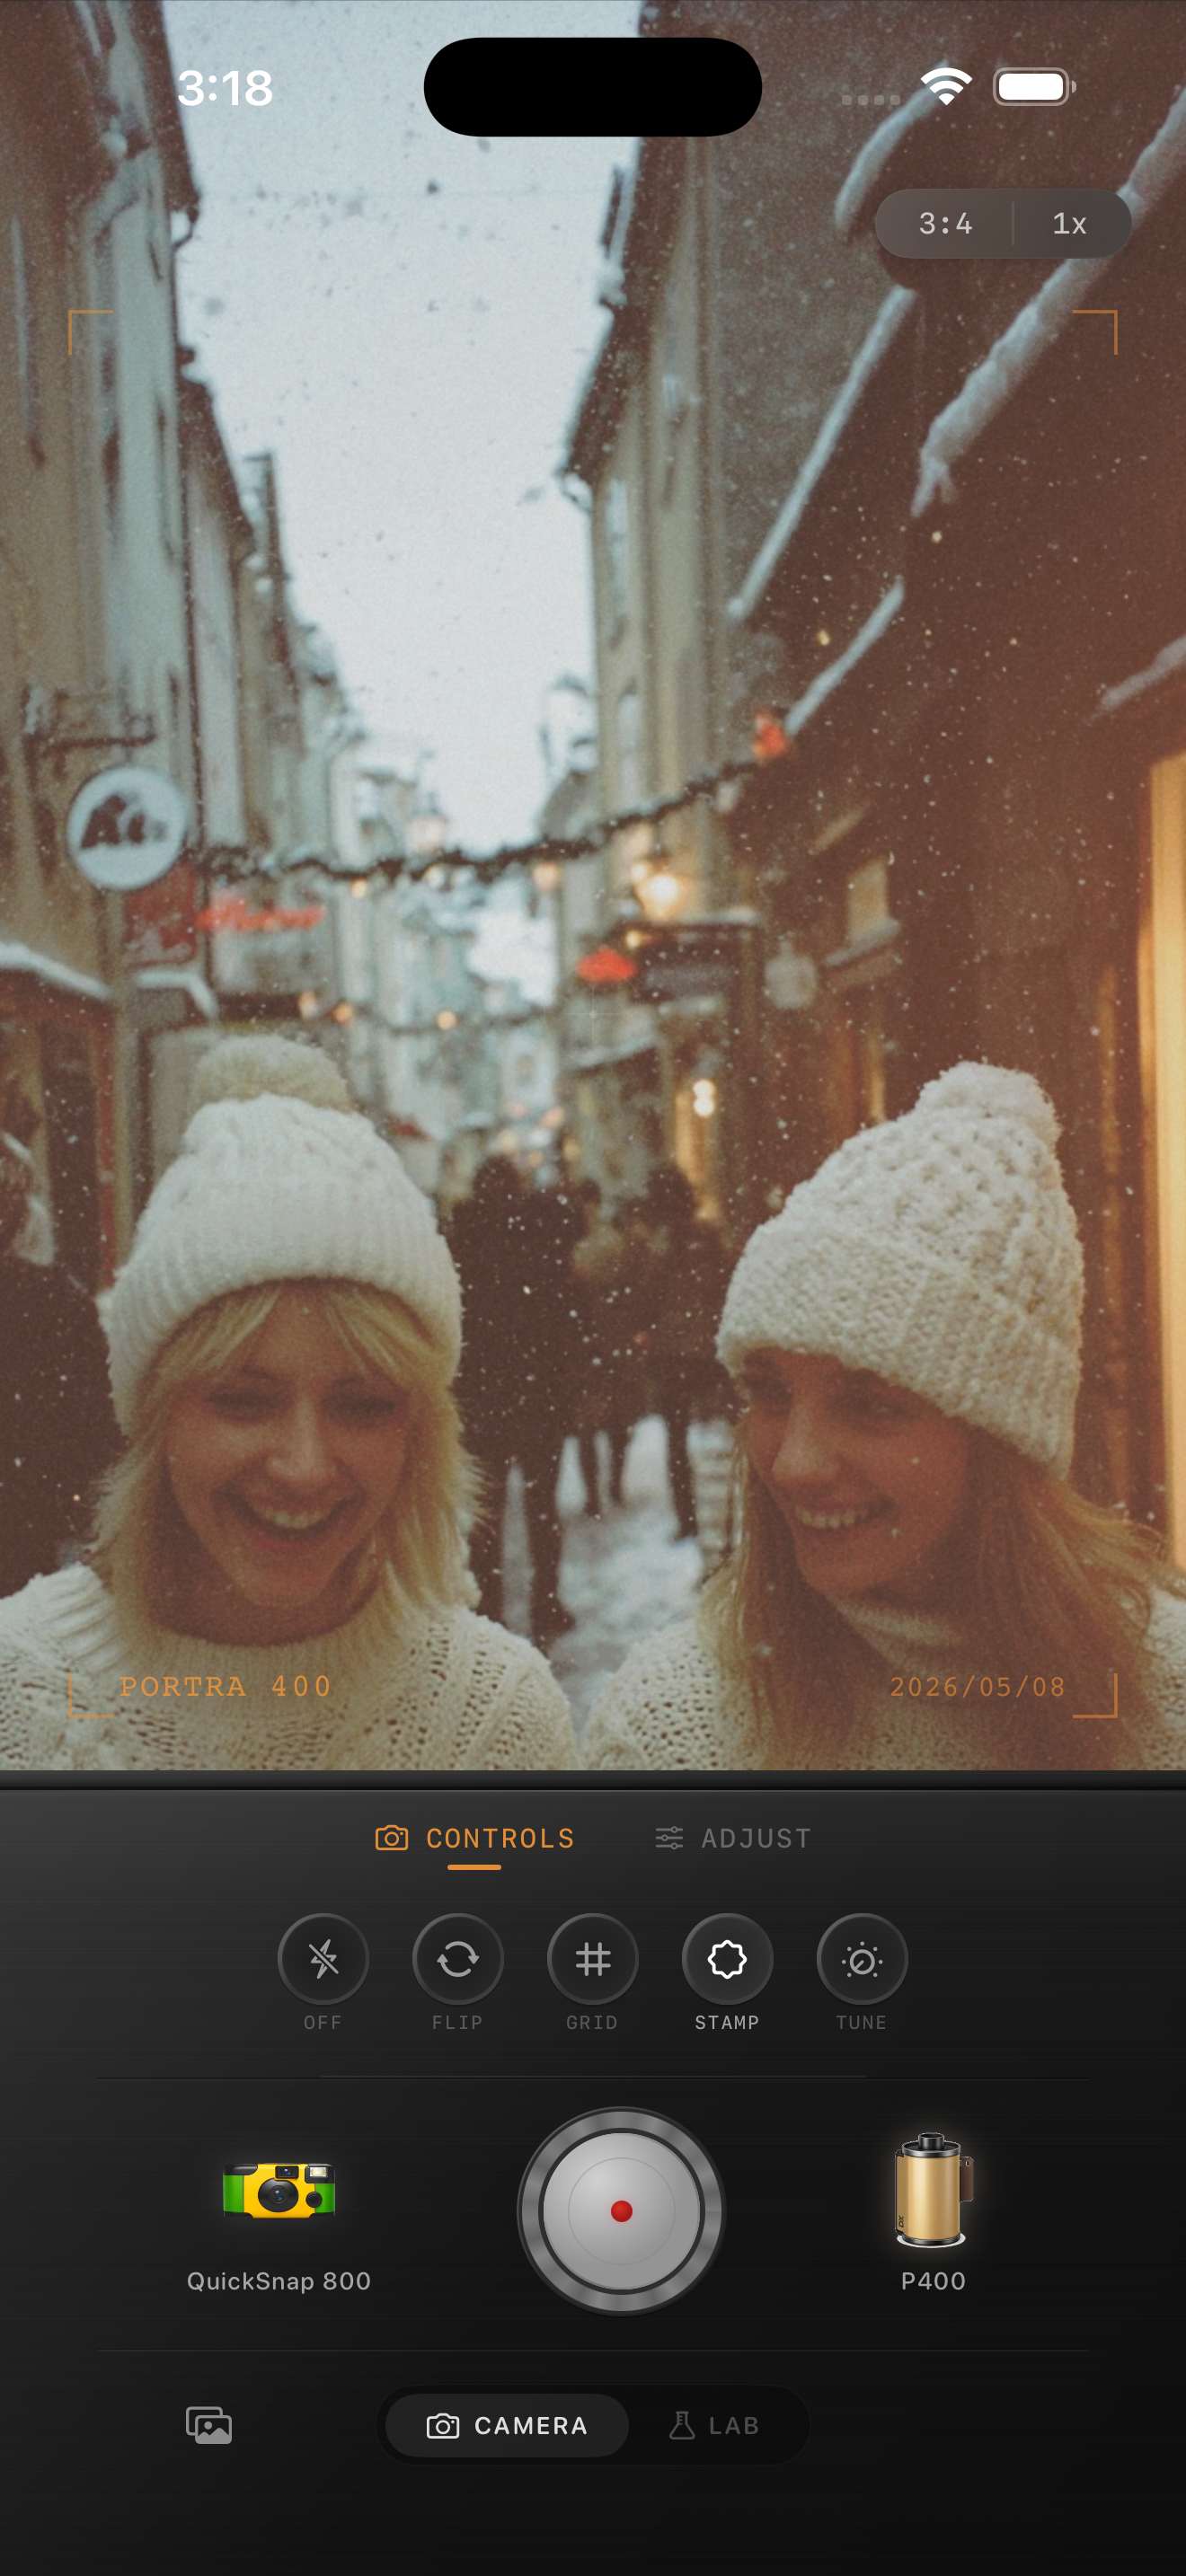
Judge the edit from skin, snow, and sidewalks
Those three anchors reveal most winter editing mistakes immediately. If skin still looks gray, the file needs a little more warmth or softer contrast. If snow looks yellow, the warmth has gone too far. If the sidewalk and coat shadows merge into one muddy block, reduce fade or vignette before touching grain again.
This sequence keeps the image believable. A good winter film edit should still look like the same overcast day, just less clinical and more like a memory.
Choose a calm camera mood
Flat winter light usually works best with a cleaner 35mm-inspired or compact-film body instead of a rough disposable look. The scene is already quiet, and too much damage or coarse grain often makes the image feel dirty instead of nostalgic.
In Nostalgia Cam, start with the calmer body first, then tune grain, warmth, fade, and vignette until the portrait or street scene feels like a small winter print you would keep in a stack of everyday memories.
Keep cloudy winter photos soft and believable
Use Nostalgia Cam to shoot or import winter photos, then balance camera body, grain, warmth, fade, and vignette so overcast sidewalks, coats, and faces feel calm, printed, and naturally film-inspired.
FAQ
Should flat winter photos be warmed up a lot to look like film?
Usually no. A small warmth boost helps skin, but pushing the whole image warm too quickly makes snow and sky look beige instead of naturally wintry.
Why do overcast winter edits get muddy on iPhone?
Because the scene already starts with low contrast. Too much fade, warmth, or heavy grain removes the small tonal differences that make coats, sidewalks, and faces stay readable.