
iPhone film look
How to Make iPhone Night Photos Look Like Film Without Muddy Shadows
A practical night-photo film recipe for iPhone: softer highlights, cleaner blacks, controlled grain, and enough color to keep city scenes cinematic without turning shadows into mush.
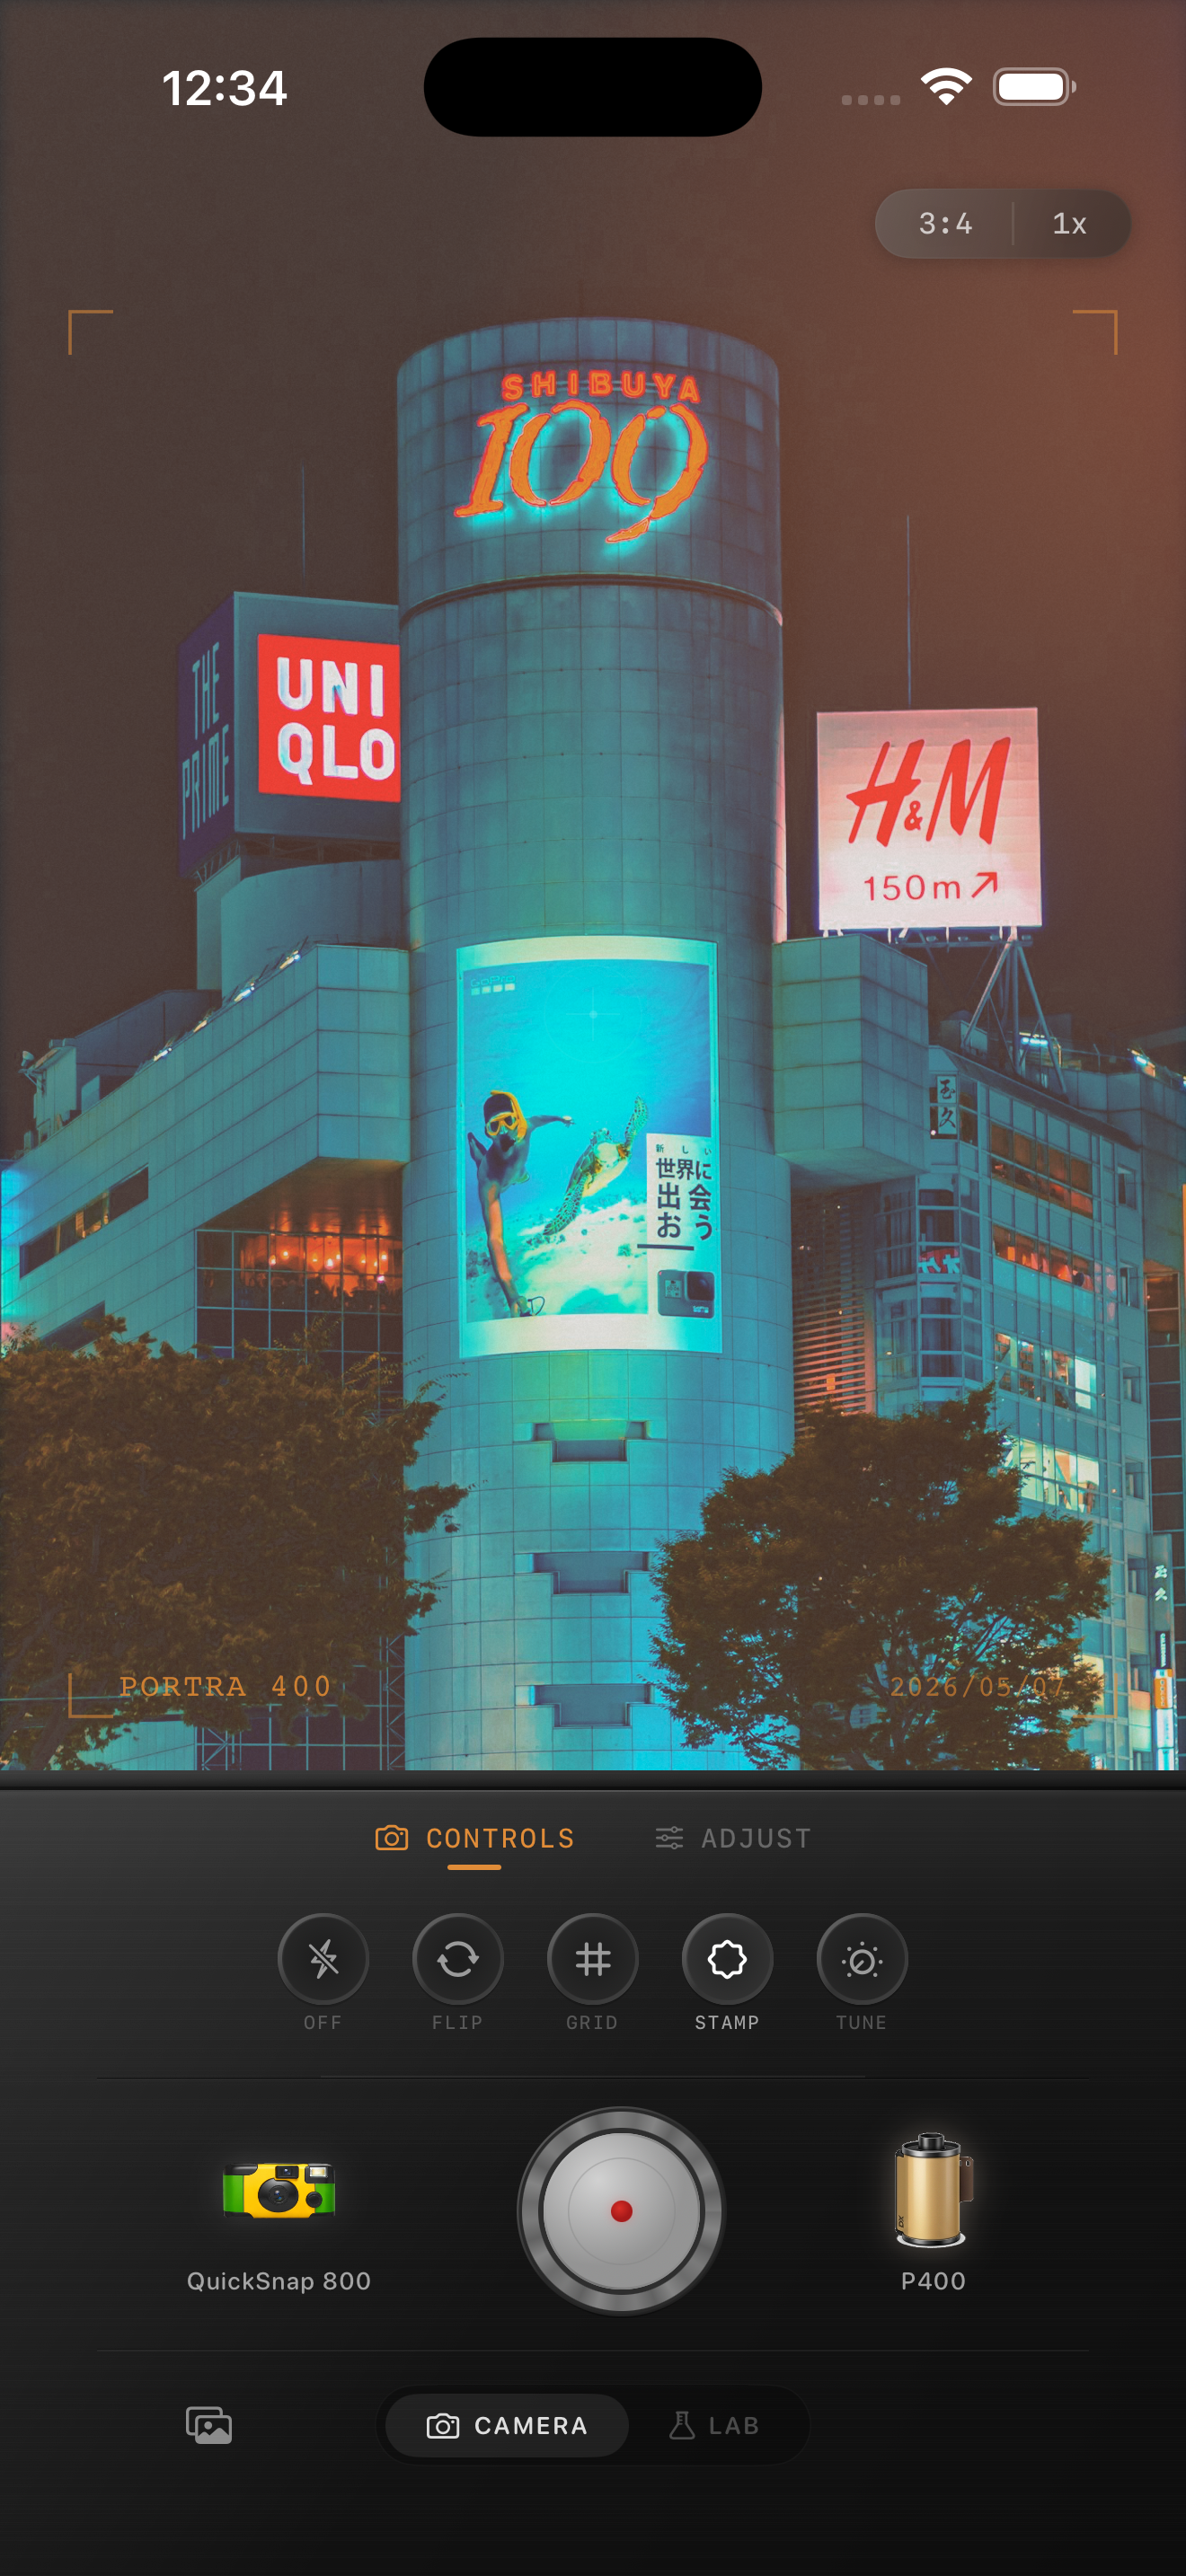
Night photos fail when every dark area gets the same treatment
Most muddy night edits happen because people try to force atmosphere by raising grain, fade, and warmth all at once. On an iPhone file, that usually makes asphalt, hair, jackets, windows, and sky collapse into one brown-gray mass.
A film-inspired night photo should still have hierarchy. Signs, lamps, faces, and reflections need to separate from the darker parts of the frame. The goal is cinematic softness, not flat darkness.
- Protect lamps, signs, and reflections before adding more grain.
- Keep blacks soft, but not lifted so far that the frame goes milky.
- Use moderate grain with character instead of heavy noise.
- Warm skin and storefront light selectively rather than tinting everything.
- Let some parts of the frame stay truly dark so the scene keeps depth.
A dependable settings baseline for cleaner night shadows
Start around film intensity 76-90%, grain 26-38%, warmth +2 to +8, fade 2-6%, and vignette 4-9%. That range usually takes the digital edge off city night photos while keeping enough shadow separation for the scene to stay legible.
If the frame already has neon, fluorescent light, or direct flash, lower warmth before lowering film intensity. Night photos often get muddy because bright colored light was already doing the mood work and the edit piled another color cast on top of it.
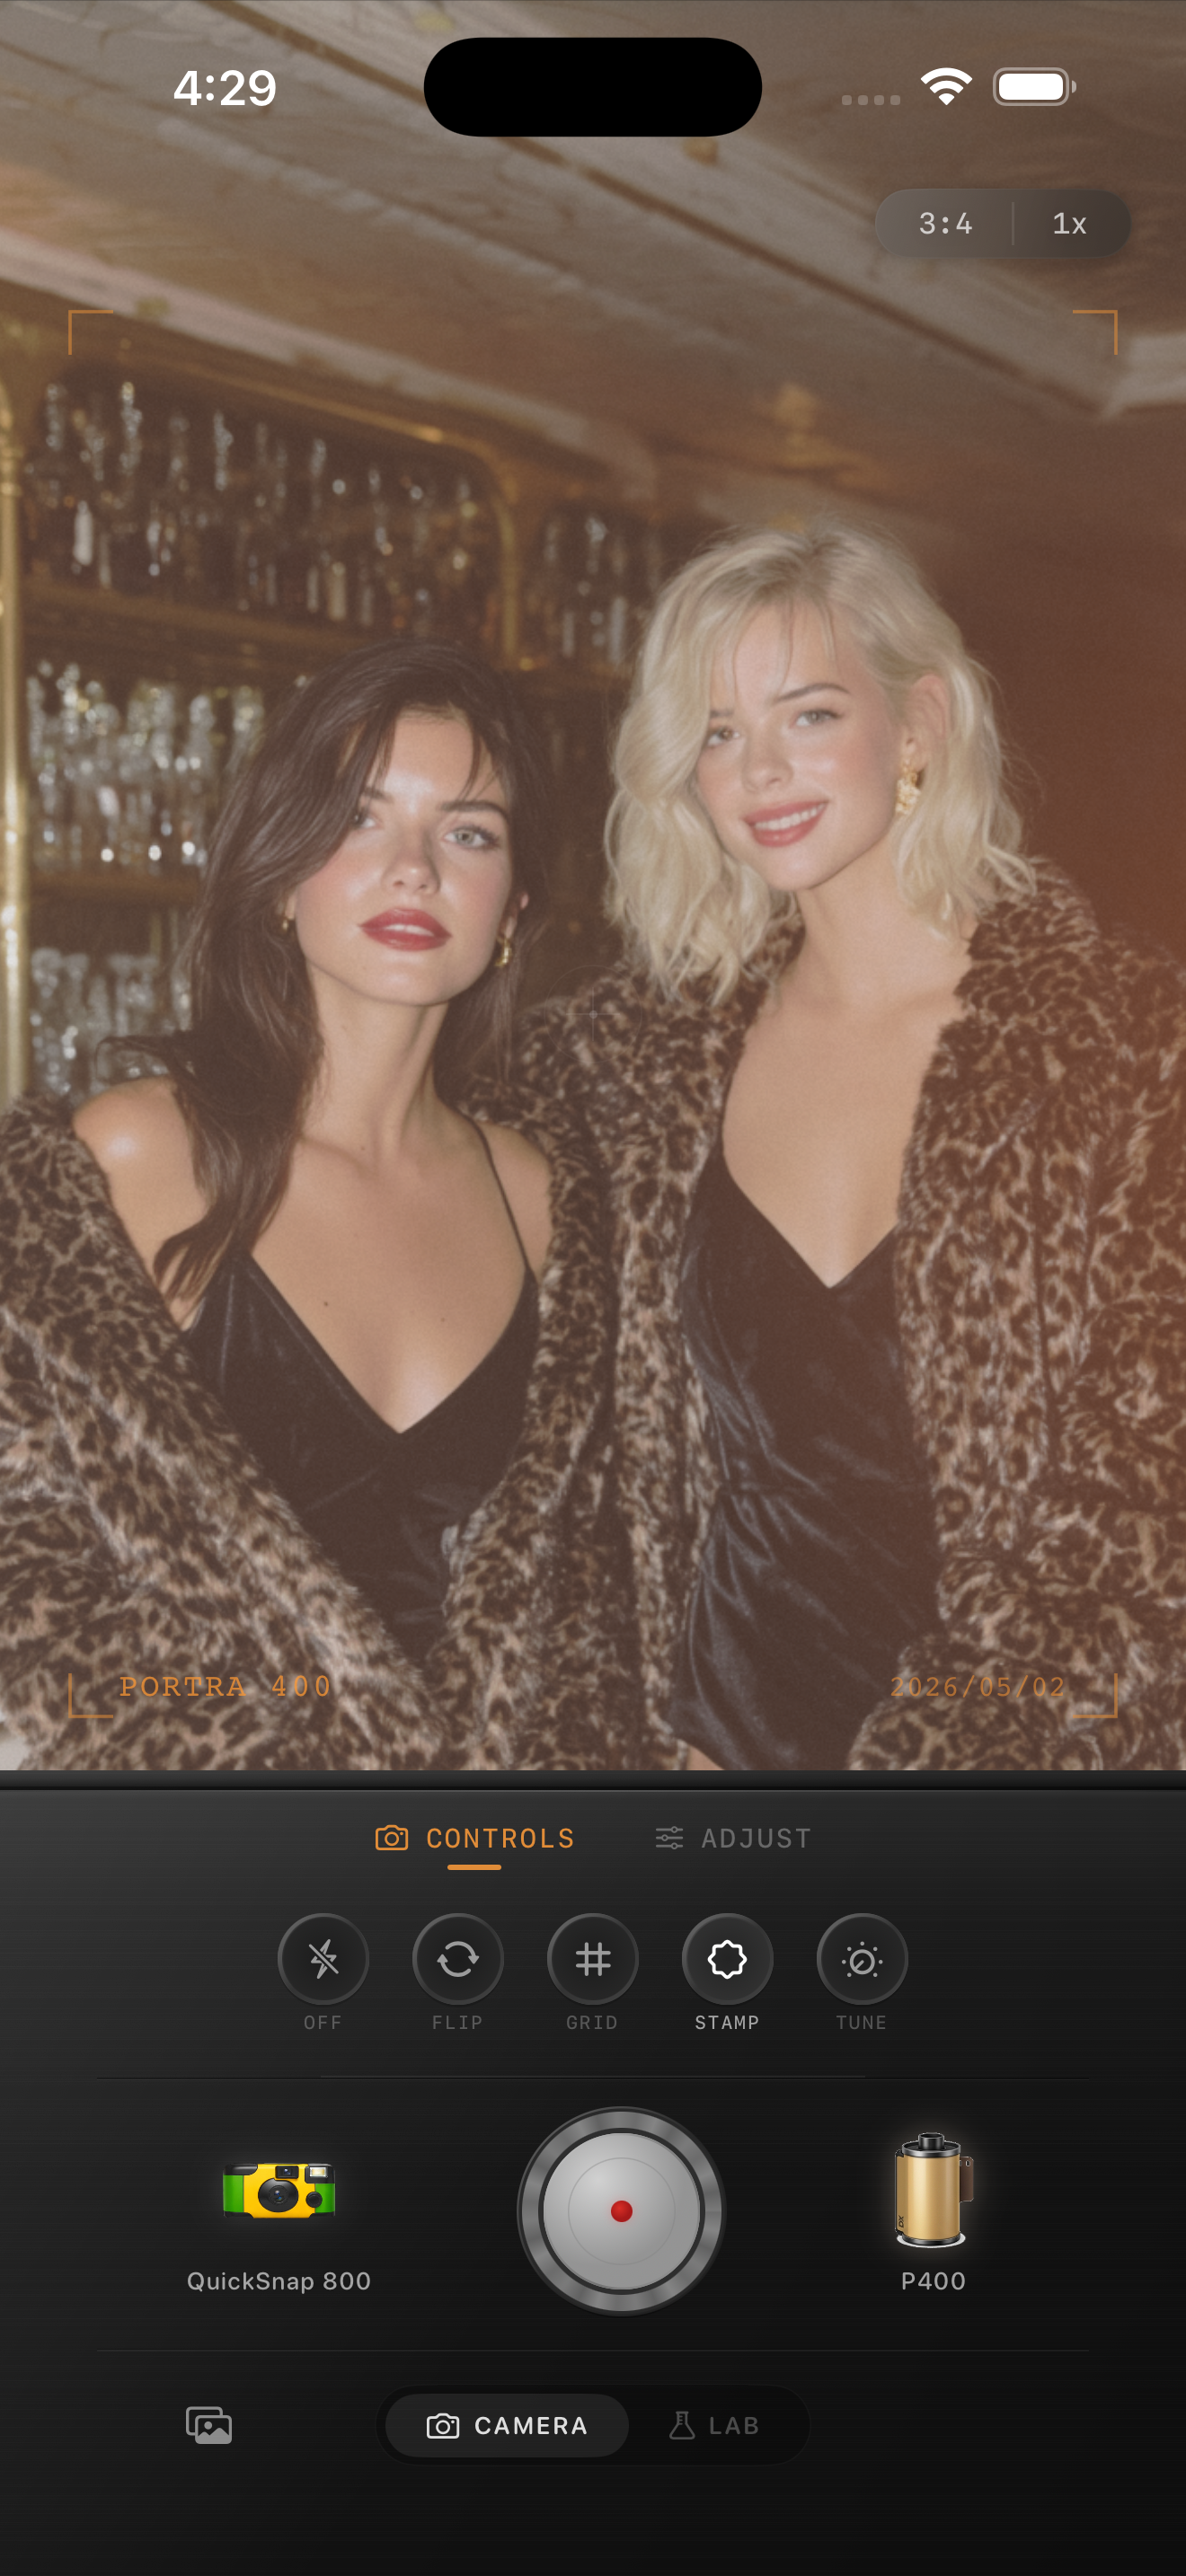
Check lettering, skin, and pavement before you call it finished
Small text on a sign, skin in mixed light, and pavement or wall texture are good stress tests for a night film edit. If lettering disappears, the grain is too aggressive. If skin looks orange, the warmth is too broad. If pavement turns to paste, shadows have been lifted or blurred too much.
These checks matter more than whether the image looks moody at full size. A believable film-style night photo should still read clearly when you zoom out to feed size.
Match the camera body to the kind of night
A cleaner 35mm-inspired body works best for city walks, travel nights, and scenes where signs or architecture matter. A rougher point-and-shoot or disposable-inspired body can work for louder bar snapshots and direct-flash moments, but it should not erase all the shadow structure underneath.
In Nostalgia Cam, choose the body first, then tune grain, warmth, fade, and vignette until the photo feels like a developed night print instead of a sharpened phone file with noise pasted on top.
Keep iPhone night shots cinematic, not muddy
Use Nostalgia Cam to pair night photos with film-style camera bodies, natural grain, restrained warmth, and softer contrast so streets, signs, and shadows stay readable while the image feels unmistakably analog.
FAQ
Why do film-style night edits turn muddy so quickly?
Because low light already compresses detail. Too much grain, warmth, and fade at the same time removes what little separation the shadows still had.
Should iPhone night photos have stronger grain than daylight photos?
Usually a little stronger, yes, but not dramatically so. Moderate grain helps break up the digital smoothness, while heavy grain often destroys lettering, skin, and shadow detail.