
Editing guide
How to Edit iPhone New Year’s Eve Photos to Look Like Film Without Orange Skin
A practical iPhone film-editing guide for New Year’s Eve: keep flash-lit faces natural, preserve gold details and midnight color, and add texture without turning the room orange.
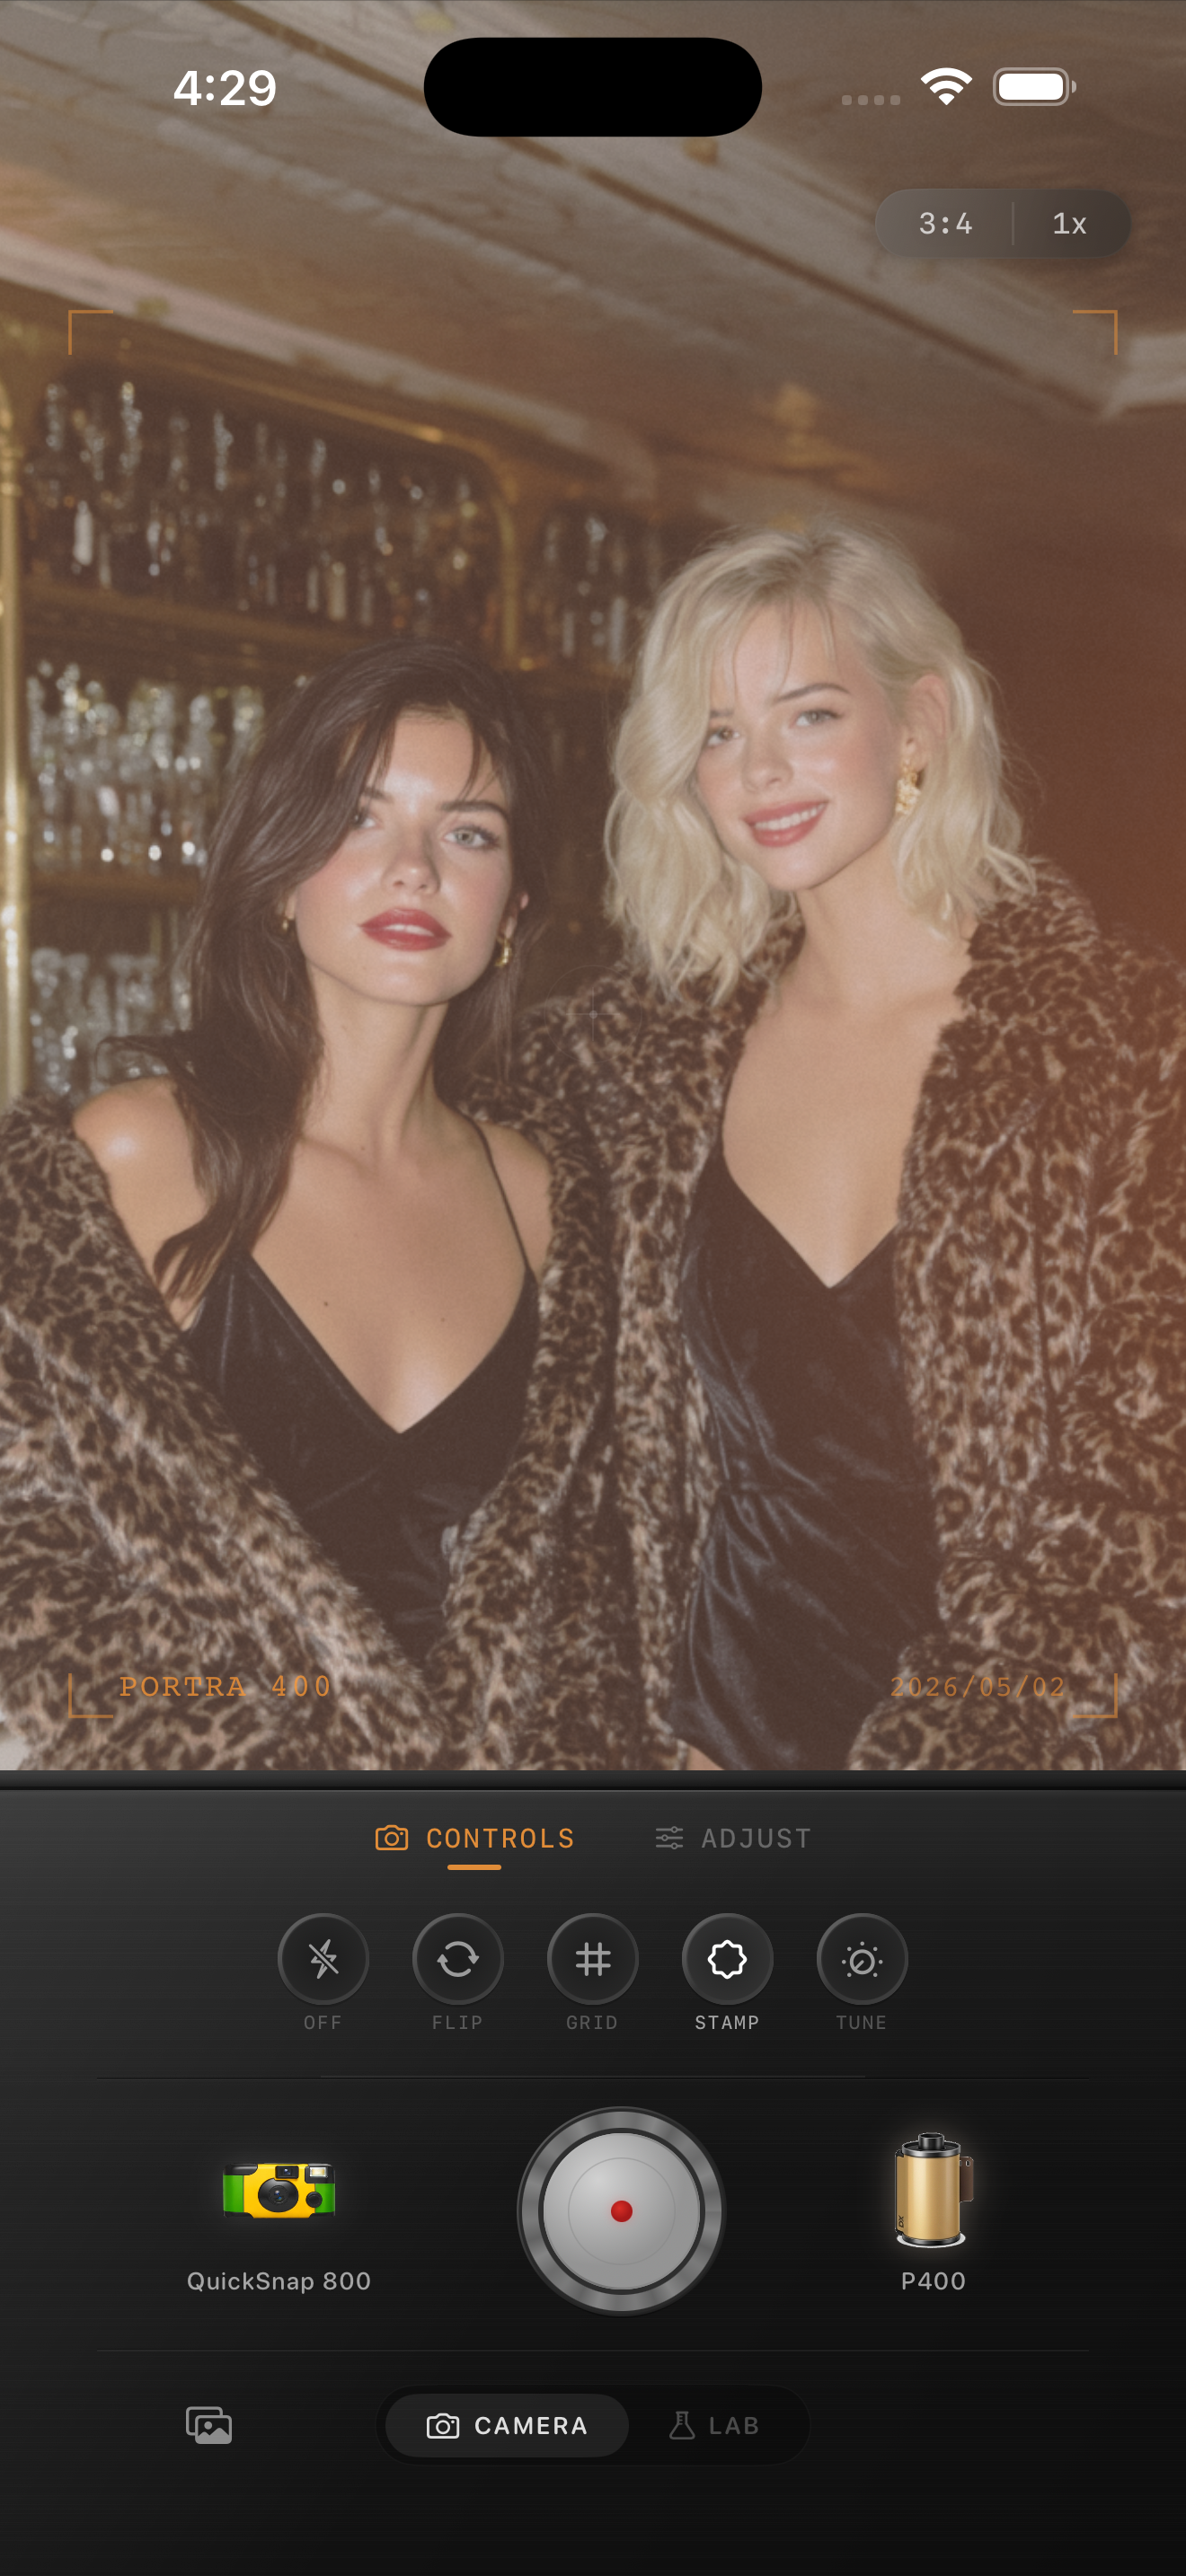
Choose the frame where the celebration still has a clear subject
New Year’s Eve photos often combine a direct flash or phone screen with warm lamps, colored bulbs, reflective glasses, and a dark room. Before editing, compare nearby frames at normal phone size and choose one where a face or gesture is readable, the brightest details still have shape, and the room gives the moment some context. A film-inspired finish can soften an iPhone capture, but it cannot rebuild a face lost to motion blur or a flash reflection that has erased the expression.
Keep the original nearby while you work. The goal is not to make every gold decoration neutral or remove the night from the room; it is to keep the people, light, and small celebratory details feeling like they happened together. The image above is an existing gathering style reference, not a New Year’s Eve before-and-after.
Use a face, a pale detail, and one warm highlight as checks
Orange skin usually appears when a broad warm film treatment is layered over tungsten bulbs, candlelight, gold decorations, or a warm flash bounce. After each larger adjustment, look at a face, a pale detail such as a shirt, napkin, or wall, and one warm highlight on a glass or decoration. If the face becomes coppery and the pale detail turns beige while the highlight loses its glow, lower the overall warmth or film intensity before adding grain.
Do not cool the entire image just to rescue skin. The useful warmth belongs near the lamps, candles, champagne-colored details, and reflections. Leaving cooler shadows or window light a little cooler helps the warm areas feel like sources of light rather than an orange layer across the frame.
- Check faces in both the flash-lit and ambient-light parts of the room.
- Use a white shirt, napkin, or wall to catch a broad orange cast.
- Keep glass reflections and metallic details bright enough to feel festive without turning white.
- Protect dark jackets and the background before lifting every shadow with fade.
Try a restrained midnight-party film baseline
Start around film intensity 40–56%, grain 12–24%, warmth -3 to +4, fade 1–4%, and vignette 2–7%. Begin near the lower end when the room has amber bulbs, gold balloons, or several warm light sources. These settings can take the polished edge off an iPhone photo while keeping faces, glass, and darker corners believable.
A cleaner compact-film or 35mm-inspired camera body is usually safer than a heavily distressed disposable effect. New Year’s Eve images already have sparkle, motion, and contrast; a quieter base lets the countdown moment lead before the film character arrives.
Add texture after skin and reflections feel settled
Party photos can already contain low-light noise in dark walls, hair, and corners. Add grain only after faces, highlights, and the large color decisions look calm. Check a smooth cheek, a dark jacket, and a reflective glass together. If skin turns sandy or shadows become gray confetti before the photo feels more tactile, use less texture.
Keep fade modest as well. A little can soften hard phone contrast, but too much removes the dark space that makes a flash pop or a small light sparkle. Save two gentle versions and choose the one where the people and the moment read first, then the room, then the film finish.
Review the finished edit at sharing size
View the saved version away from the sliders at the size you will actually send or post. Ideally, faces still look like people, metallic or glass details feel bright rather than blown out, and the background remains recognizably nighttime. If orange skin, chalky flash, or gritty shadows are the first impression, return to the lower-intensity version.
In the Nostalgia Cam Lab, compare camera bodies and film looks at moderate intensity before refining warmth, grain, fade, and vignette. That order makes it easier to keep a whole New Year’s Eve set cohesive when one image uses flash, another is near a lamp, and another is lit mostly by colored lights.
Keep the glow and the people recognizable
Import your New Year’s Eve photos into the Nostalgia Cam Lab, compare camera bodies and film looks at moderate intensity, then refine warmth, grain, fade, and vignette. Check a face, a pale neutral detail, and one warm reflection before saving the version that feels most like midnight.
FAQ
Why does skin look orange in my iPhone New Year’s Eve photos after a film edit?
Warm bulbs, gold decorations, flash bounce, and a broad warmth adjustment can stack quickly. Compare a face with a pale neutral detail and one warm highlight, then reduce the broad treatment before adding grain or fade.
Should I cool down every New Year’s Eve photo?
No. Warm lights and gold details are part of the celebration. Keep their glow near the sources and reflections, but use a gentler overall treatment when faces and pale details start to look orange.
How much grain works for New Year’s Eve party photos on iPhone?
Start modestly after faces, bright reflections, and dark areas look balanced. If a smooth cheek looks sandy or the background becomes gritty before the image feels more like a print, reduce the grain.