
Editing guide
How to Edit iPhone Christmas Tree Photos to Look Like Film Without Green Casts
A practical iPhone film-editing guide for Christmas tree photos: keep ornaments and lights clear, faces natural, and green branches from tinting the whole image.
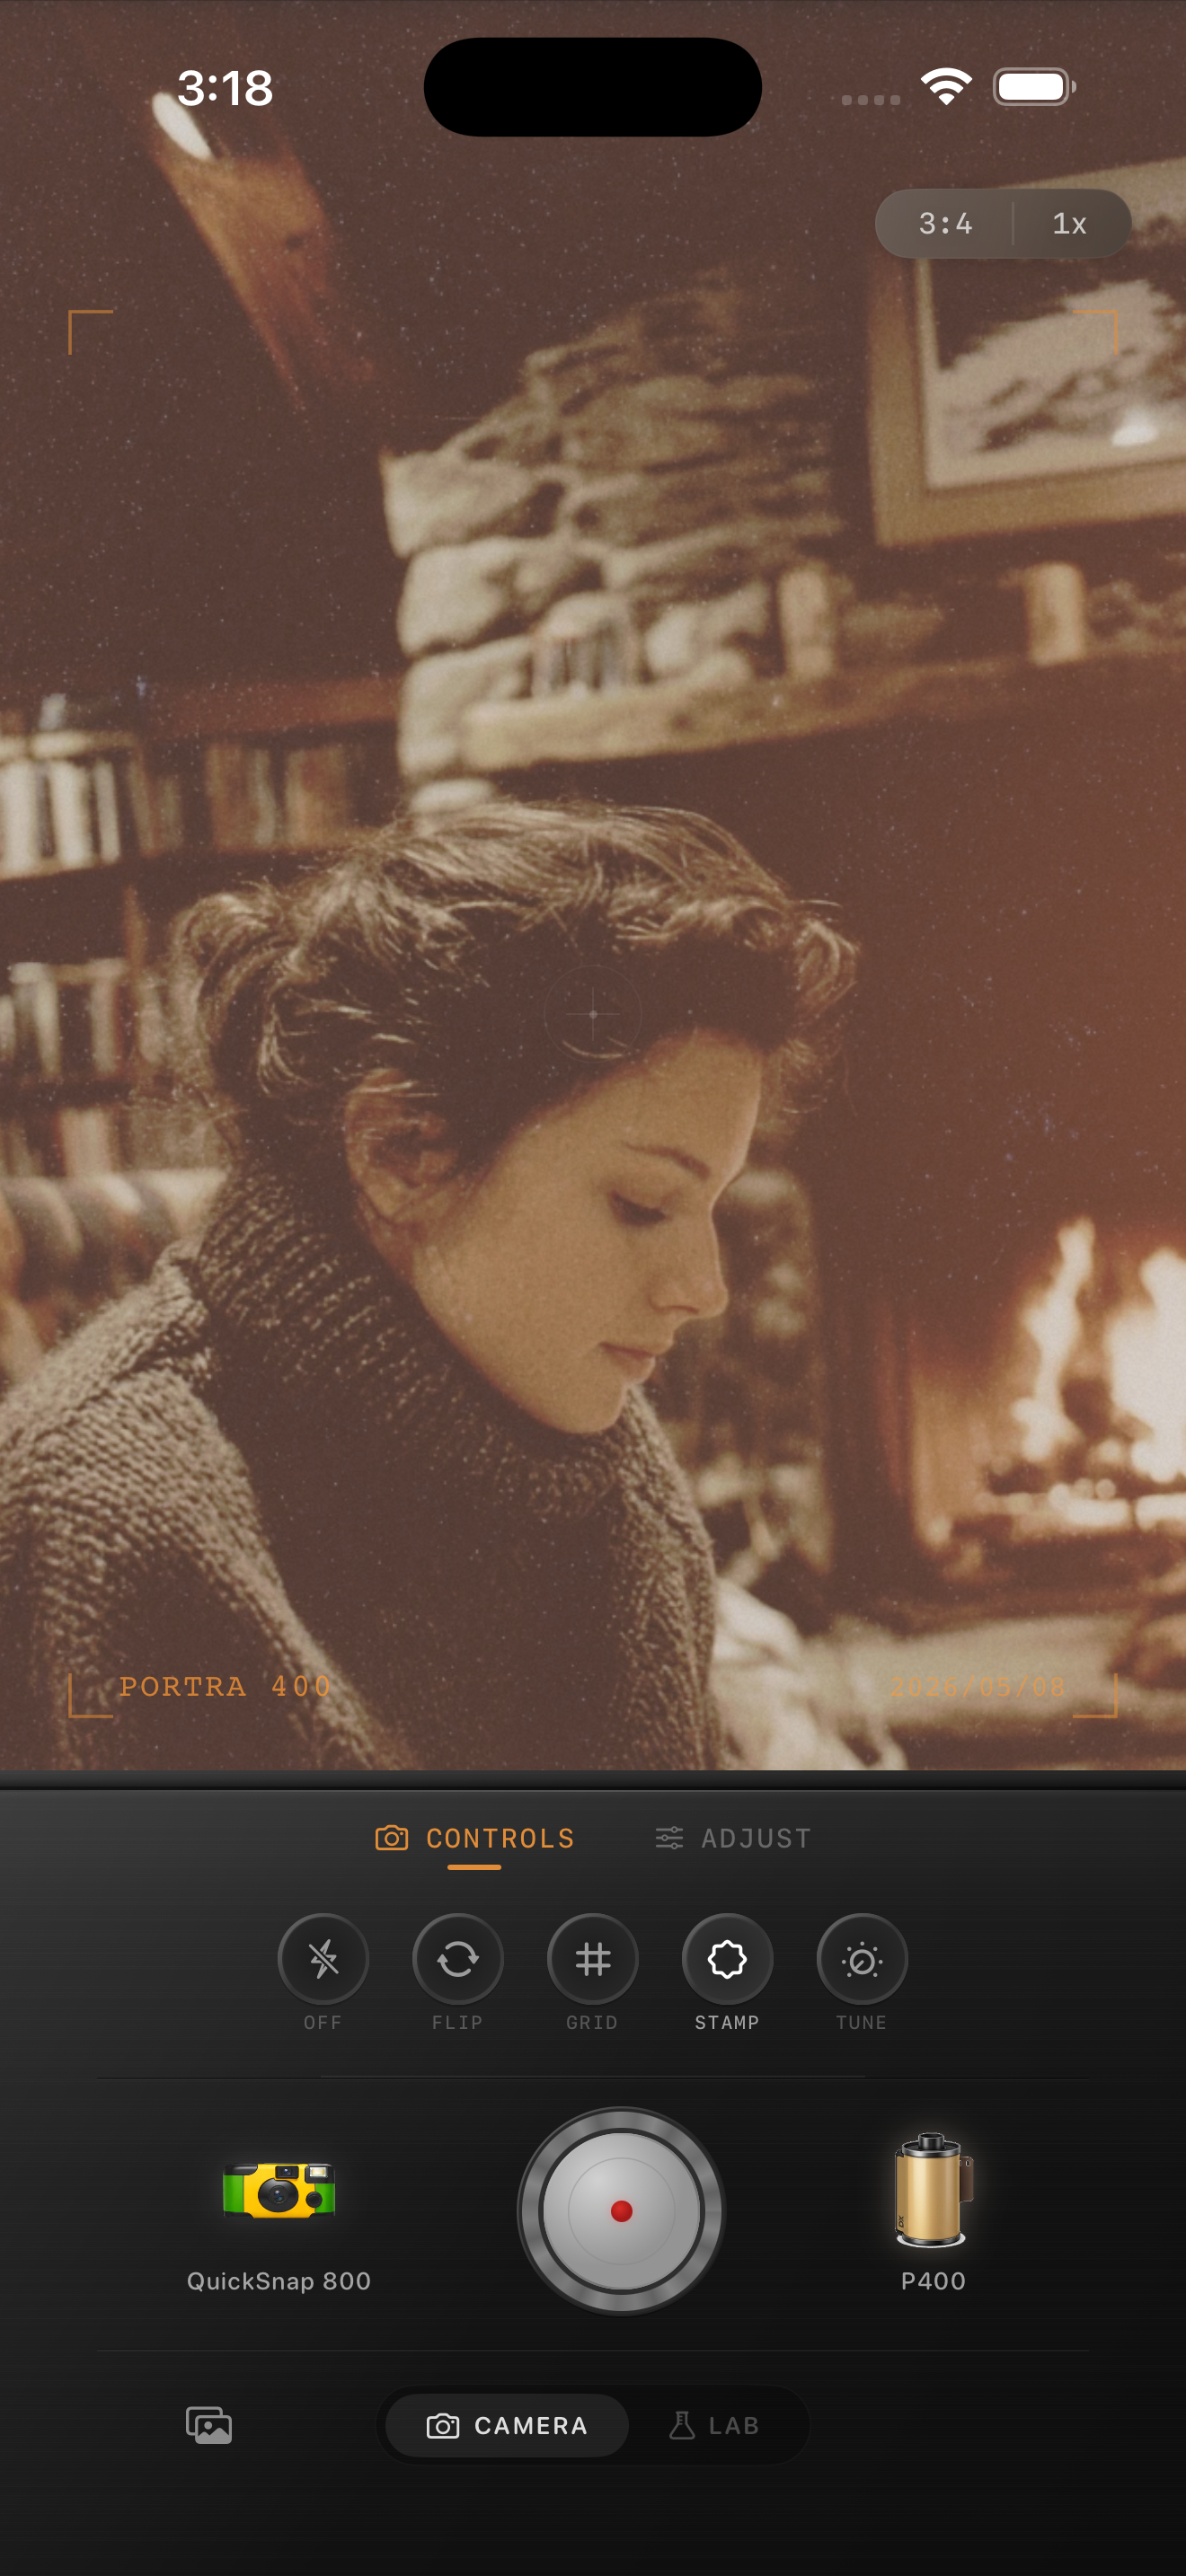
Start with a frame where the ornaments and people are both readable
Christmas tree photos are harder than they look: small lights sit beside dark green needles, shiny ornaments reflect several colors, and a face near the tree can pick up green or amber light. Before editing, compare nearby frames at normal phone size and choose one where the lights have shape, the subject is readable, and the branches still have detail. A film-inspired finish can soften an iPhone image, but it cannot recover a face lost in motion blur or an ornament blown into a white spot.
Keep the original close while you work. The goal is not to make the tree gray or remove every warm bulb; it is to keep the tree, lights, ornaments, and people looking like they belonged in the same room. The image above is an existing indoor style reference, not a Christmas-tree before-and-after.
Check skin, a pale ornament, and the deepest green together
Green casts usually happen when the tree fills the frame and a broad cool or greenish treatment is added on top. After each larger adjustment, revisit a face, a pale ornament or white gift bag, and a shadowed patch of branches. If skin starts to look gray-green while the pale detail turns minty, reduce the broad color treatment or film intensity before adding grain.
Do not flatten the tree into one dark mass to fix a cast. The useful green belongs in the needles and reflected ornament detail. Keeping that color contained makes warm bulbs and natural faces easier to recognize.
- Use a face to catch unwanted green or amber spill.
- Use a white ornament, ribbon, or gift bag as a neutral reference.
- Keep individual lights visible instead of lifting every shadow with fade.
- Check that red ornaments stay red rather than turning muddy brown.
Try a gentle tree-light film baseline
Start around film intensity 38–54%, grain 10–22%, warmth -2 to +4, fade 1–4%, and vignette 2–7%. Start lower when the tree is very close to the subject or uses strongly colored LEDs. These settings can take the sharp digital edge off a phone photo without making the green branches, skin, or bright ornaments compete.
A cleaner compact-film or 35mm-inspired camera body is usually safer than a heavily distressed disposable effect. A decorated tree already has texture, sparkle, and visual noise; a quieter base lets the moment lead before the film character arrives.
Add grain after the color and lights feel settled
Indoor tree photos often already contain low-light noise, especially in dark needles and corners of the room. Add grain only after faces, greens, and bulbs look balanced. Check a smooth cheek, a dark branch, and the space around a light together. If skin turns sandy or the branches become gray confetti before the photo feels more tactile, use less texture.
Keep fade modest, too. A little can soften hard phone contrast, but too much takes away the deep shadow that gives tree lights their glow. Save two gentle versions and choose the one where the person or celebration reads first, then the tree, then the film finish.
Keep the tree green and the people recognizable
Import your Christmas tree photos into the Nostalgia Cam Lab, compare camera bodies and film looks at moderate intensity, then refine warmth, grain, fade, and vignette. Check a face, a pale ornament, and a dark branch before saving the version that feels most like the room.
FAQ
Why do my iPhone Christmas tree photos look green after a film edit?
Tree needles and colored LEDs can reflect onto faces, and a broad cool or greenish adjustment can amplify that spill. Compare a face with a pale ornament and a dark branch, then reduce the broad treatment before adding grain or fade.
Should I remove all green from a Christmas tree photo?
No. The tree should still look green. The aim is to keep that color in the needles and ornaments instead of letting it tint faces, white details, and the rest of the room.
How much grain works for Christmas tree photos on iPhone?
Start modestly after faces, ornaments, and lights look balanced. If a smooth cheek looks sandy or the dark branches turn gritty before the image feels more like a print, reduce the grain.