
Editing guide
How to Edit iPhone Haunted Hayride Photos to Look Like Film Without Muddy Red Lights
A practical iPhone film-editing guide for haunted hayride photos: preserve faces, dark scenery, straw texture, and red attraction lights without turning the whole frame brown or murky.
Start with a frame that has one clear subject and one clear light source
Haunted hayride photos often mix a moving wagon, a phone camera’s low-light processing, red attraction lights, dark trees, and textured straw in one quick frame. Before applying a film look, compare nearby shots at normal phone size and choose one where a face, costume, or wagon detail is already readable. A film-inspired finish can make a night photo feel more tactile, but it cannot rebuild detail that motion blur or deep shadow removed.
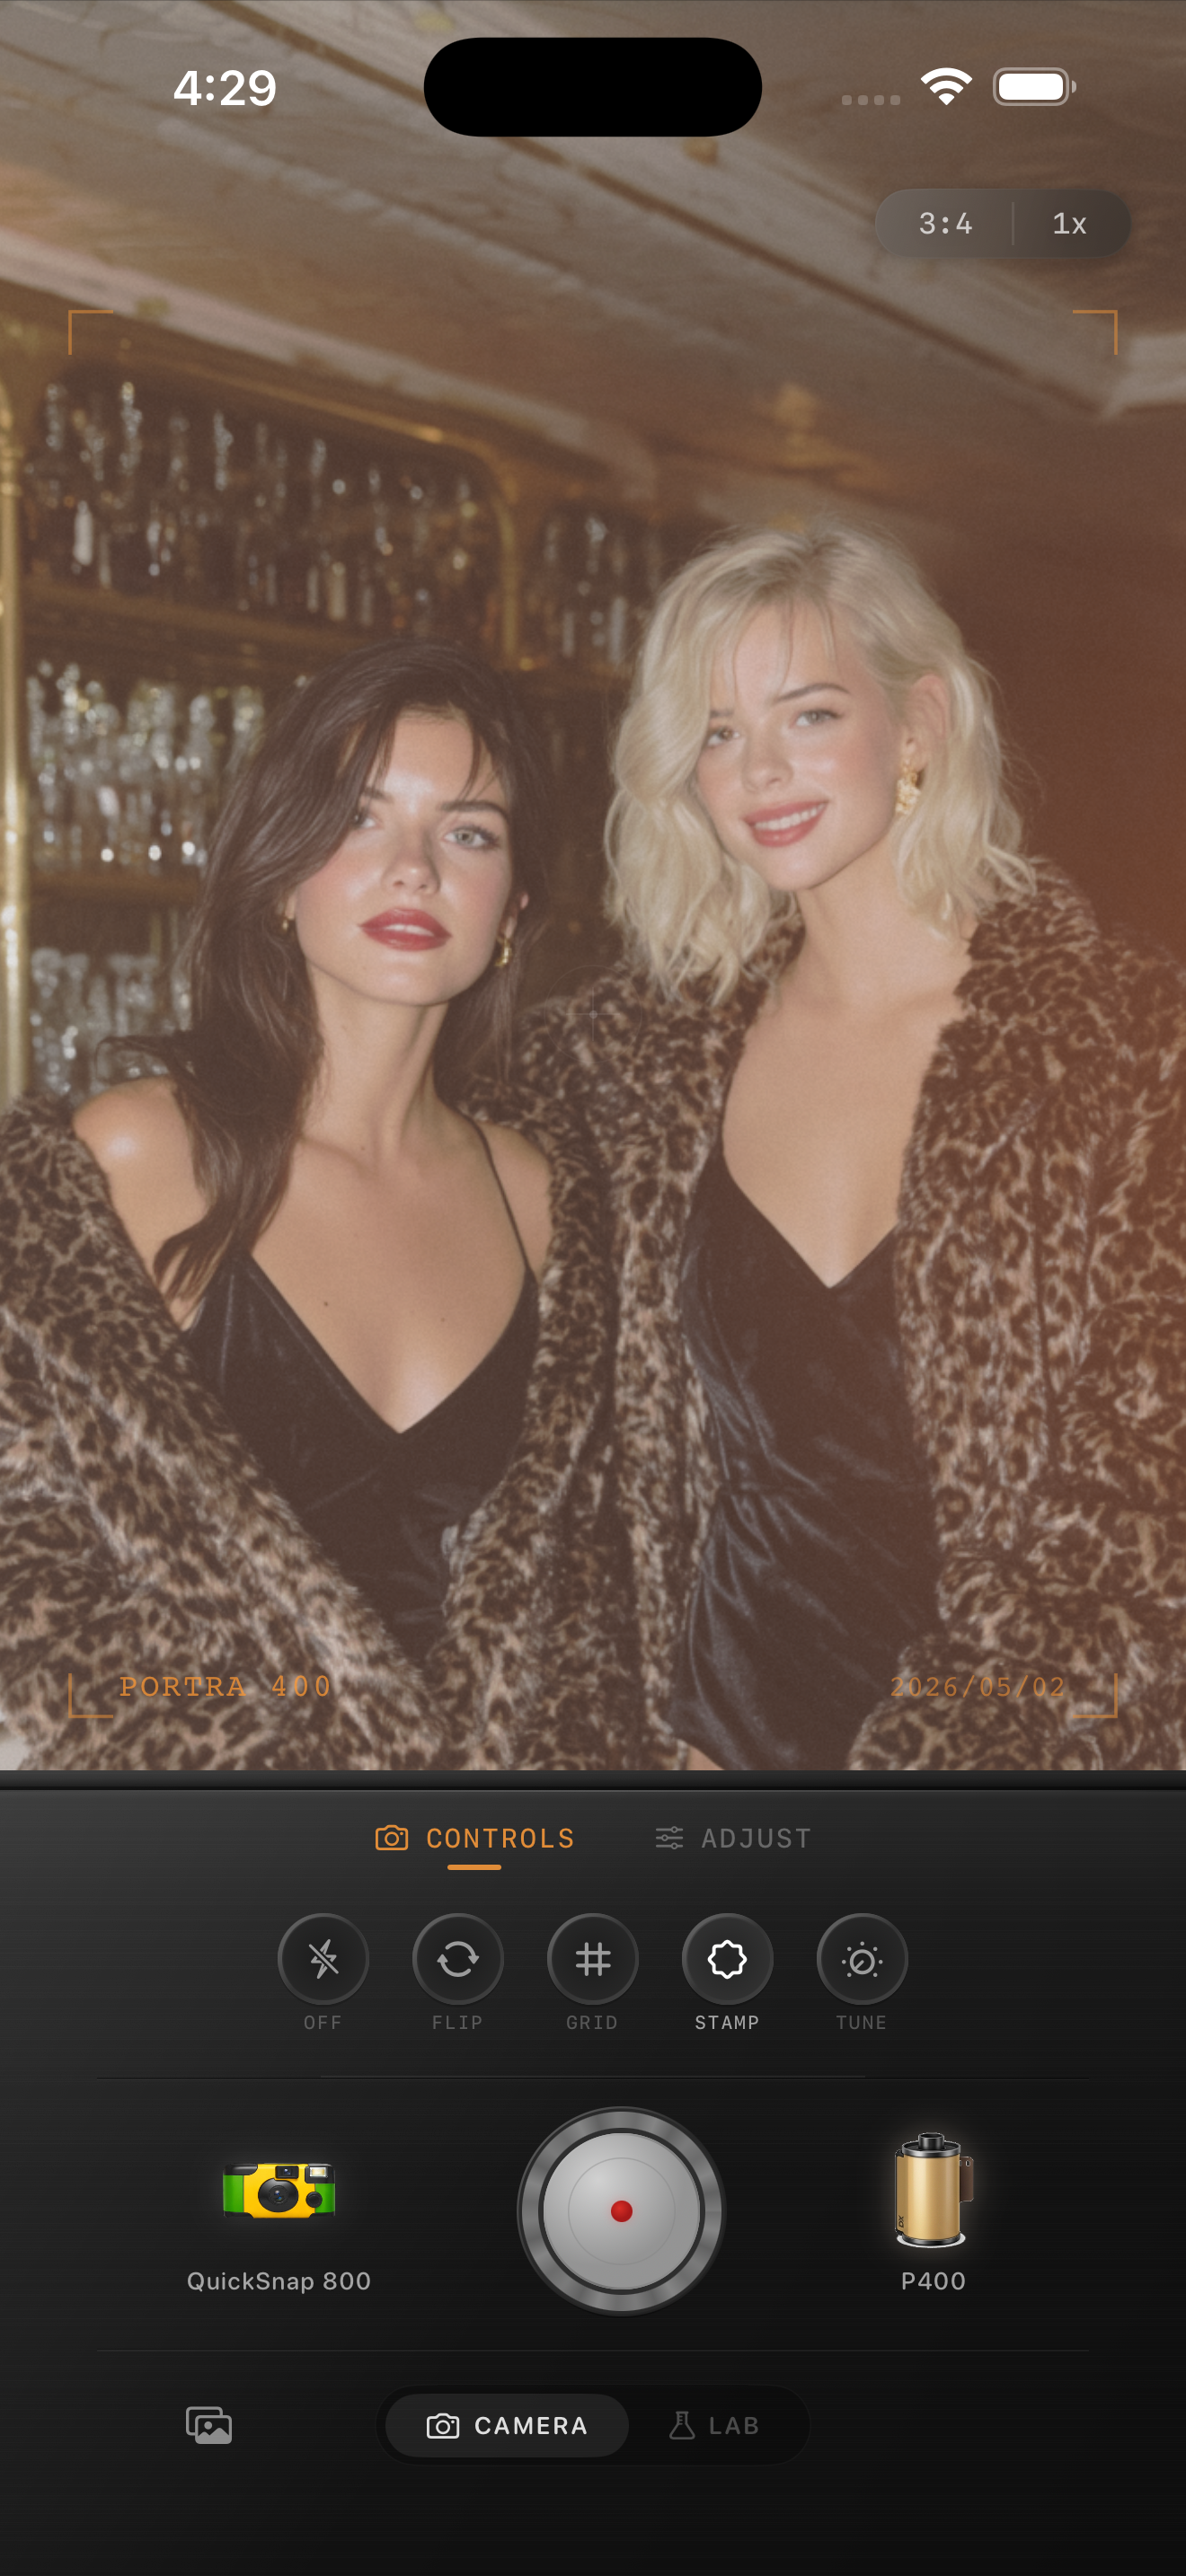
Keep the original beside the edit as you work. The goal is not to neutralize the whole scene; red lighting may be part of why the photo feels like the ride. The useful target is a frame where the person, the red light, and the dark surroundings remain separate instead of melting into one brown-red layer. The existing preview above is a low-light style reference, not a haunted-hayride comparison.
Check a face, the red light, and a dark neutral area together
Pick three small references before changing anything broad: a face or hand, the brightest red bulb or sign, and a dark area that should not be red, such as a jacket, wagon rail, or tree trunk. Return to all three after each film-look adjustment. If the face turns brick-colored, the red light loses its edge, and the dark area becomes brown, the treatment is too warm or too strong.
Avoid fixing red light by pushing the whole picture cool. That can make straw gray and skin lifeless while leaving the red cast in the shadows. Compare a lower-intensity film look or less added warmth first, then keep enough of the original color to show where the photo was taken.
- Let the red light stay vivid without making every shadow red.
- Use a face or hand to catch broad warmth before it becomes obvious.
- Keep one dark neutral detail from turning brown or purple.
- Change one broad setting at a time and compare at normal phone size.
Use a gentle low-light film recipe
Start around film intensity 42–58%, grain 10–22%, warmth -3 to +2, fade 1–4%, and vignette 2–7%. Stay near the lower end if the original already has bright red bulbs, an amber wagon light, or a flash-lit face. A restrained treatment can take the polished edge off an iPhone night capture without flattening the contrast that keeps lights and faces readable.
A cleaner compact-film or 35mm-inspired camera body is usually a better opening choice than the roughest disposable effect. Hay, jackets, wood rails, and leaves already supply fine detail. Let those real textures carry the scene before adding more simulated damage.
Add grain only after the red light and shadows are balanced
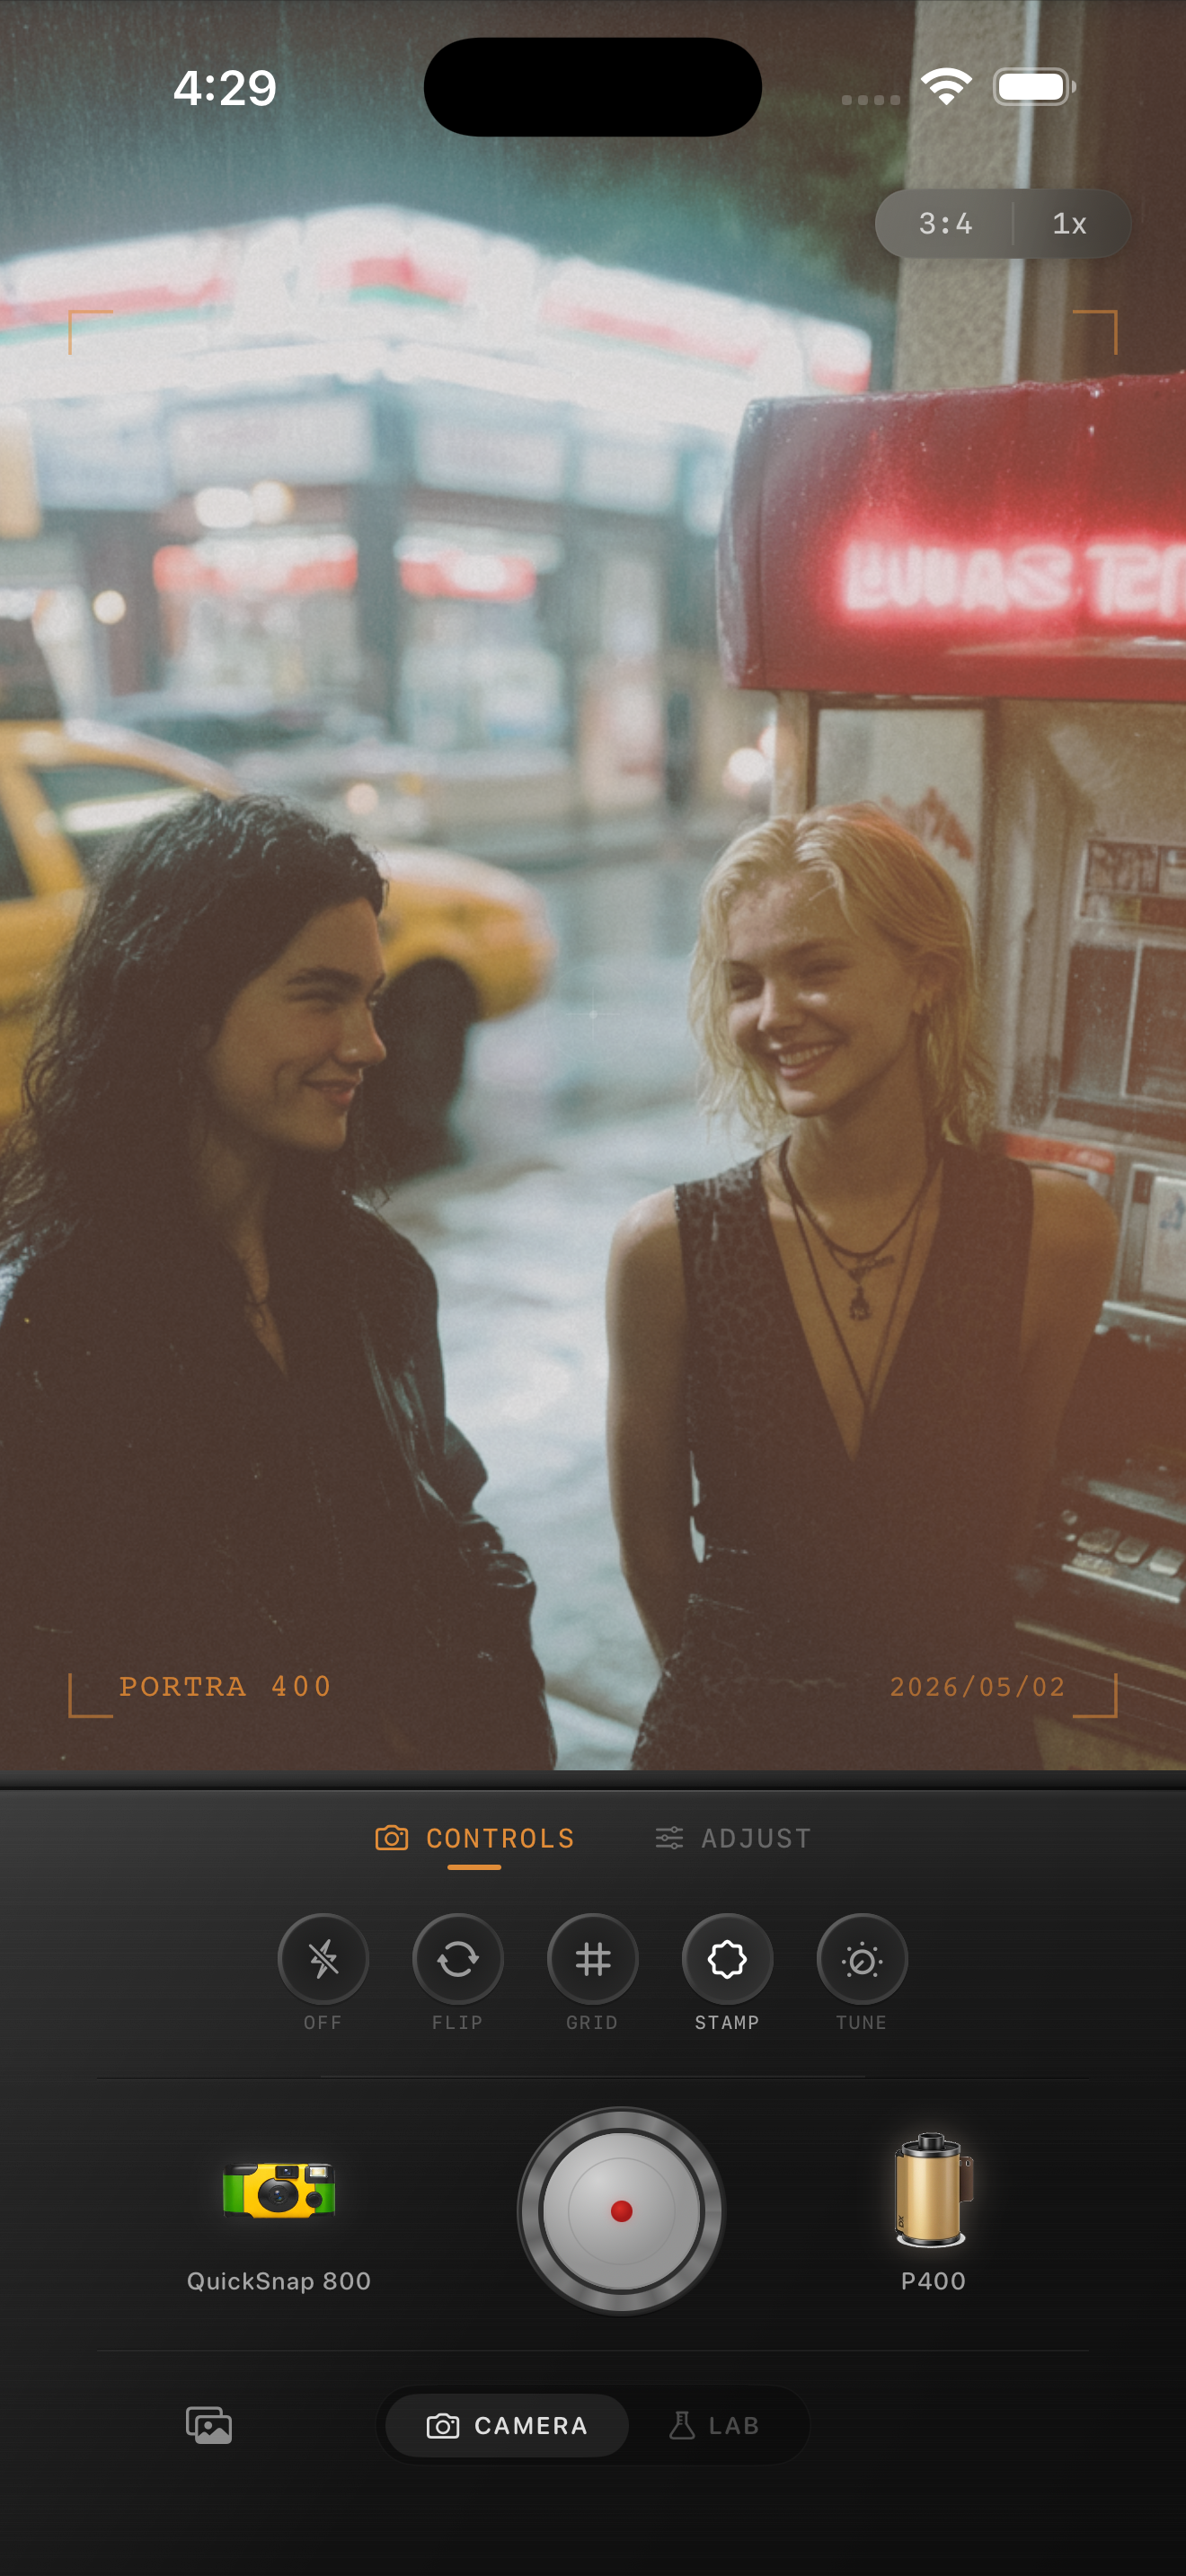
Low-light iPhone files can already have noise in the trees, sky, and wagon corners. Set color and brightness before adding grain, then watch a smooth dark patch, the edge of a red light, and the straw or clothing texture together. If the shadows turn gritty or the red glow spreads into noisy pixels before the picture feels less digital, reduce the added grain.
Keep fade modest as well. A small amount can soften harsh phone contrast, but too much removes the difference between a red light, a black jacket, and a dark background. Export two gentle versions and choose the one where the moment reads before the effect does.
Finish with a quick night-scene check
View the saved edit away from the controls. Ideally, you notice the person or shared moment first, then the red light and the spooky setting, and only then the film character. If the first impression is brown skin, purple-black shadows, or crunchy texture, return to the quieter version and let the original lighting do more of the storytelling.
In the Nostalgia Cam Lab, compare camera bodies and film looks at moderate intensity before refining warmth, grain, fade, and vignette. This makes it easier to preserve the real atmosphere of a haunted hayride without forcing every low-light photo into the same heavy filter.
Keep the red glow dramatic and the night readable
Import a favorite haunted hayride photo into the Nostalgia Cam Lab, compare camera bodies and film looks at moderate intensity, then refine warmth, grain, fade, and vignette. Check a face, the brightest red light, and one dark neutral detail before saving the version that feels most like the ride.
FAQ
Why do red lights look muddy in my iPhone haunted hayride photos after a film edit?
A strong film effect, added warmth, fade, or heavy grain can spread a red light into nearby shadows and remove the contrast around it. Compare the red source with a face and a dark neutral detail, then reduce the broad treatment before making a global color correction.
Should I add a lot of grain to haunted hayride photos?
Usually not. Low-light captures may already contain noise, and hay, wood, coats, and trees bring plenty of natural texture. Add a modest amount only after the light color and shadow separation feel balanced.
How can I keep a haunted hayride photo dark without losing the people in it?
Keep enough local separation to read a face, hand, costume, or wagon edge, rather than lifting every shadow. A lower-intensity film look and a gentle vignette usually preserve the night better than a large global brightness increase.