
Editing guide
How to Edit iPhone Halloween Costume Photos to Look Like Film Without Washed-Out Makeup
A practical iPhone film-editing guide for Halloween costumes: keep makeup, face paint, fabric, and colored lights readable while giving the photo a soft, nostalgic finish.
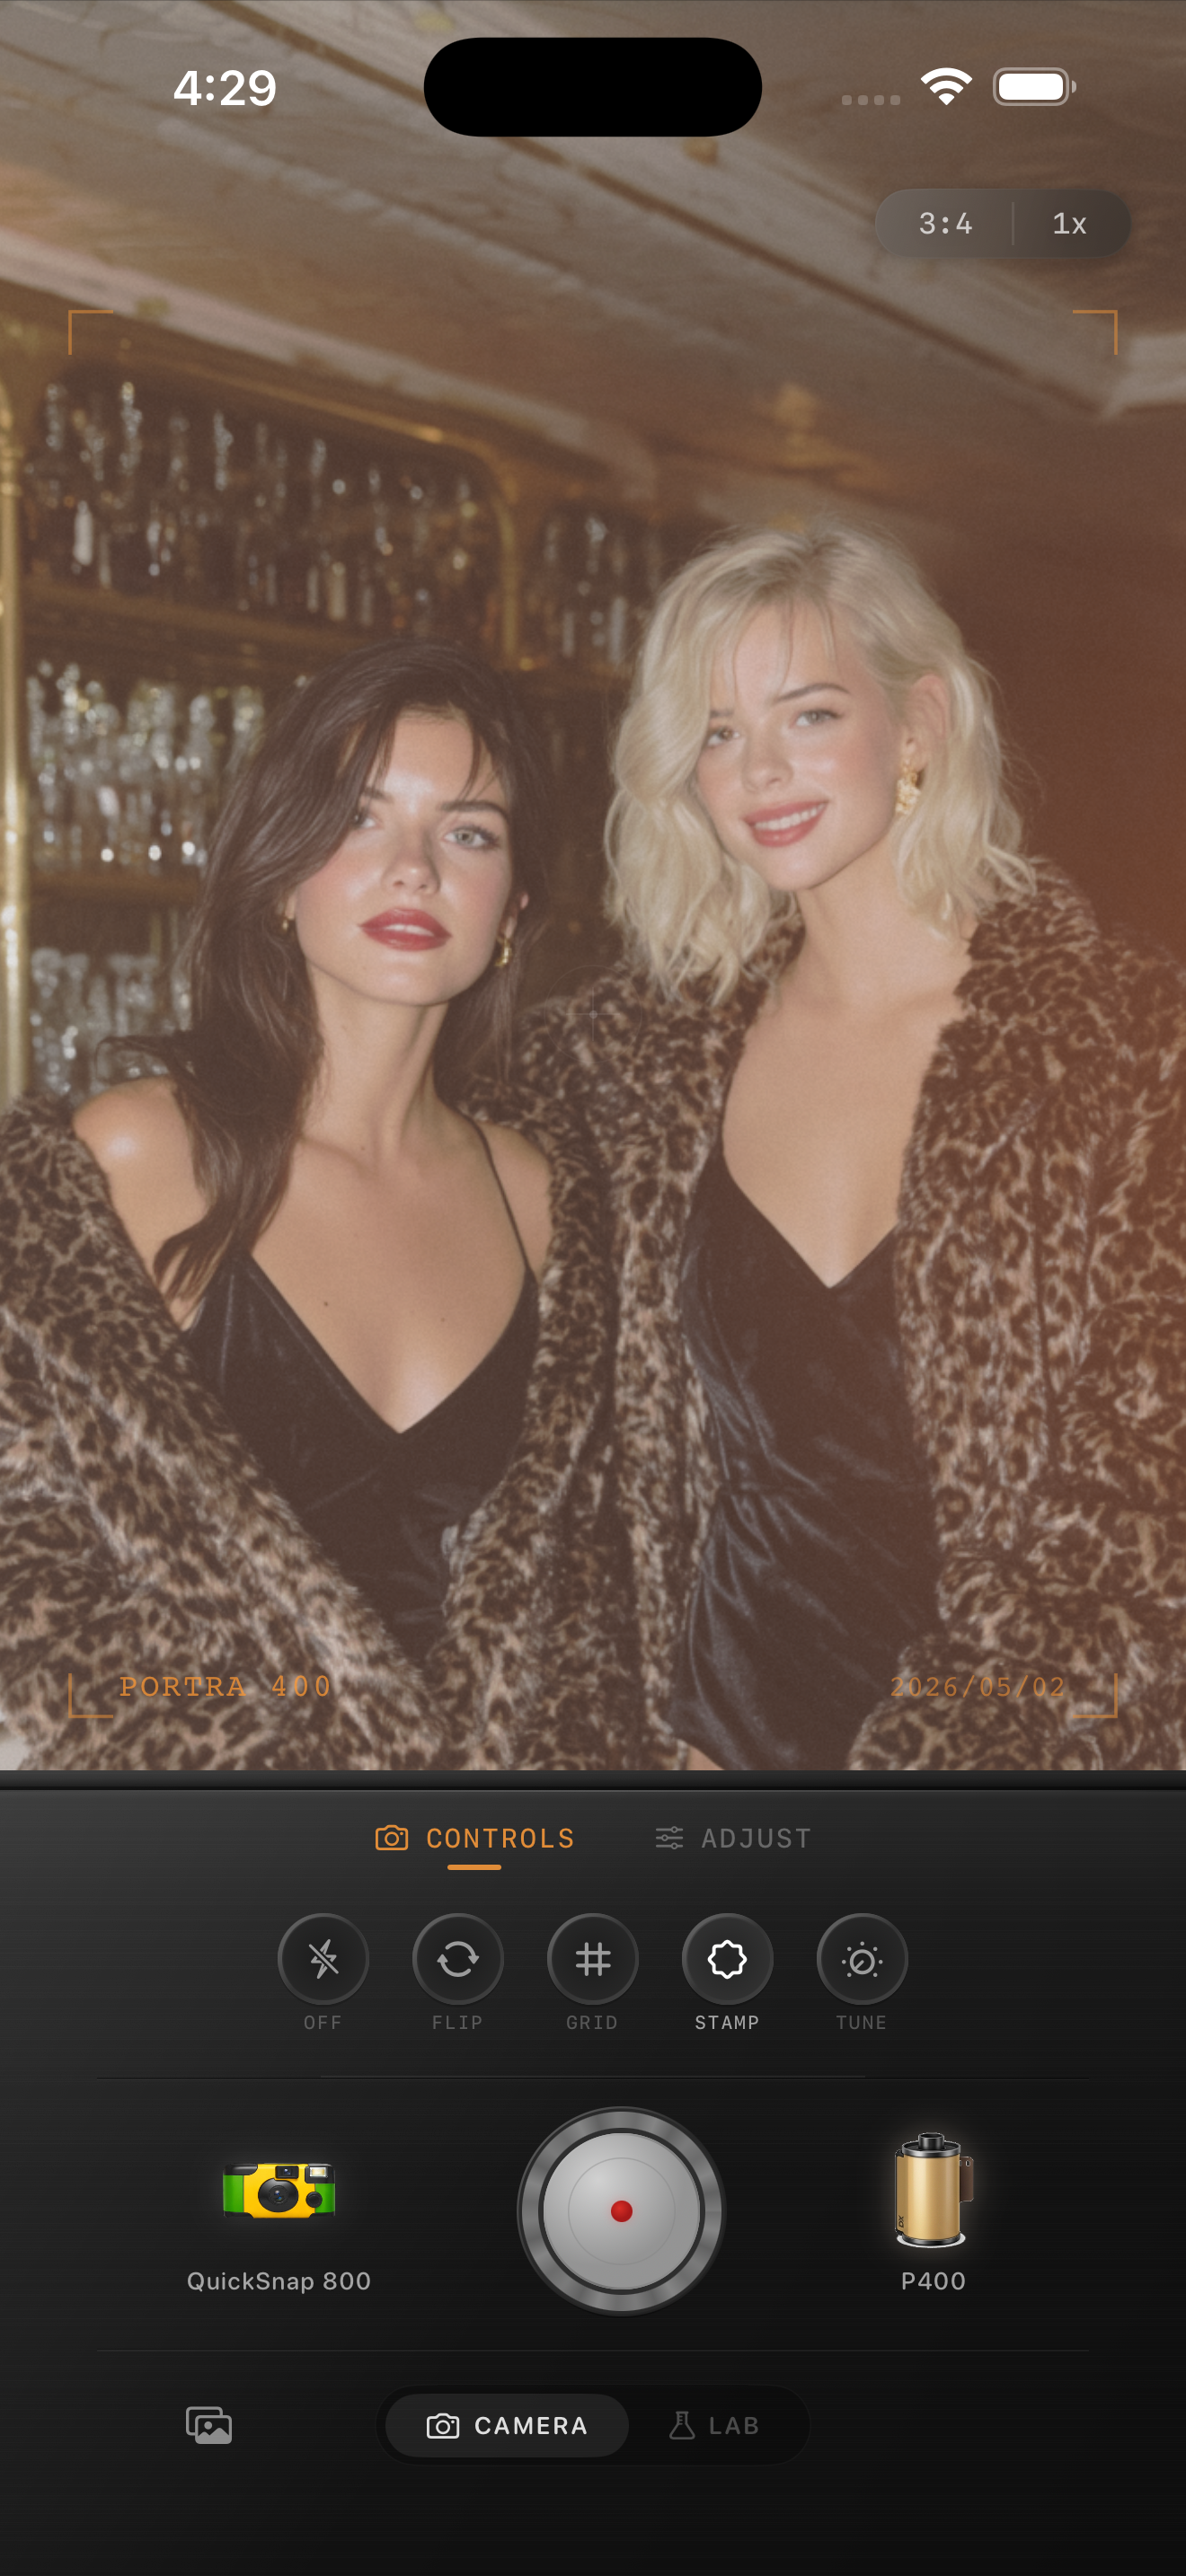
Start with the frame where the costume and face still read together
Halloween costume photos can ask an iPhone to handle shiny fabric, dark rooms, face paint, colored bulbs, and quick movement in the same frame. Before adding a film look, compare nearby shots at normal phone size and choose the one where the expression, makeup, or costume detail is already easy to recognize. A film-inspired finish can soften a crisp digital file, but it cannot restore face paint hidden in shadow or a blurred gesture.
Keep the original beside the edit while you work. The useful goal is not to make every color equally bright; it is to preserve the parts that explain the costume while keeping the room’s real light believable. The existing preview above is a low-light style reference, not a Halloween comparison.
Use makeup, one neutral detail, and the background light as checks
Choose three small areas to revisit after each broad change: a painted cheek, lip, or mask; a neutral detail such as a shirt collar, teeth, or wall; and one colored light or darker background area. If the makeup turns pale gray while the neutral detail turns yellow and the light loses its color, the overall treatment is probably too strong rather than too dark.
Face paint does not need to look clinically white to stay visible. It needs enough brightness and local contrast to separate from skin and the background. Try lowering film intensity, fade, or added warmth before lifting global brightness, which can flatten costume texture and make nearby lights look blown out.
- Check face paint next to the surrounding skin, not by itself.
- Use a collar, wall, or teeth to catch a broad color cast.
- Let red, purple, or orange decorations stay distinct instead of turning every light warm.
- Change one broad control at a time so you can see what caused the washout.
Begin with a restrained mixed-light recipe
Start around film intensity 45–60%, grain 12–25%, warmth -2 to +3, fade 1–5%, and vignette 3–7%. Use the lower end when the photo already has colored LEDs, direct flash, or bright face paint. A gentle treatment can make the image feel tactile and less digital; strong warmth or fade can erase the small color differences that make a costume recognizable.
A cleaner compact-film or 35mm-inspired camera body is usually a better opening choice than the roughest disposable effect. Halloween outfits already bring texture through sequins, wigs, fake fur, makeup edges, and printed fabric. Let the photograph retain that real detail before adding extra noise.
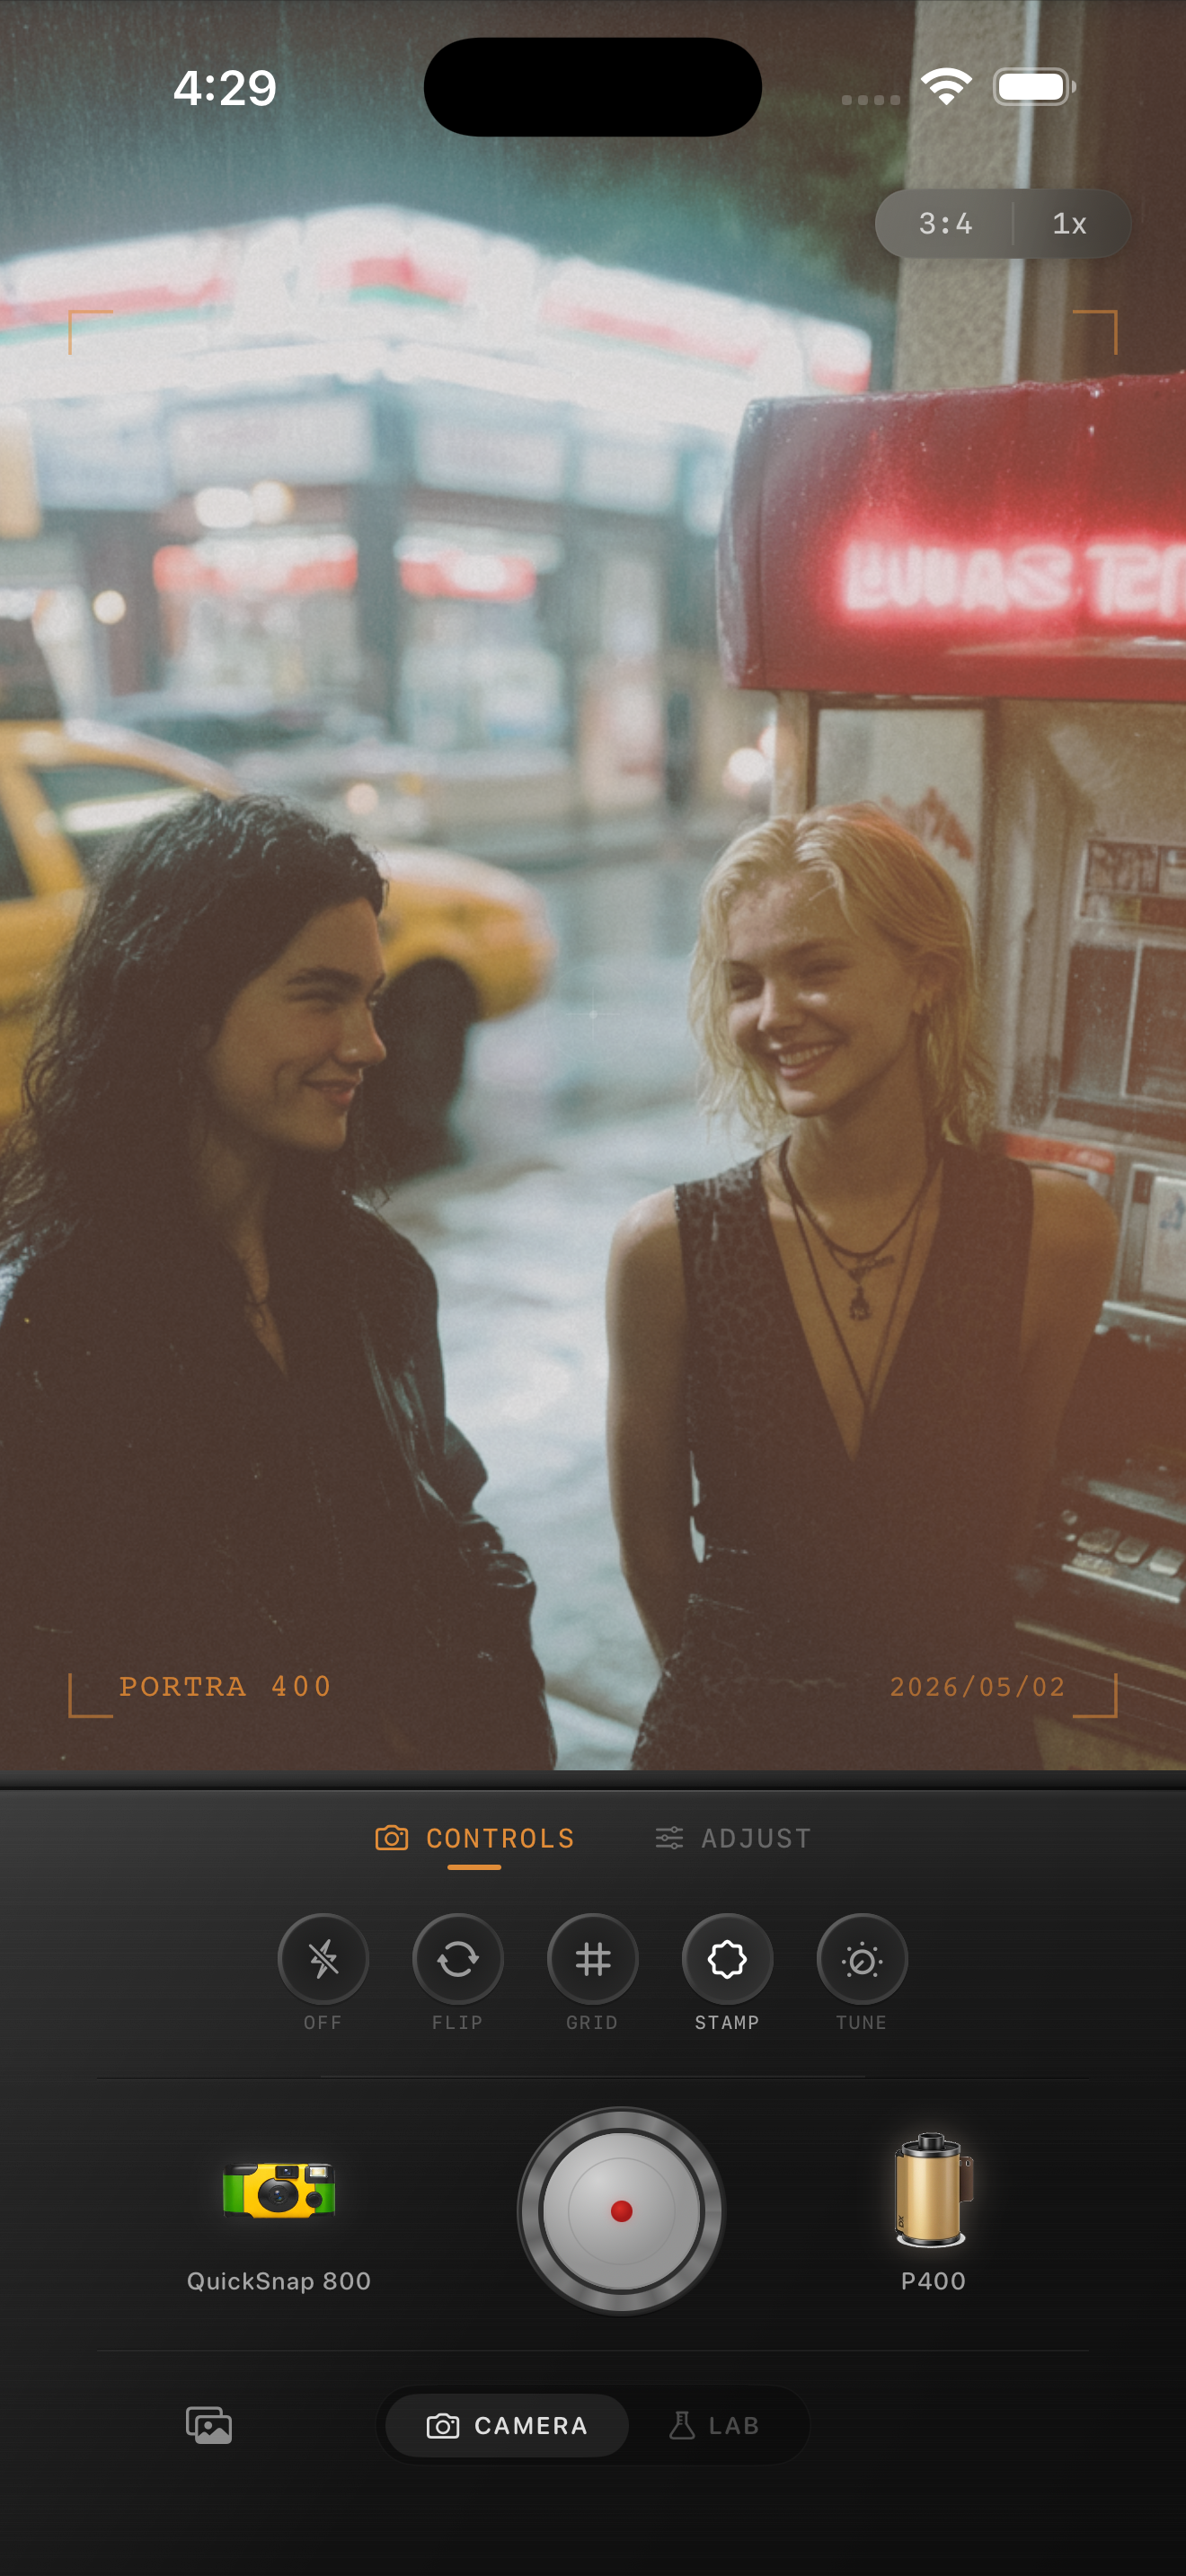
Keep face paint from merging with flash or colored bulbs
Flash can make pale makeup look brighter than the surrounding face, while colored bulbs can push its shadows blue, green, or magenta. Do not try to neutralize every difference: that mixed light is often part of the night. Instead, watch the boundary between painted and unpainted skin. If the edge disappears, compare a gentler film look before making a broad exposure adjustment.
A darker room can remain dark as long as the person, costume, and a few environmental clues stay readable. If a subject is backlit by a decoration, preserve a little highlight shape around the costume rather than lifting every shadow into gray. This keeps the picture atmospheric without hiding the reason you took it.
Add grain after makeup edges and fabric texture survive
Grain can help a Halloween snapshot feel like a found film frame, but it can make makeup edges, glitter, lace, and small costume patterns look dirty. Set brightness and color first, then add texture slowly while checking a smooth painted area, one detailed fabric area, and the main subject together. If the makeup becomes speckled before the image feels less digital, lower the grain.
Keep fade modest for the same reason. A little softens harsh phone contrast, but too much turns pale makeup, bright flash, and dark fabric into one low-contrast layer. Export two gentle versions and compare them at the size you will share; keep the one where the costume reads before the effect does.
Finish with a costume-recognition check
View the saved edit away from the controls. You should notice the person and the costume idea first, then the room’s color and light, and only then the film character. If the first impression is gray makeup, muddy color, or crunchy texture, step back to the gentler version and let the original scene do more of the work.
In the Nostalgia Cam Lab, compare camera bodies and film looks at moderate intensity before refining warmth, grain, fade, and vignette. This gives costume photos a nostalgic finish without forcing every skin tone, face paint color, and party light into the same treatment.
Keep the costume clear and the night cinematic
Import a favorite Halloween costume photo into the Nostalgia Cam Lab, compare camera bodies and film looks at moderate intensity, then refine warmth, grain, fade, and vignette. Check the makeup, one neutral detail, and one colored light before saving the version that feels most like the night.
FAQ
Why does makeup look washed out in my iPhone Halloween costume photos after a film edit?
Strong film intensity, fade, or global brightness can flatten the difference between face paint, skin, and flash. Check a painted area beside unpainted skin and a neutral detail, then reduce the broad treatment before raising exposure.
Should I use a lot of grain on Halloween costume photos?
Usually not. Makeup, glitter, fake fur, and detailed fabric already supply plenty of texture, while heavy grain can make those details look dirty or noisy. Add a modest amount only after color and brightness feel balanced.
How can I keep colored Halloween lights natural in a film-style edit?
Use one colored light and one neutral detail as references while you compare versions. If every light shifts warm or gray, try a lower-intensity, less-warm, or less-faded treatment before making a global adjustment that could flatten the scene.