
Editing guide
How to Edit iPhone Friendsgiving Photos to Look Like Film Without Orange Skin
A practical iPhone film-editing guide for Friendsgiving photos: keep faces, food, candlelight, and a cozy table feeling warm without turning skin orange.
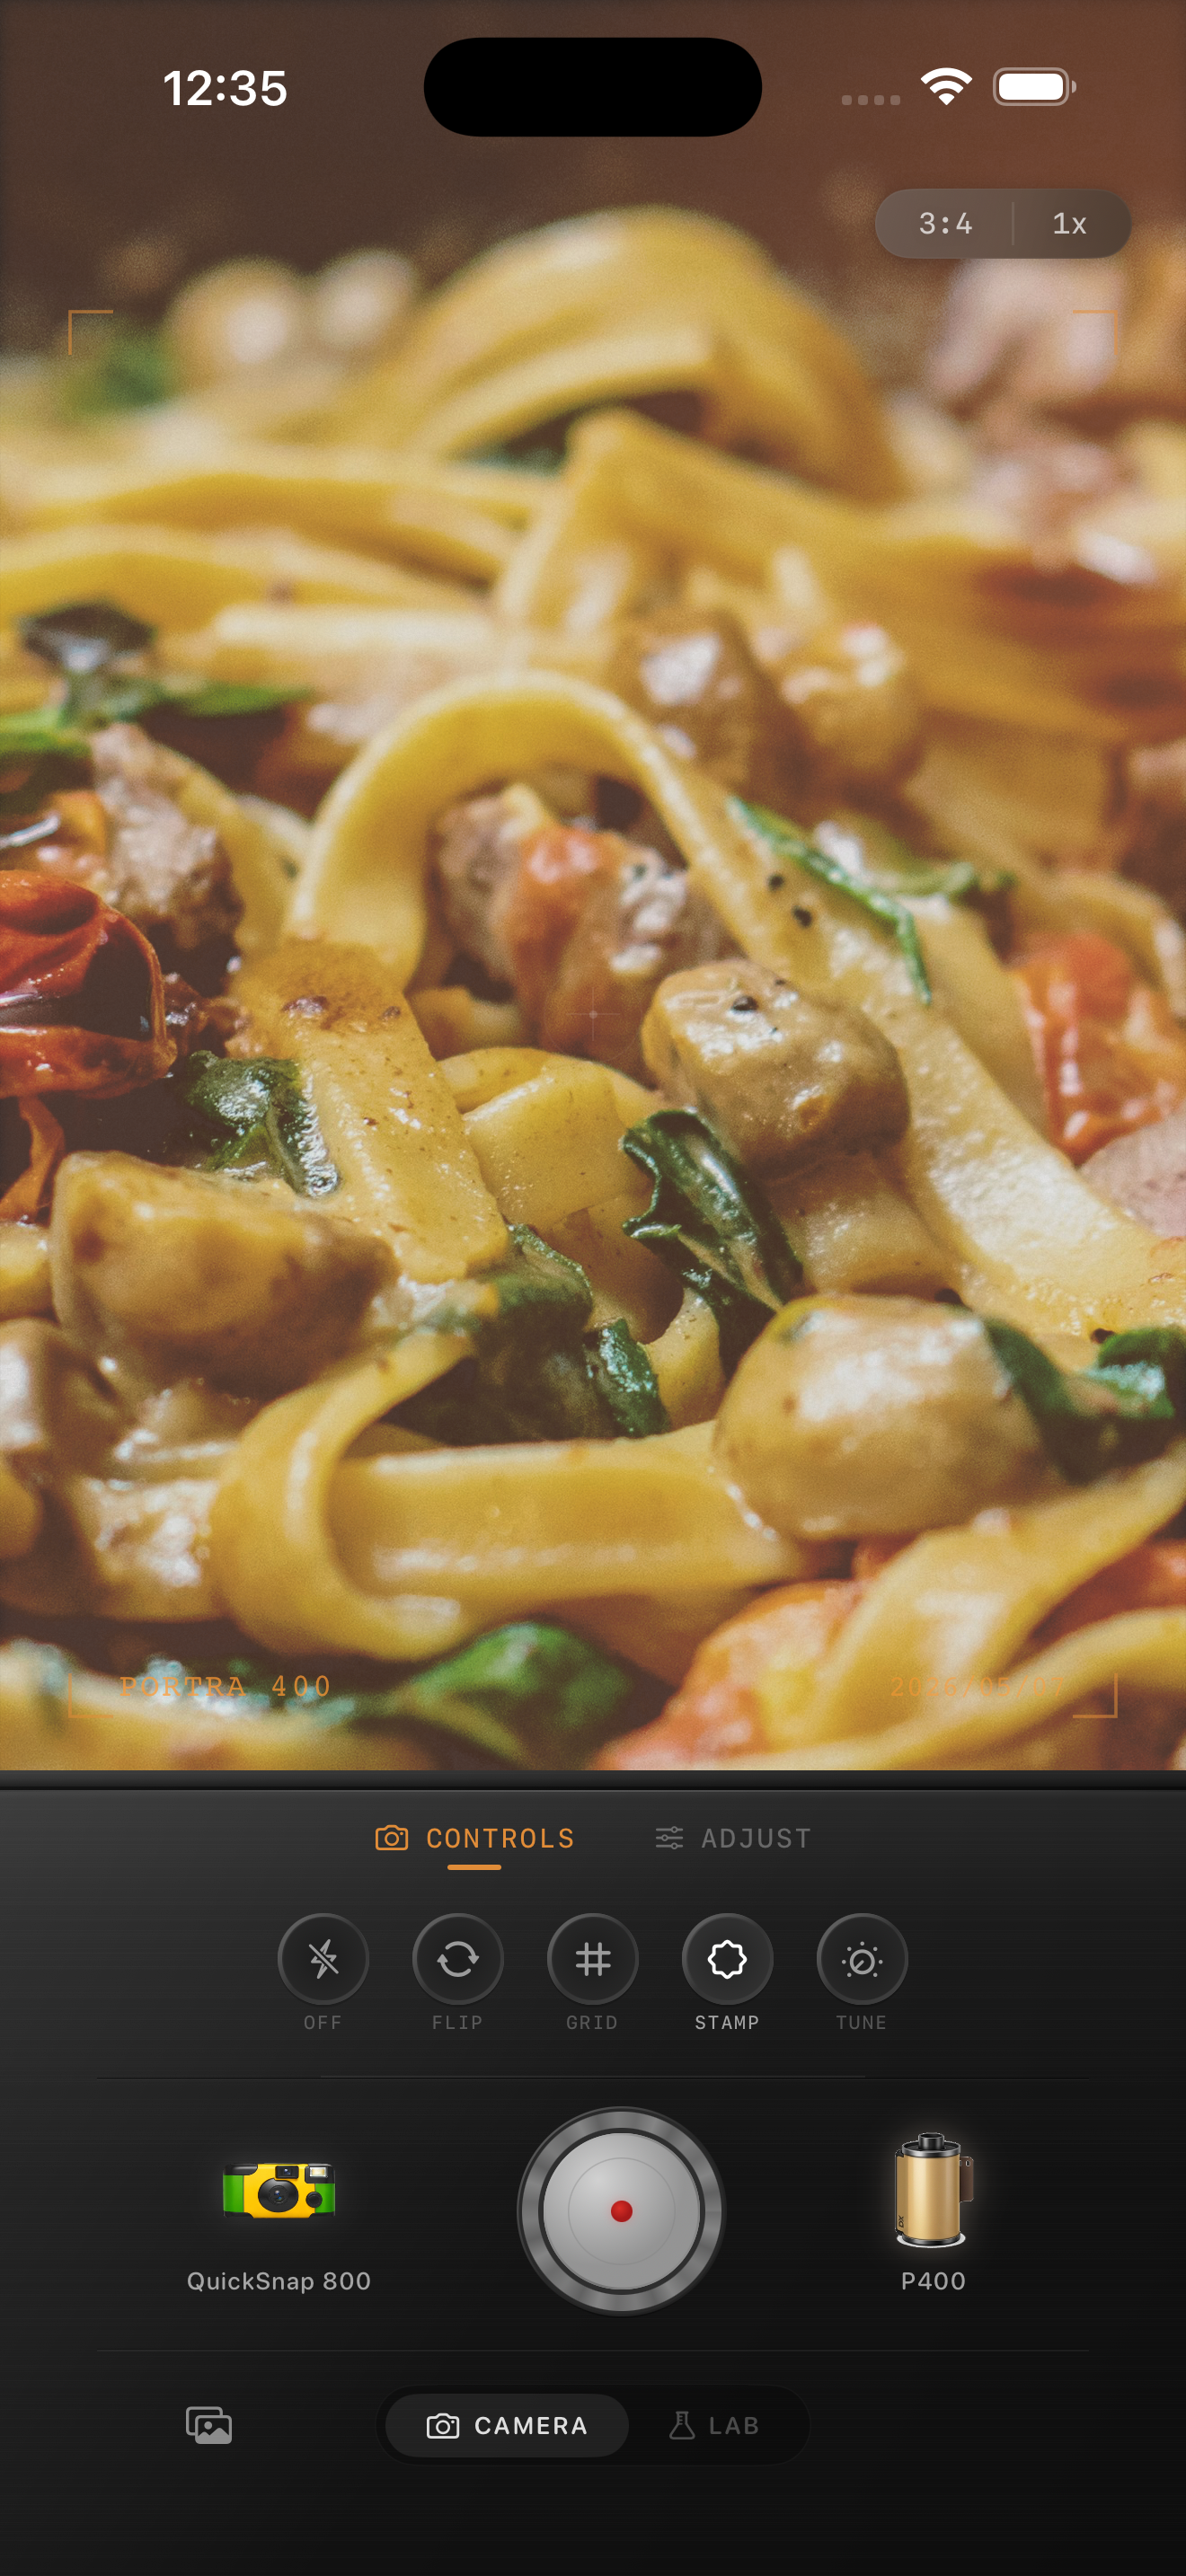
Start with the frame that still feels like the table
Friendsgiving photos often mix window light fading outside, warm overhead bulbs, candles, phone flash, colorful food, and people reaching across a crowded table. Before editing, compare nearby frames at normal phone size and choose one where faces are readable, a dish or gesture explains the gathering, and bright glassware or candles have not erased the surrounding details. A film-inspired finish can make a phone capture feel less clinical, but it cannot restore a face lost in motion or a completely clipped highlight.
Keep the original beside the edit. The aim is not to make the whole room neutral; it is to keep the shared meal, people, and warm light recognizable together. The image above is an existing dinner style reference, not a Friendsgiving comparison.
Use a face, a light plate, and a highlight as color checks
Orange skin usually happens when a broad warming treatment stacks on top of already-warm bulbs, candles, wood tables, or roasted food. After each large adjustment, revisit one face, a light neutral detail such as a plate, napkin, or shirt, and one small highlight on glassware or a candle. If faces turn pumpkin-colored while the plate turns beige, reduce overall warmth or film intensity before adding grain or fade.
Do not remove every warm cue. Golden food and candlelight can be exactly what makes the scene feel inviting. The useful question is whether that warmth stays near the table and light sources, or starts to cover every face and white object in the frame.
- Check more than one face when guests sit under different lights.
- Use a plate, napkin, or pale shirt to spot a broad orange cast.
- Keep candle and glass highlights bright without turning them into flat white spots.
- Protect food color before adding texture; greens, reds, and sauces should remain distinct.
Begin with a restrained dinner-table film recipe
Try film intensity around 38–54%, grain 10–22%, warmth -3 to +4, fade 1–4%, and vignette 2–7%. Begin near the lower end when the table has candles, amber bulbs, a warm wall color, or direct flash. These settings can soften the polished iPhone finish while keeping skin, plates, and food believable.
A cleaner compact-film or 35mm-inspired camera body is often safer than a heavily distressed disposable effect. A Friendsgiving table already has plenty of texture from dishes, fabric, and glassware; a quieter base makes it easier to read the people before the film character arrives.
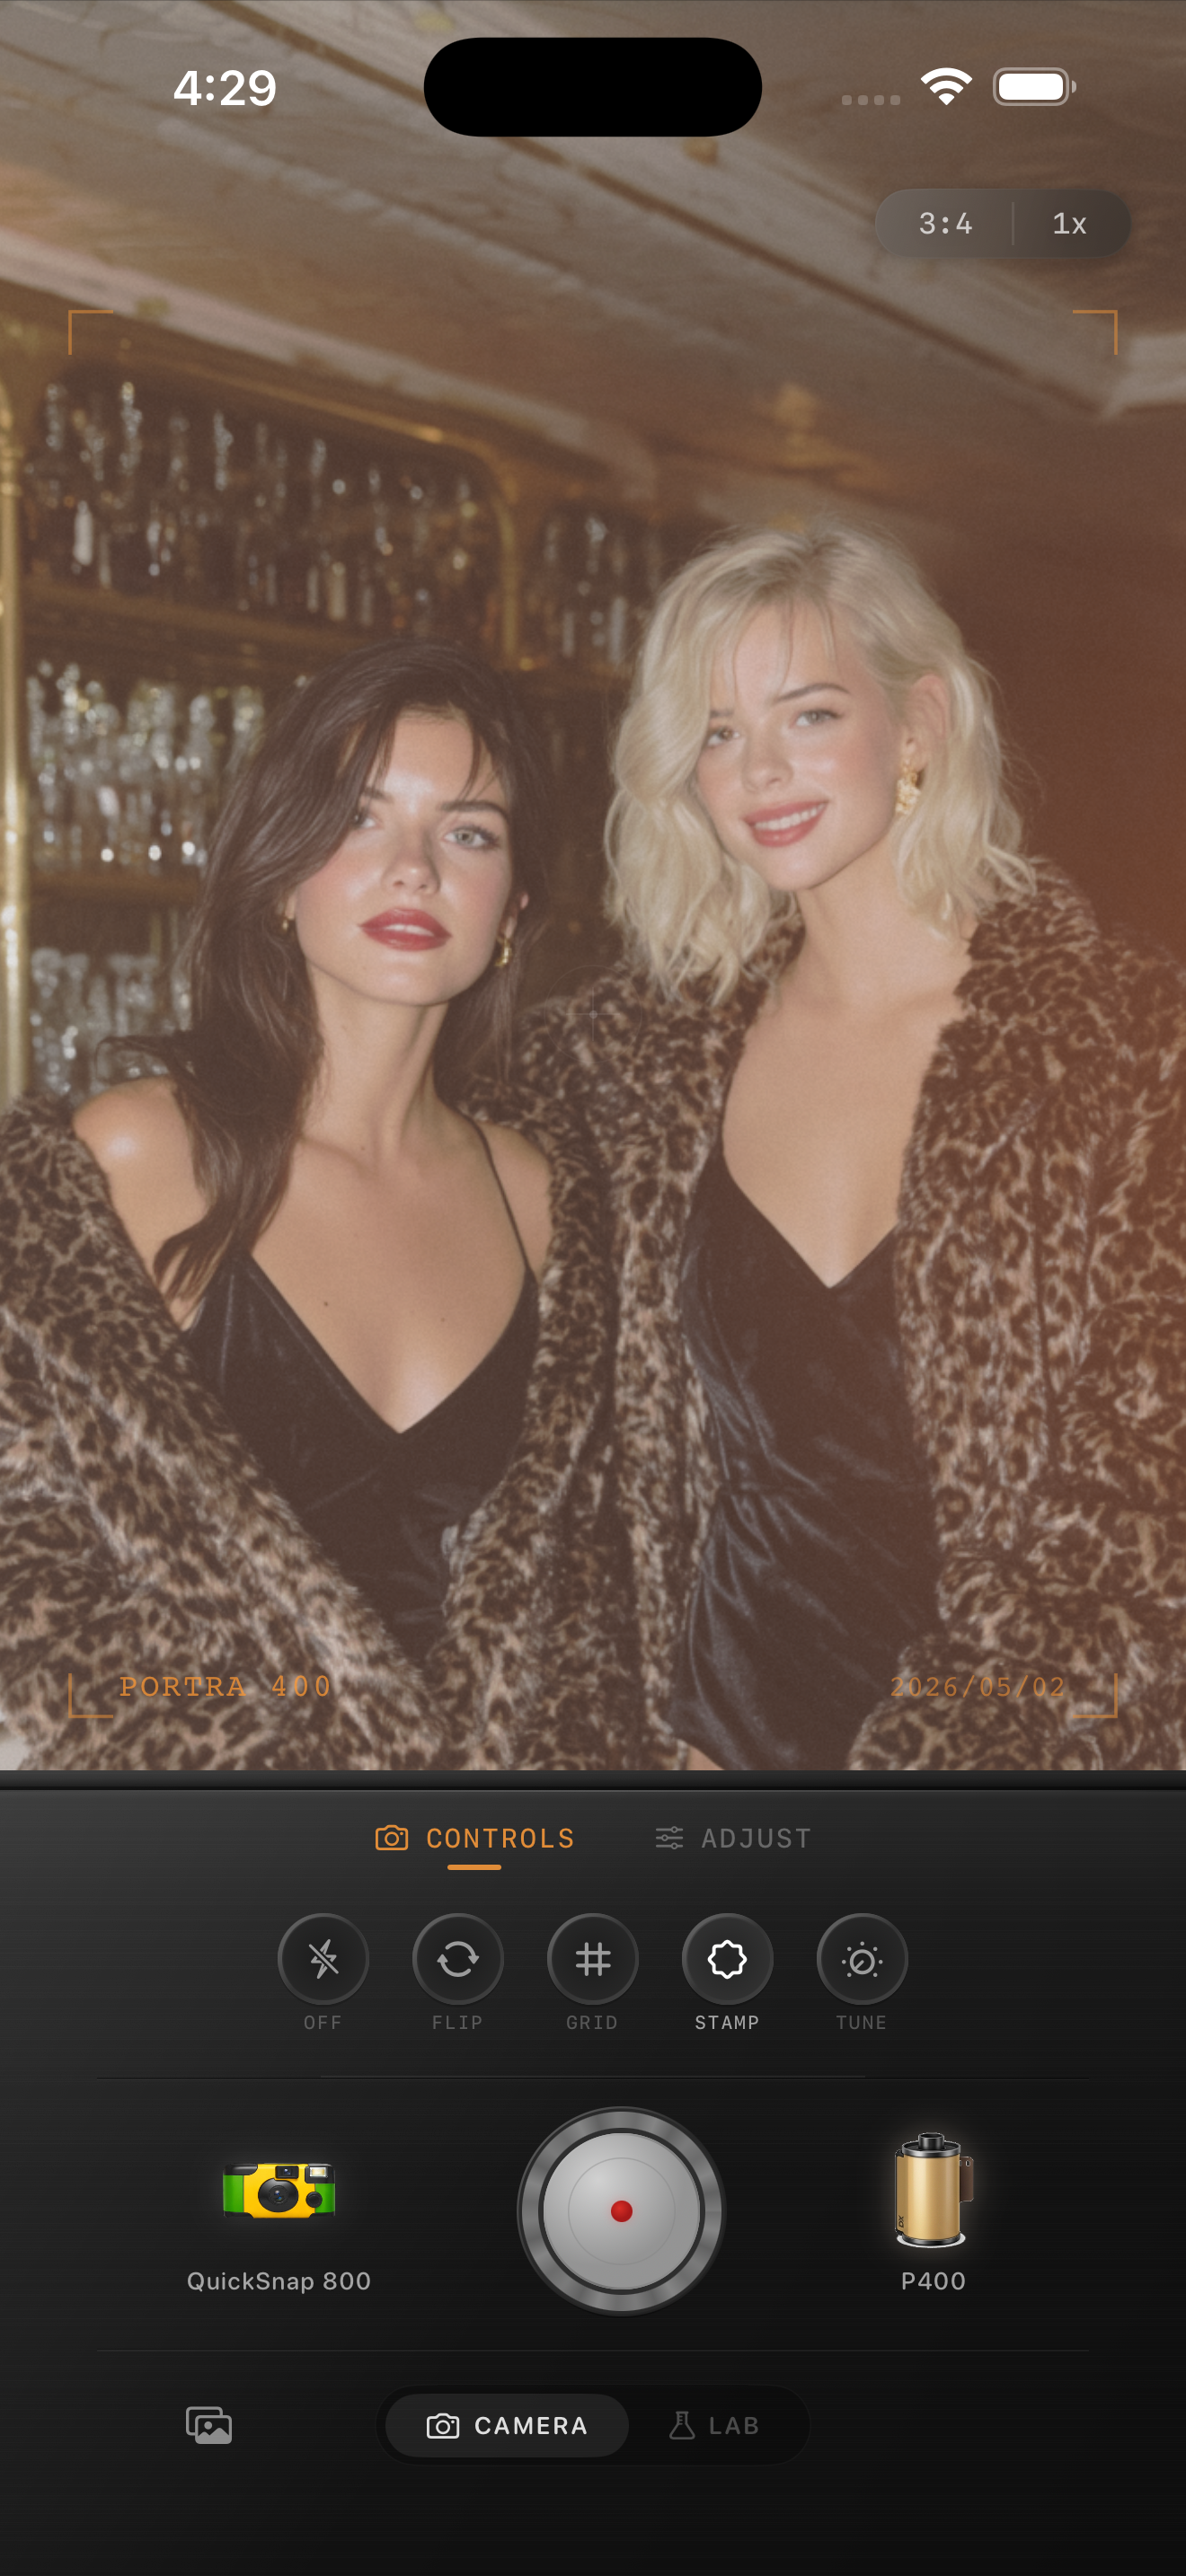
Add grain after faces and food look separate
Indoor gathering photos can already carry low-light noise in dark corners and around patterned tablecloths. Add grain only after the broad color is calm. Check a smooth cheek, a light plate, and a darker background together. If skin becomes sandy, food looks dirty, or shadows lose their shape before the image feels more tactile, use less grain.
Keep fade modest, too. A little can soften hard phone contrast, but too much can lift the dark areas that separate people from a busy room. Save two gentle versions and choose the one where the conversation and table read first and the film texture arrives second.
Finish with a sharing-size check
View the saved edit away from the sliders at the size you will share. Ideally, you notice the people and meal first, then the warmth of the room, and only then the film finish. If orange faces, muddy food color, noisy shadows, or a heavy vignette are the first impression, return to the lower-intensity version.
In the Nostalgia Cam Lab, compare camera bodies and film looks at moderate intensity before refining warmth, grain, fade, and vignette. That order helps a mixed-light set feel cohesive even when one frame uses candles and another uses flash.
Keep the table warm and everyone recognizable
Import your Friendsgiving photos into the Nostalgia Cam Lab, compare camera bodies and film looks at moderate intensity, then refine warmth, grain, fade, and vignette. Check each face, a light neutral detail, and one candle or glass highlight before saving the version that feels most like the gathering.
FAQ
Why does skin look orange in my iPhone Friendsgiving photos after a film edit?
Warm bulbs, candles, wood tables, and a strong overall warmth setting can stack together. Compare a face with a light neutral detail and a candle or glass highlight, then reduce the broad treatment before adding grain or fade.
Should I remove all warmth from a Friendsgiving dinner photo?
No. Warm table light and food color are part of the gathering. Keep that warmth near the lights and meal, but choose a gentler overall look when it makes faces, plates, or napkins look orange.
How much grain should I use for indoor dinner photos?
Start modestly after faces, food, and bright highlights look balanced. Check a smooth cheek and a dark corner at normal phone size; if either looks sandy before the image feels more like a print, reduce the texture.