Editing guide
How to Edit Candid Travel Portraits to Look Like Film on iPhone
A simple candid travel portrait film guide for iPhone: natural skin tones, soft contrast, restrained grain, and enough atmosphere to make busy city moments feel like scanned memories.
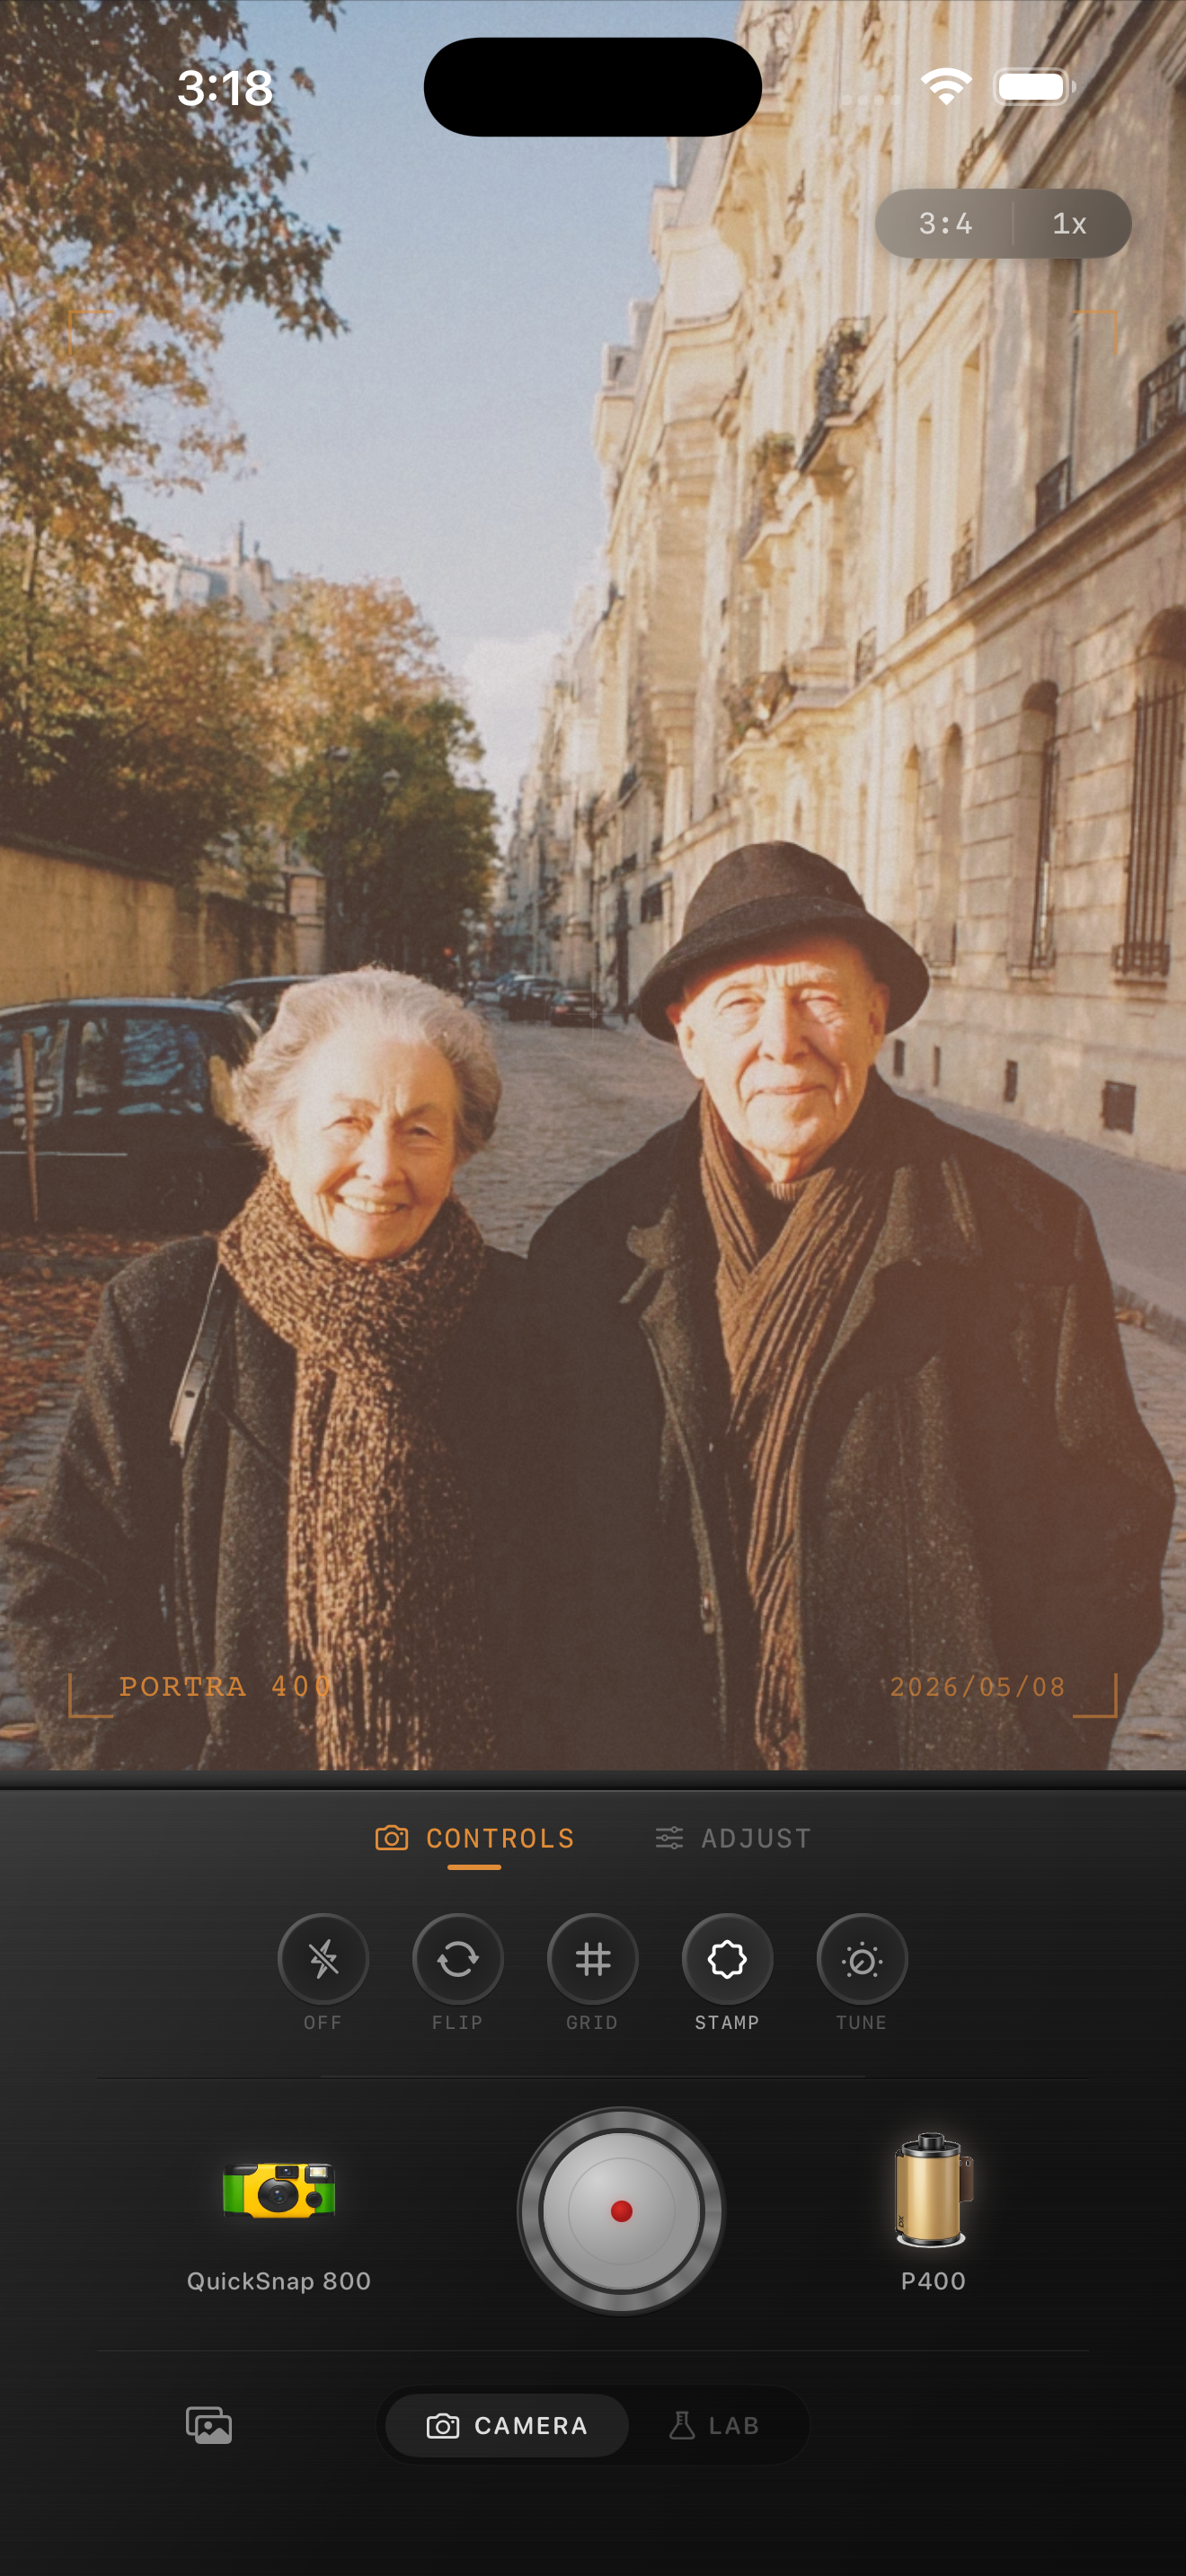
Candid travel portraits work best when the edit stays invisible
The charm of a candid travel portrait is that it feels observed instead of staged. Heavy filters tend to break that feeling because they pull attention away from the people and toward the effect.
A good film edit should support the moment: softer contrast, gentle grain, slightly calmer color, and enough tonal softness that the scene feels like a print or scan rather than an untouched phone file.
- Keep skin tones natural before chasing vintage color.
- Use moderate grain so architecture and clothing stay readable.
- Protect highlights in bright streets and plazas.
- Add only light fade unless the original scene is already flat.
- Let the environment remain part of the story.
A reliable starting point for travel portrait settings
Start with film intensity around 72-84%, grain around 22-34%, warmth around +3 to +9, fade around 3-7%, and vignette around 4-8%. This usually gives candid travel portraits some analog softness without making them feel muddy or overly nostalgic.
If the location has pale stone, bright sky, or reflective windows, lower highlights before adding more grain. Travel images often look more like film when the light rolls off softly instead of clipping hard at the edges.
Choose a camera body that matches the pace of the moment
If the portrait is a quiet walking shot or a candid conversation, a cleaner compact or 35mm-inspired body usually fits best. If the moment is faster and messier, a rougher point-and-shoot style can work, but keep the grain controlled.
The camera choice matters because candid travel portraits need personality without looking like every scene received the same blanket preset.
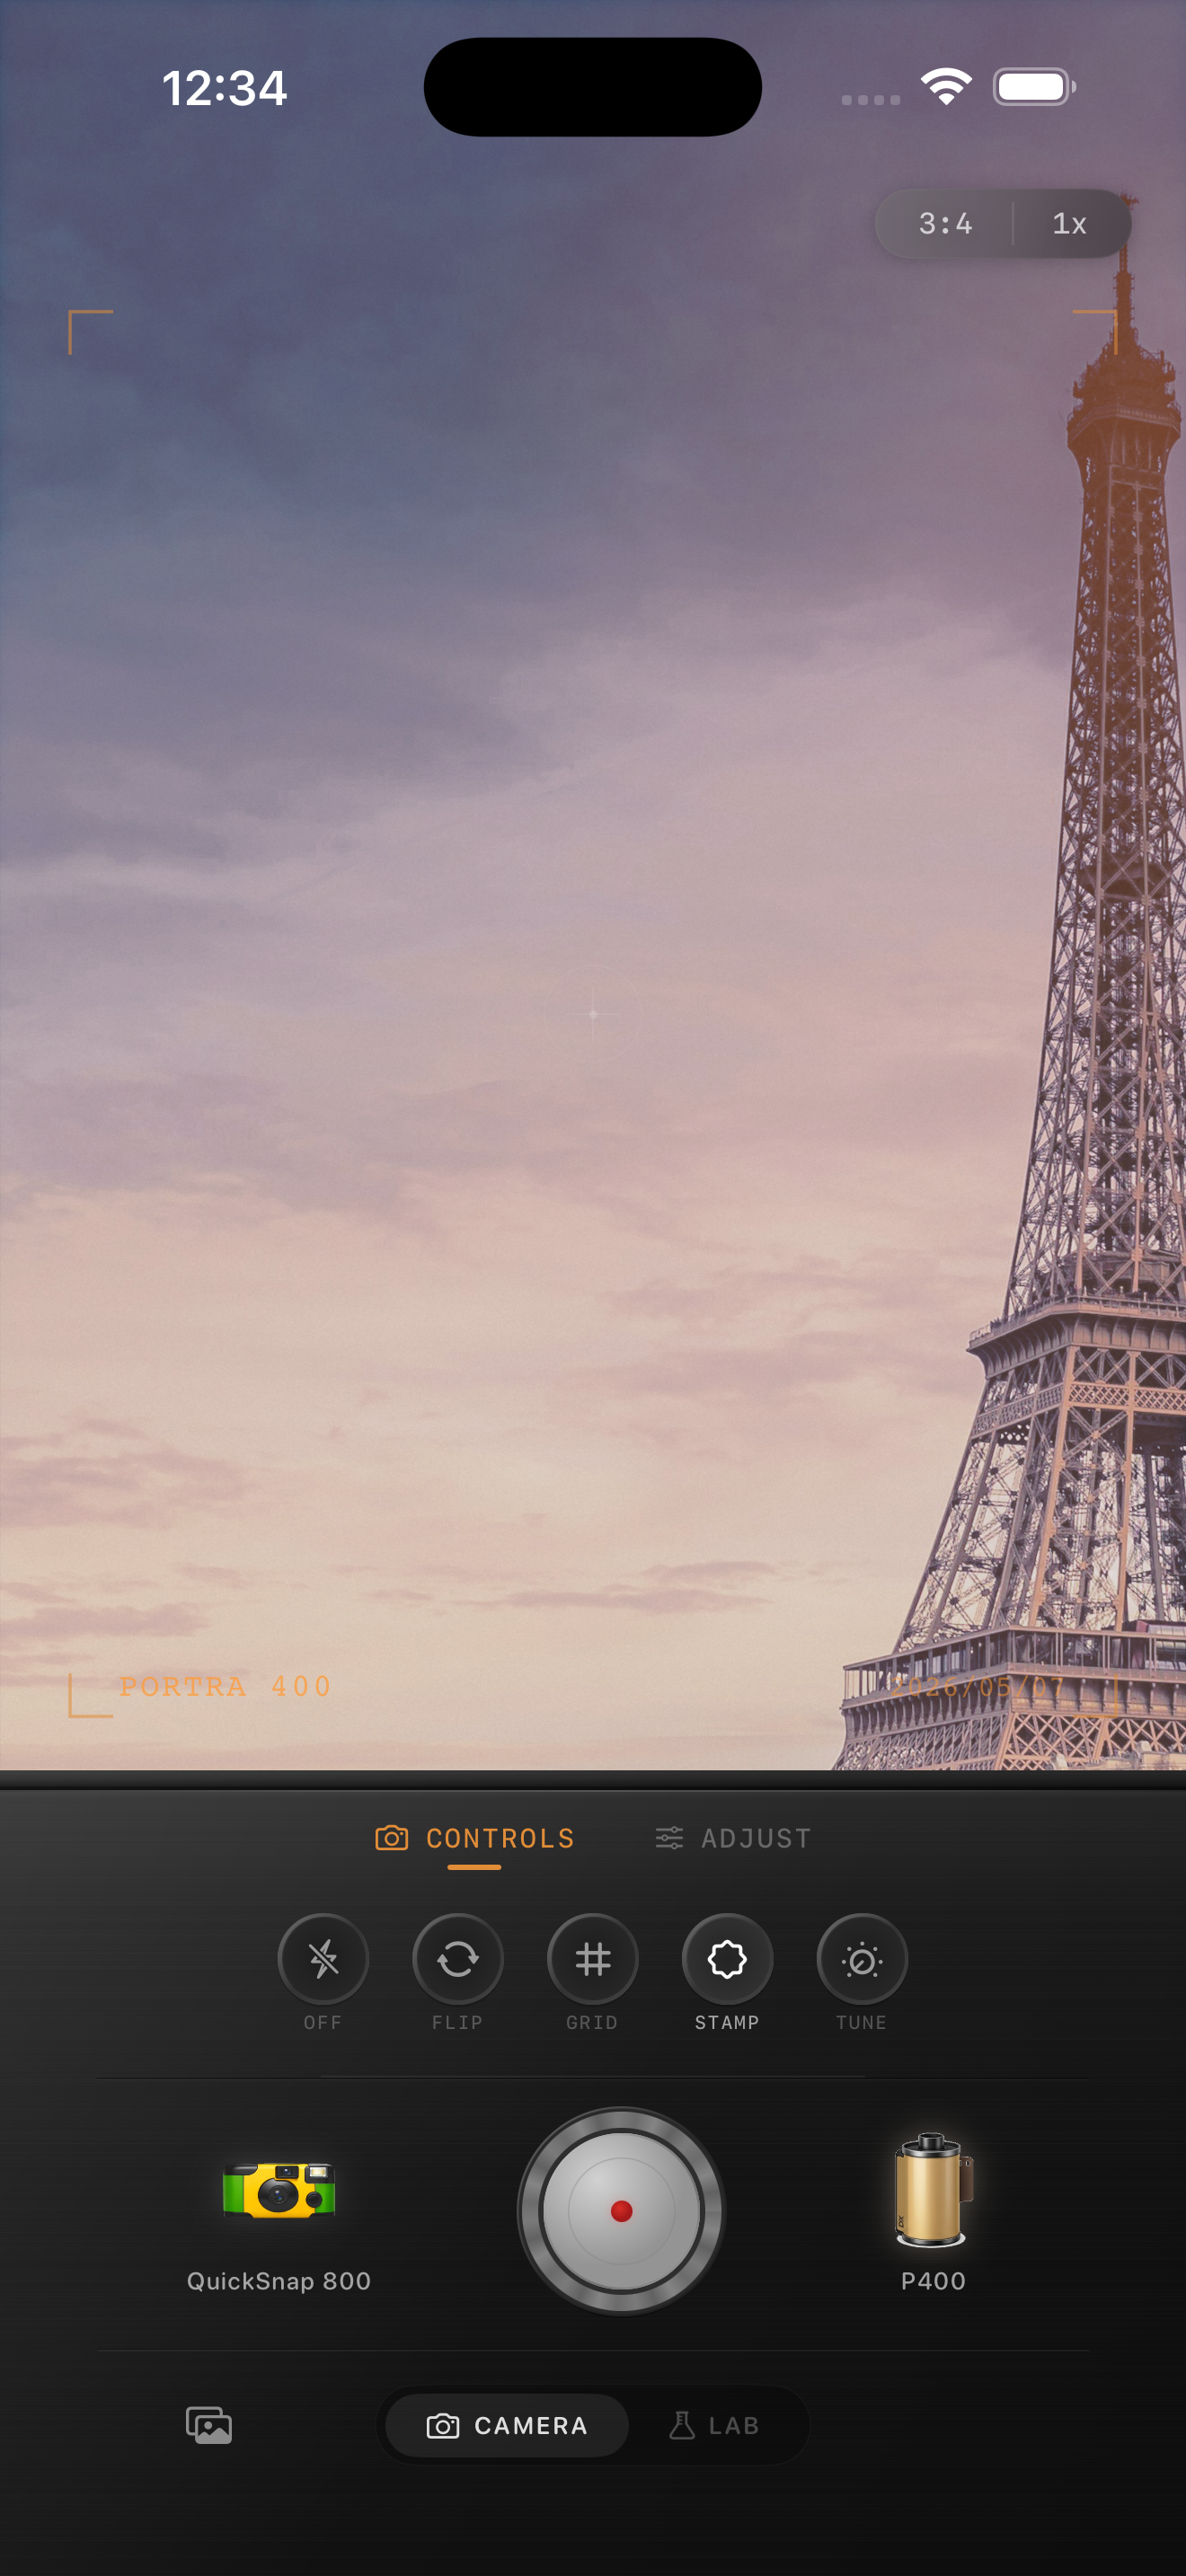
Keep the city in the frame
Travel portraits are stronger when the surroundings still matter. Doorways, sidewalks, cafe chairs, transit signs, and distant pedestrians help the photo feel specific to a place instead of becoming a generic portrait with a vintage filter on top.
In Nostalgia Cam, start with a body that fits the scene, choose a film look with gentle color, then tune grain and fade until the image feels like a real memory from the trip.
Make travel portraits feel remembered in Nostalgia Cam
Open Nostalgia Cam, choose a camera body for the pace of the scene, then tune grain, warmth, fade, and vignette so your candid travel portraits feel natural, specific, and lightly analog.
FAQ
Should candid travel portraits use strong grain?
Usually not. Moderate grain tends to work better because it softens the digital finish without covering facial detail or important background clues from the location.
Why do travel portraits stop feeling candid after editing?
They usually lose that candid feeling when the color, grain, or fade becomes too obvious. The best edits support the moment instead of becoming the main subject.