iPhone film look
How to Edit Blue Hour City Photos to Look Like Film on iPhone
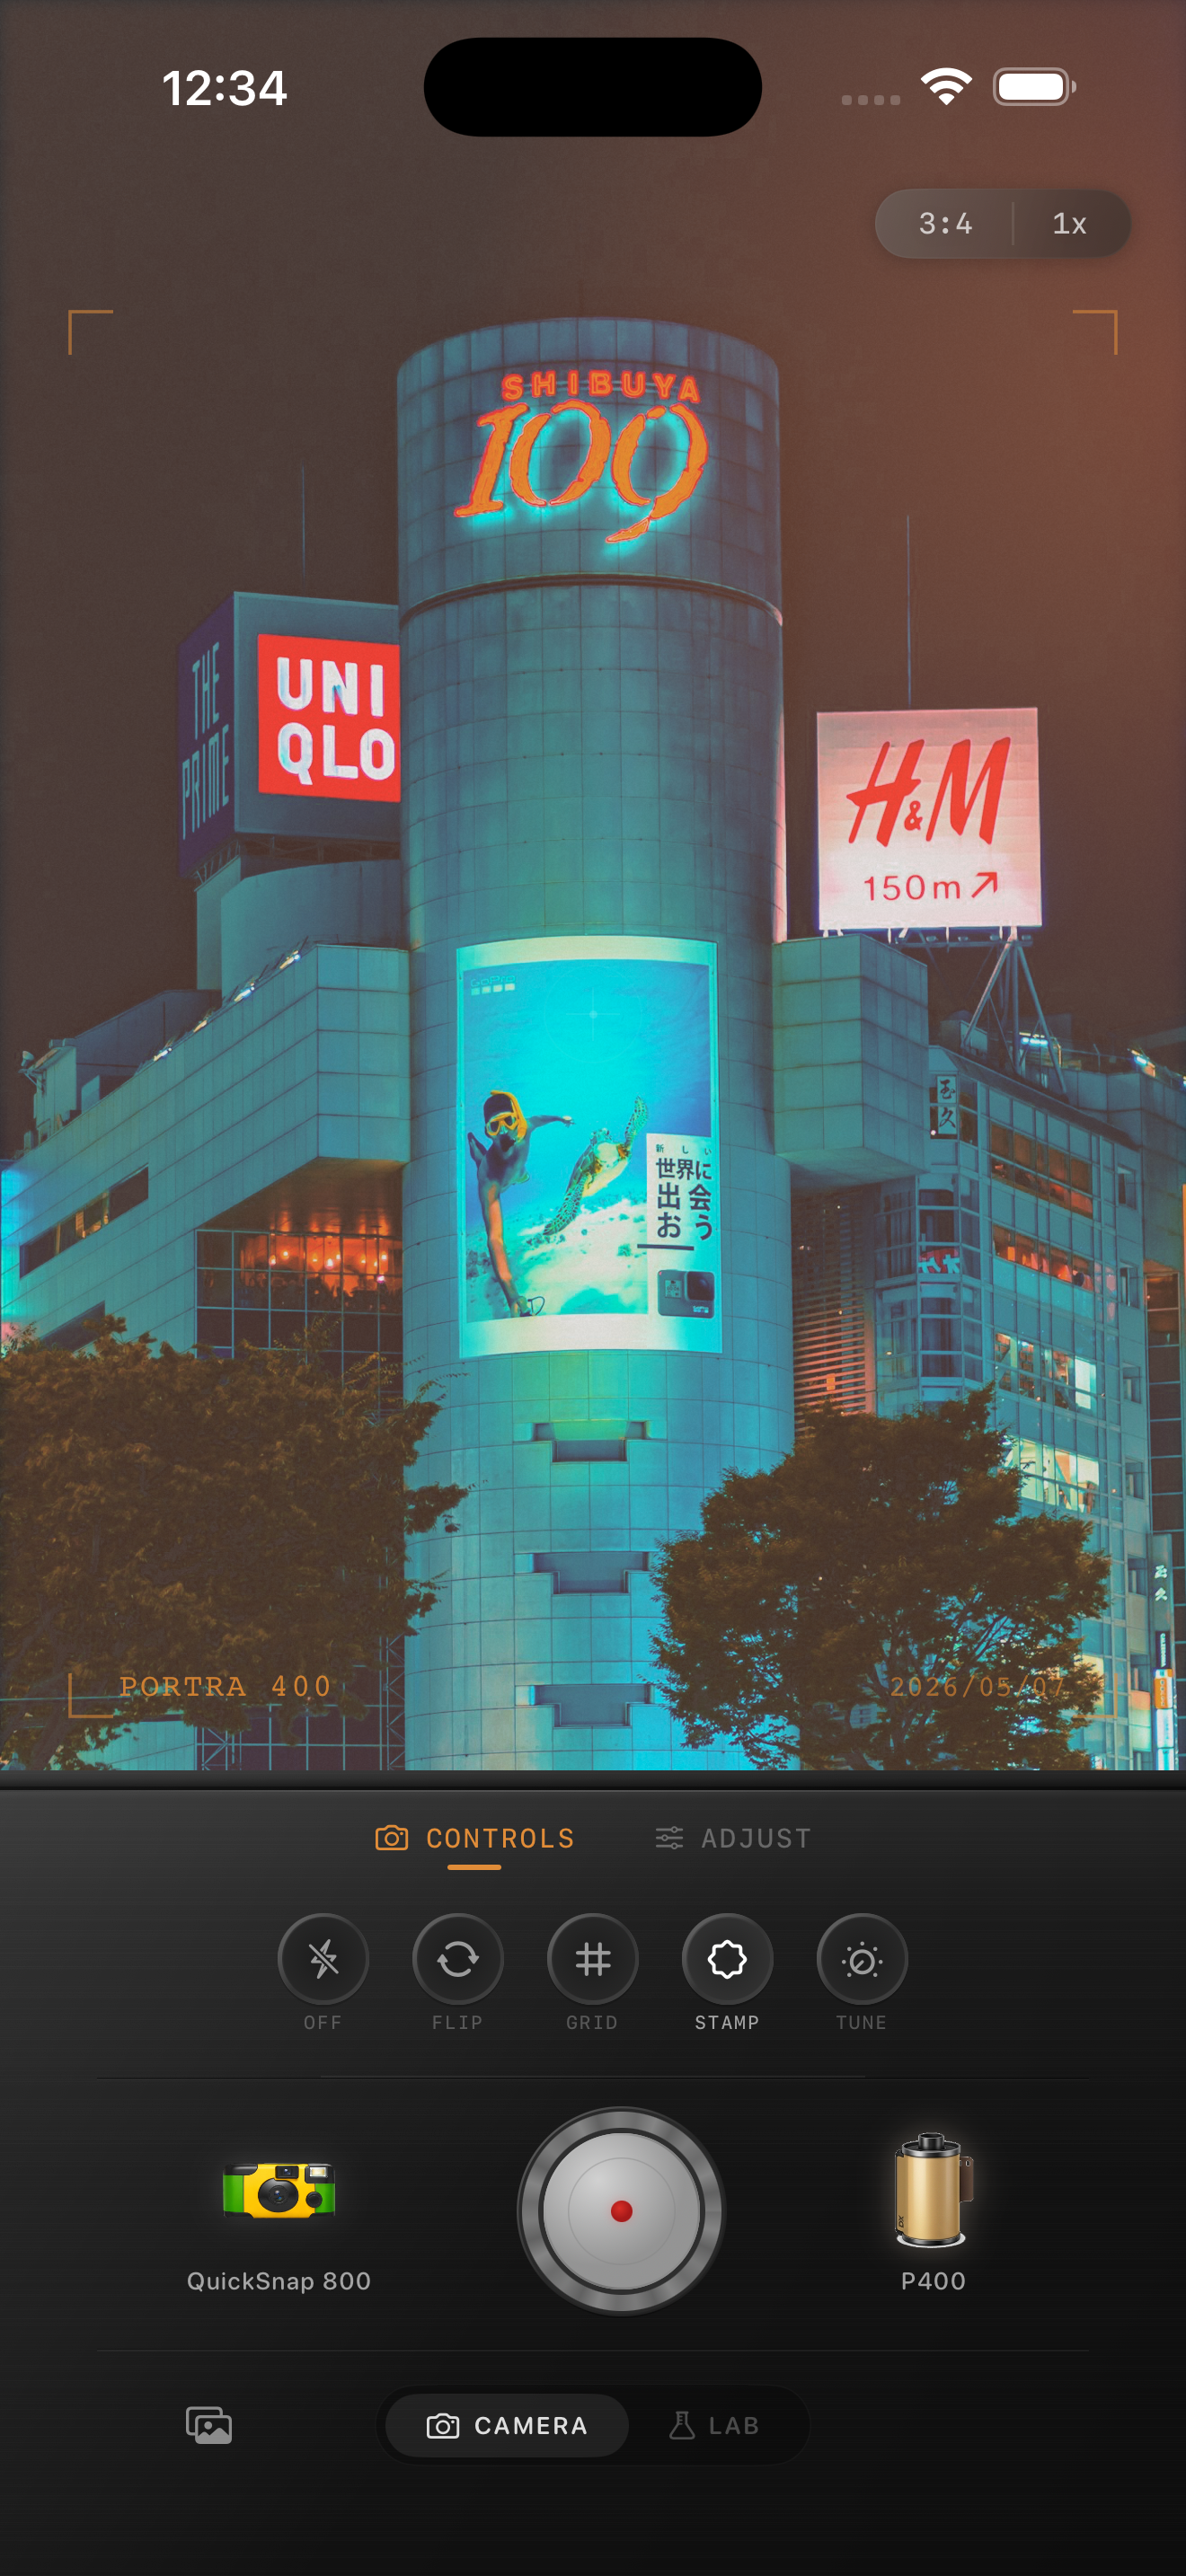
Blue hour city photos can feel cinematic on iPhone with controlled highlights, cooler shadows, gentle grain, warm pockets of light, and a film-style balance between neon and sky.
Blue hour gives you two color temperatures
Blue hour is one of the easiest times to make an iPhone photo feel cinematic because the scene already has contrast between cool ambient light and warm practical light. The edit should preserve that tension instead of flattening everything to one temperature.
If you warm the whole frame too much, the sky loses its dusk mood. If you leave everything too cool, windows, lamps, and signs stop feeling inviting.
A practical blue-hour settings recipe
Start with film intensity around 75-88%, grain around 30-42%, warmth around +3 to +8, fade around 4-8%, and vignette around 6-12%. Add only subtle glow around signs or street lights so the highlights bloom a little without turning mushy.
Keep the deepest shadows readable. Blue hour photos usually look best when the dark areas hold some detail instead of collapsing into pure black.
- Protect the blue in the sky.
- Let windows and signs stay warmer than the street.
- Use medium grain, not rough disposable grain.
- Keep halation subtle around bright lights.
- Lower contrast before raising saturation.
Neon should glow, not clip
City photos often fail when neon signs or headlights turn into flat white blocks. Pull the highlights under control first, then add grain and a touch of softness so the lights feel photographic.
You do not need a lot of warmth for this look. The warm parts should come from the scene itself, while the sky and street keep their cooler dusk color.
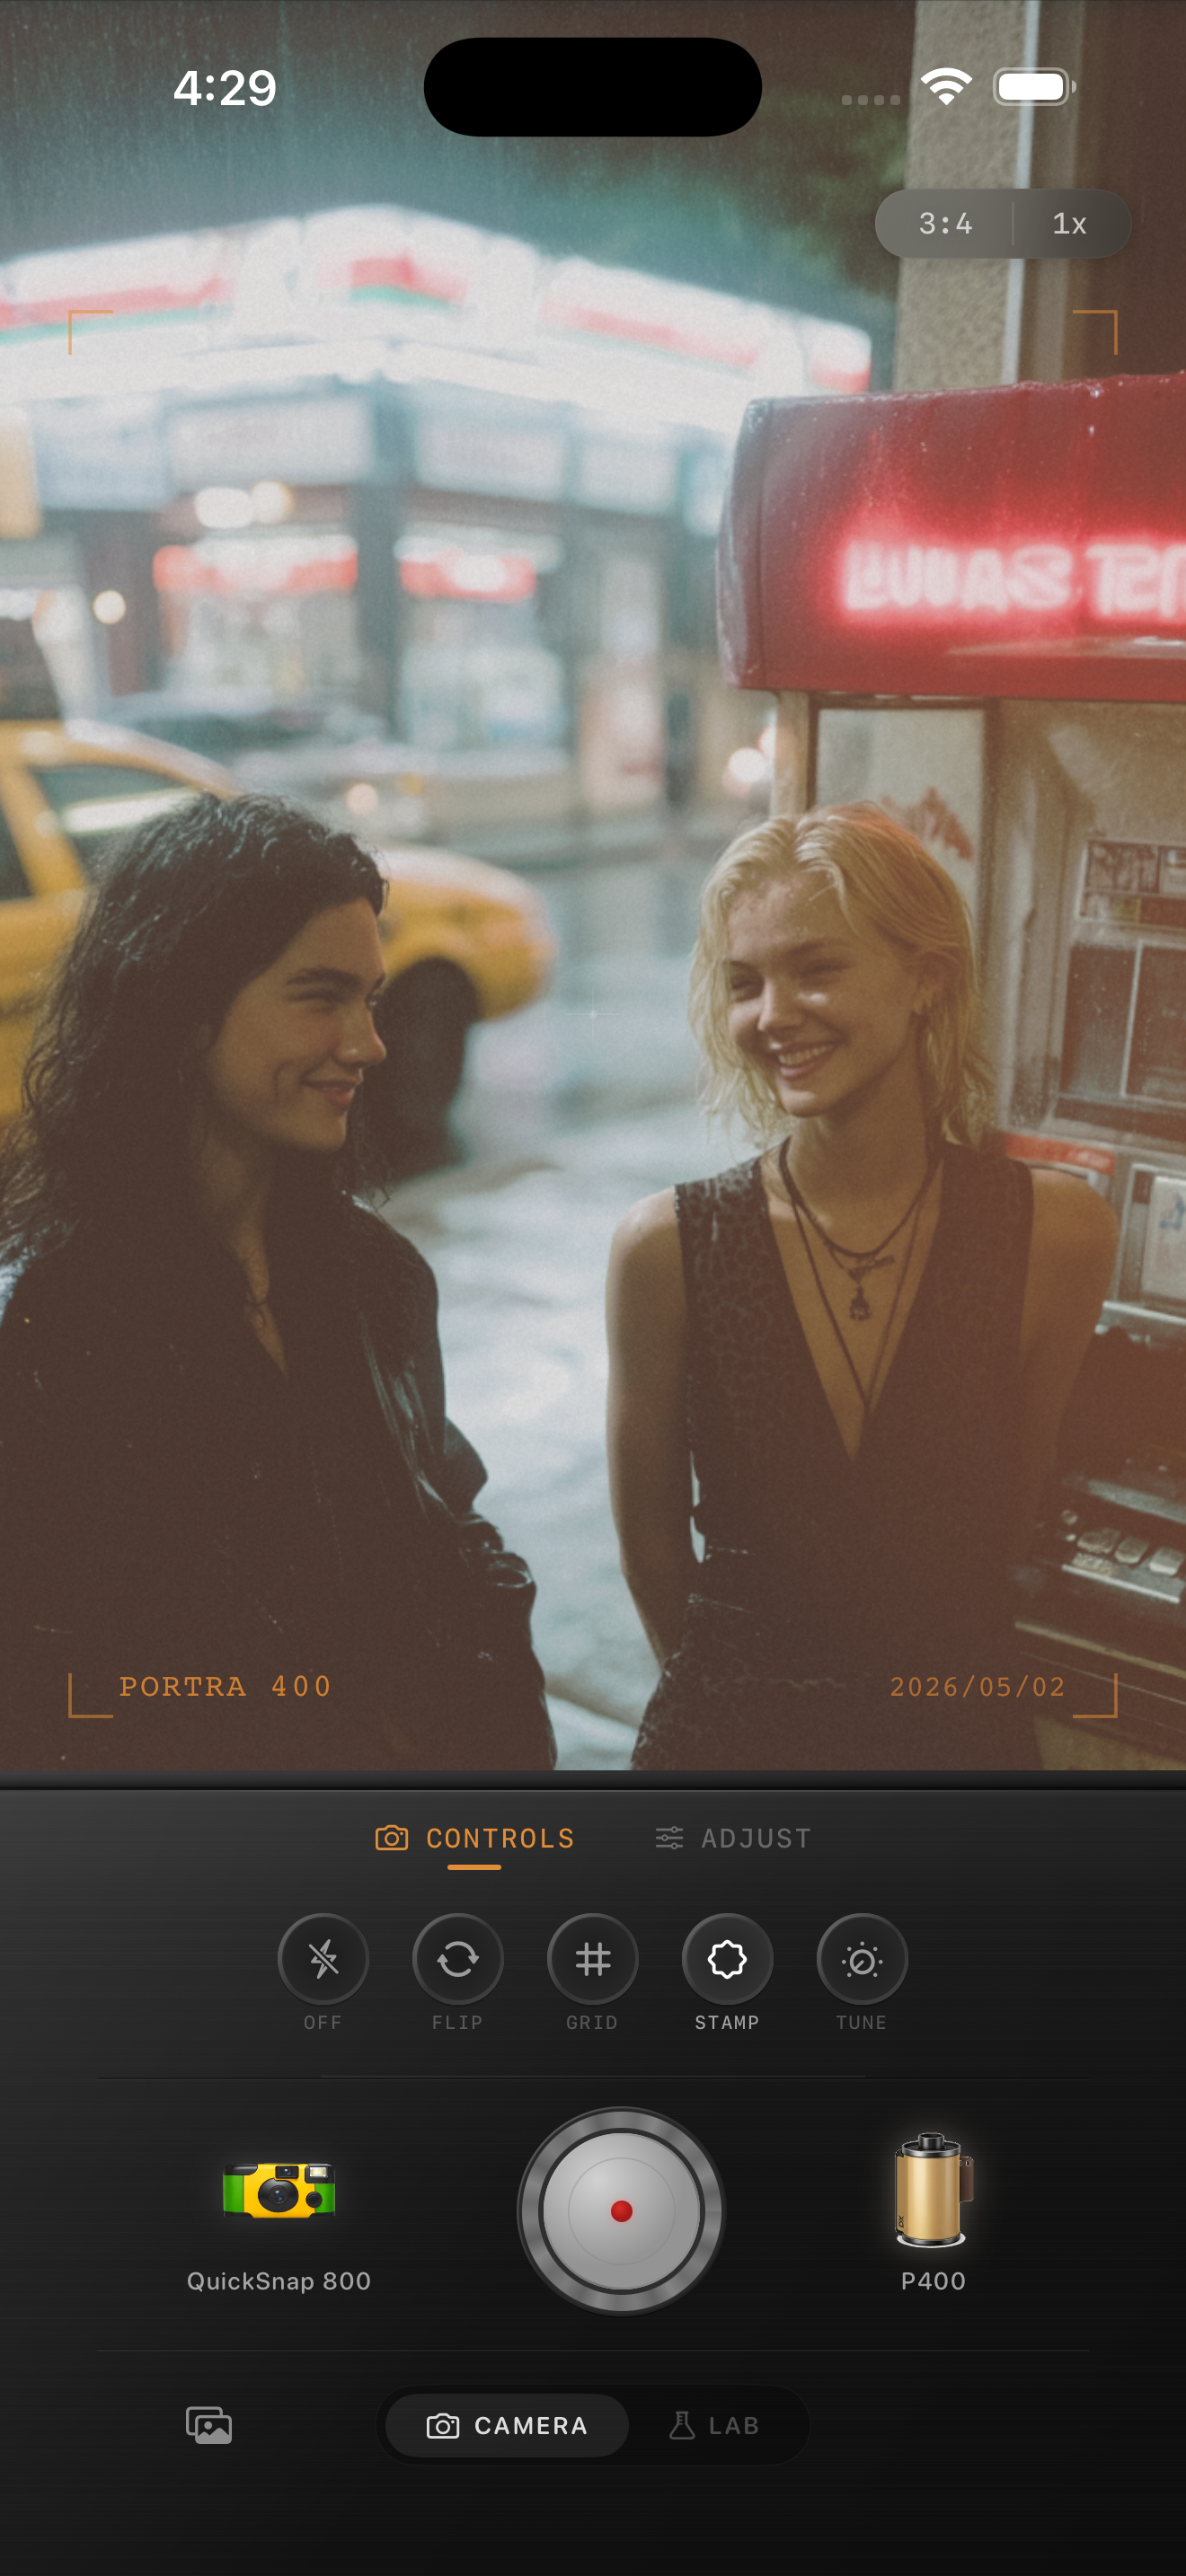
Choose scenes with shape, not just brightness
A good blue-hour film edit starts with reflections, side streets, storefronts, crosswalks, train platforms, or cars catching city light. Those details help the grain and color separation feel natural.
Once the scene already has mood, the edit only has to make it less clinical and more like a scanned night frame from a compact film camera.
Try a dusk city film edit
Open Nostalgia Cam for your next evening walk, choose a cleaner 35mm-style camera body, and tune grain, warmth, and highlight softness until the city keeps its blue-hour glow.
FAQ
Should blue hour film edits stay blue?
Yes. Keep some cool ambient color in the sky and shadows, then let lamps, windows, and signs provide the warmer contrast.
How much grain works for blue hour city photos?
Usually medium grain works best, around 30-42%. Enough to break up smooth digital shadows, but not so much that signs and sky turn crunchy.