iPhone film look
Best Film Settings for Snowy Night Street Photos on iPhone
A practical snowy-night film recipe for iPhone: warmer highlights, controlled streetlight glow, fine grain, soft contrast, and enough shadow detail to keep winter scenes believable.
Snow at night needs a lighter touch than daylight snow
Snowy night scenes already have contrast built in: bright snow, dark coats, amber streetlights, and deep shadows between buildings. If you push fade or grain too hard, the photo can turn slushy and gray instead of cinematic.
The best edit keeps snow readable while letting lamps and windows feel warm. Think softer contrast, a little texture, and enough highlight control that the snow still looks like snow rather than clipped white paper.
- Keep contrast soft, but do not flatten the blacks.
- Use warmth mainly in the highlights, not across the whole frame.
- Add fine-to-medium grain instead of rough disposable texture.
- Let streetlights glow slightly without blooming too far.
- Use vignette carefully so the snow stays open and airy.
A strong starting recipe
Start around film intensity 74-88%, grain 24-36%, warmth +6 to +12, fade 4-8%, and vignette 6-12%. If the snow is already bright, lower warmth a little first before lowering intensity.
For cleaner city portraits, stay closer to the low end of grain and vignette. For a rougher memory-shot mood, nudge grain slightly higher, but stop before coats, faces, and snowbanks look dirty.
Handle streetlights before you judge the grain
In snowy night photos, the glow from lamps, signs, and windows often decides whether the edit feels digital or film-like. If those highlights are too sharp, the scene looks clinical even when the grain is correct.
Soften the highlight response first, then add texture. Grain should help the shadows and midtones feel less plastic, but the emotional cue usually comes from how the light rolls off across snow and skin.
Choose scenes with one clear light source
This look works best when one streetlamp, storefront, or apartment window is doing most of the work. A single warm source gives the snow a natural color story and makes the edit easier to keep believable.
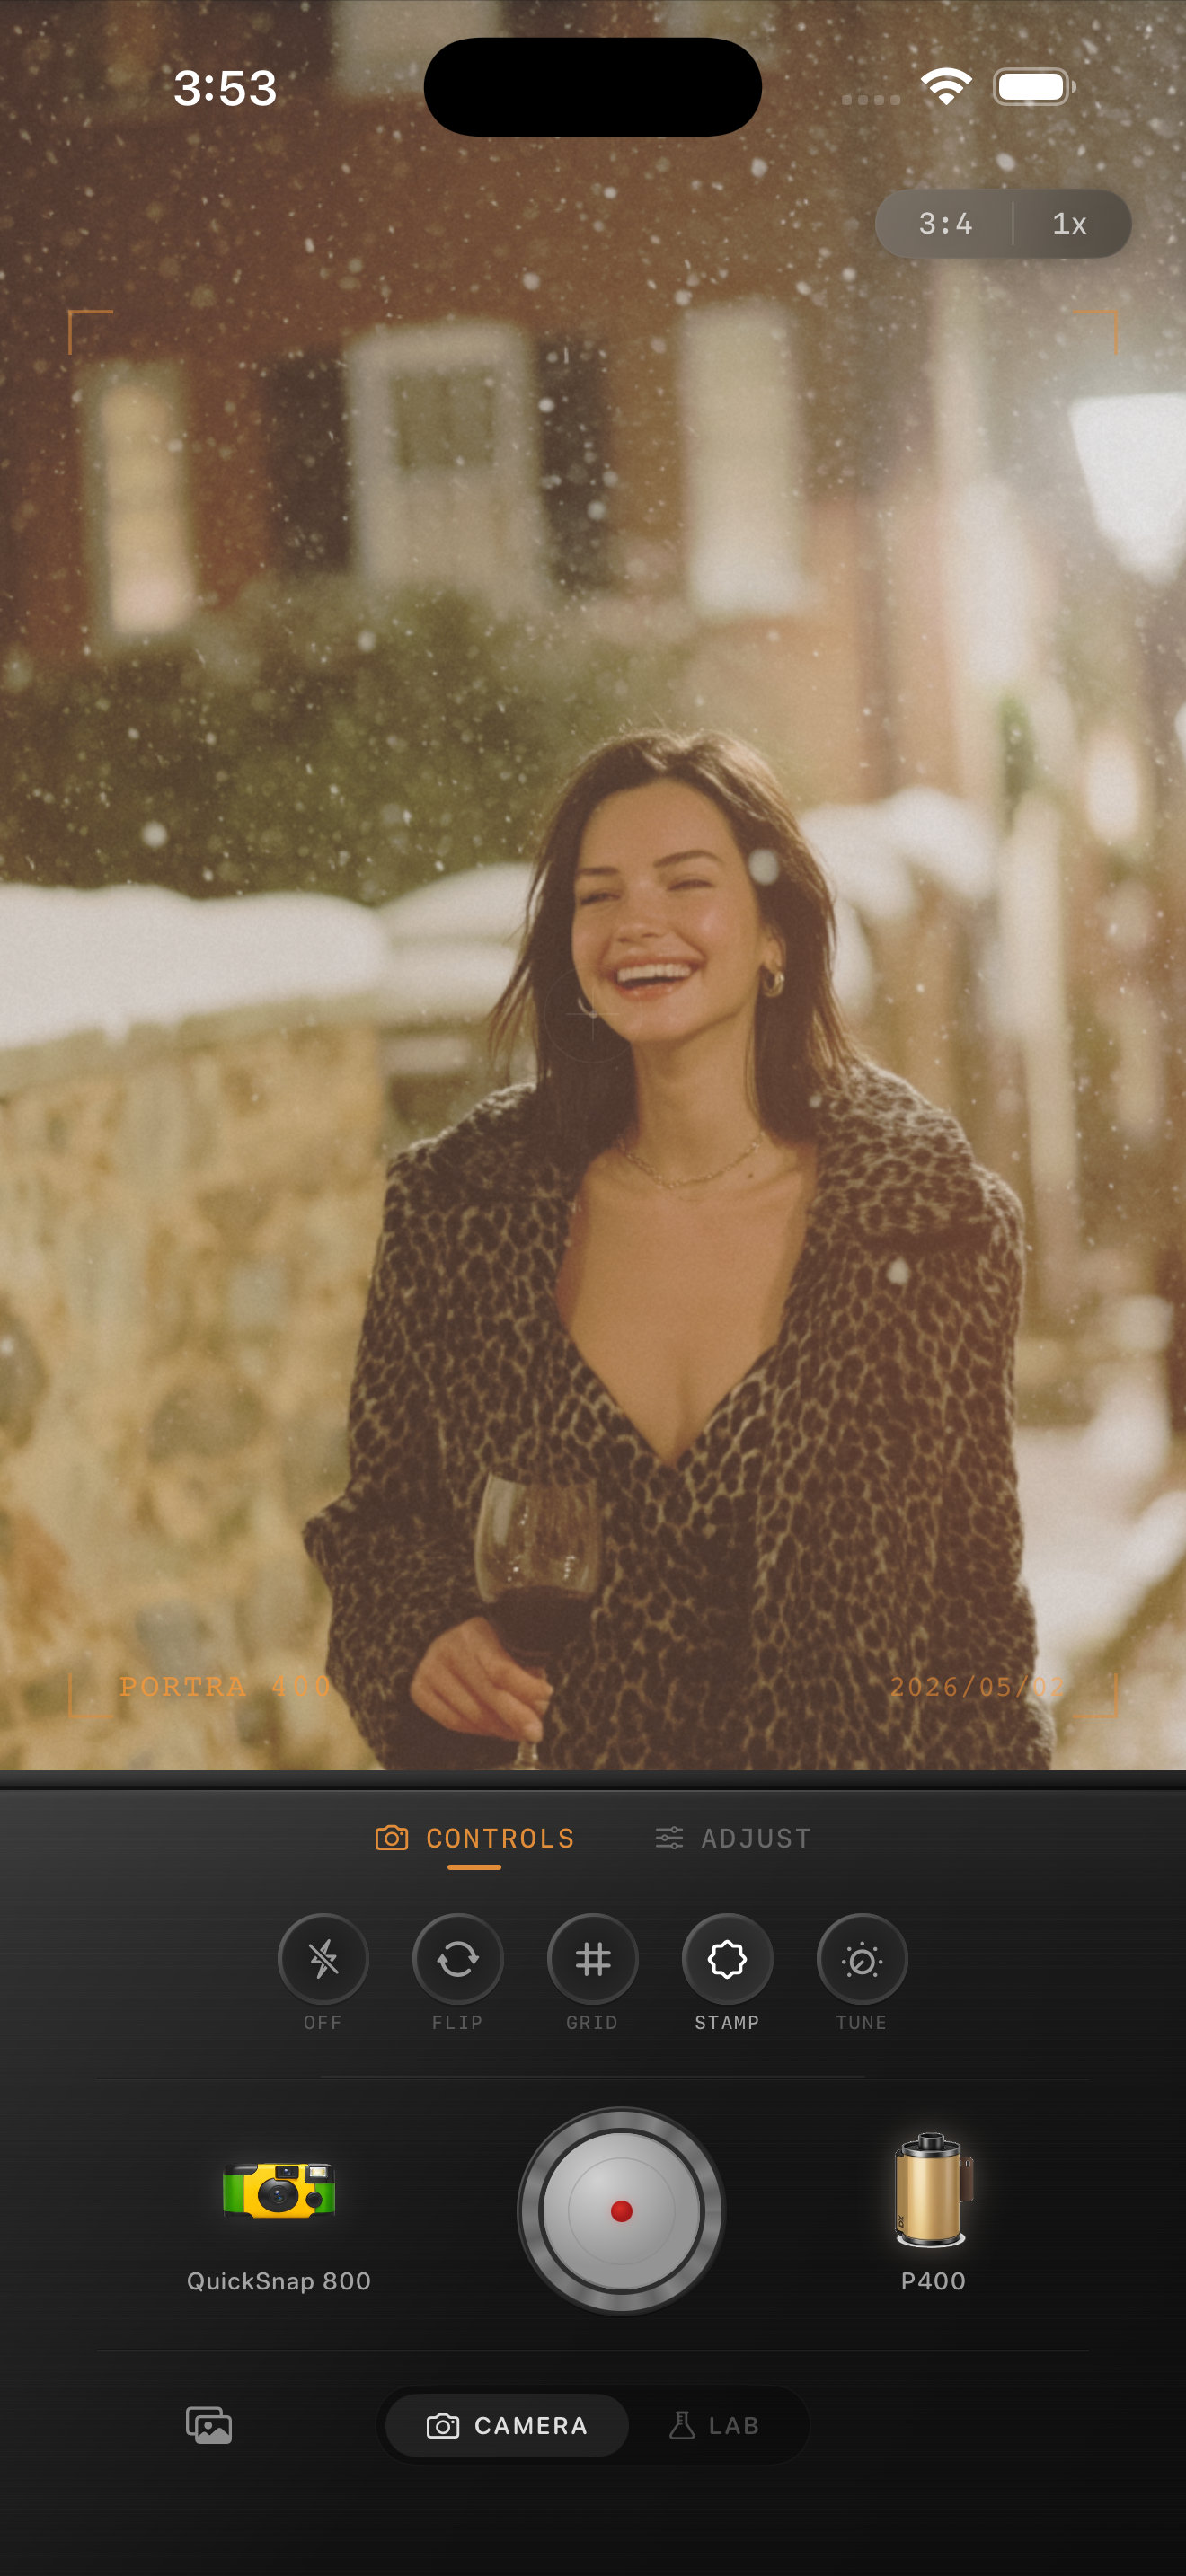
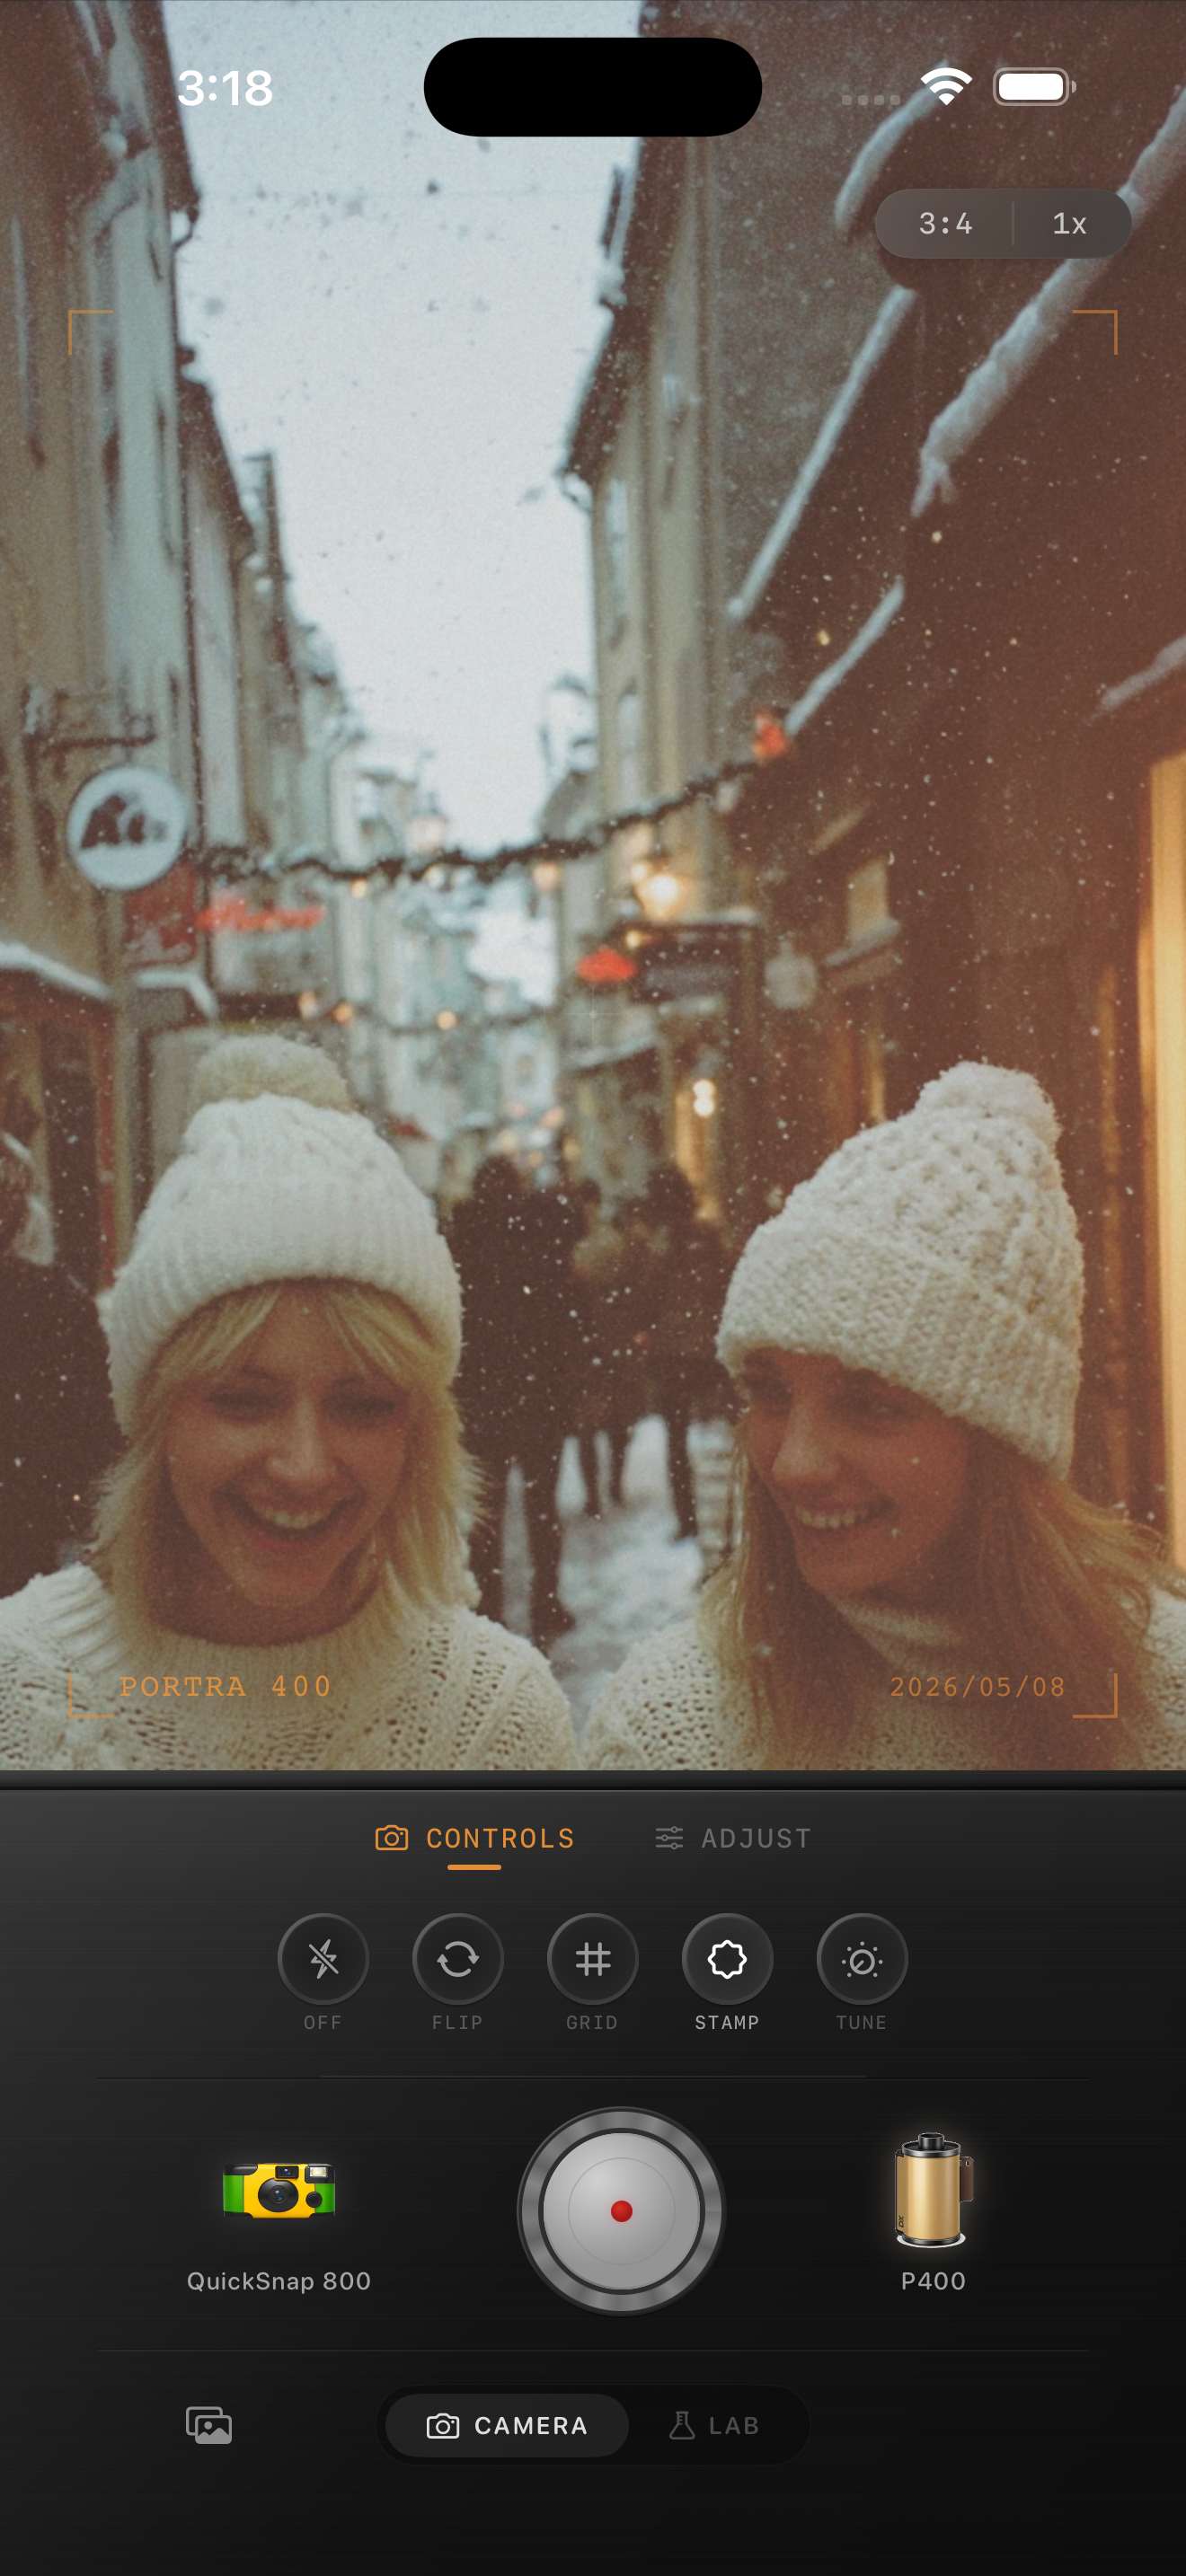
In Nostalgia Cam, start with a cleaner 35mm-style or balanced compact body, then fine-tune grain, warmth, and vignette until the scene feels like a winter memory instead of a processed Night Mode file.
Tune winter night photos in Nostalgia Cam
Use Nostalgia Cam to combine film color, soft highlight rolloff, grain, fade, and camera-body character so snowy street photos feel warmer and less digitally processed.
FAQ
What grain amount works best for snowy night street photos on iPhone?
A fine-to-medium grain range around 24-36% is a strong starting point. It adds texture without making snow, coats, or skin look muddy.
Should snowy night edits be very warm?
Usually only a little. Let lamps and windows create the warmth, then keep the snow close to neutral so the scene still feels cold and believable.