iPhone film look
How to Make Travel Photos Look Like Film on iPhone
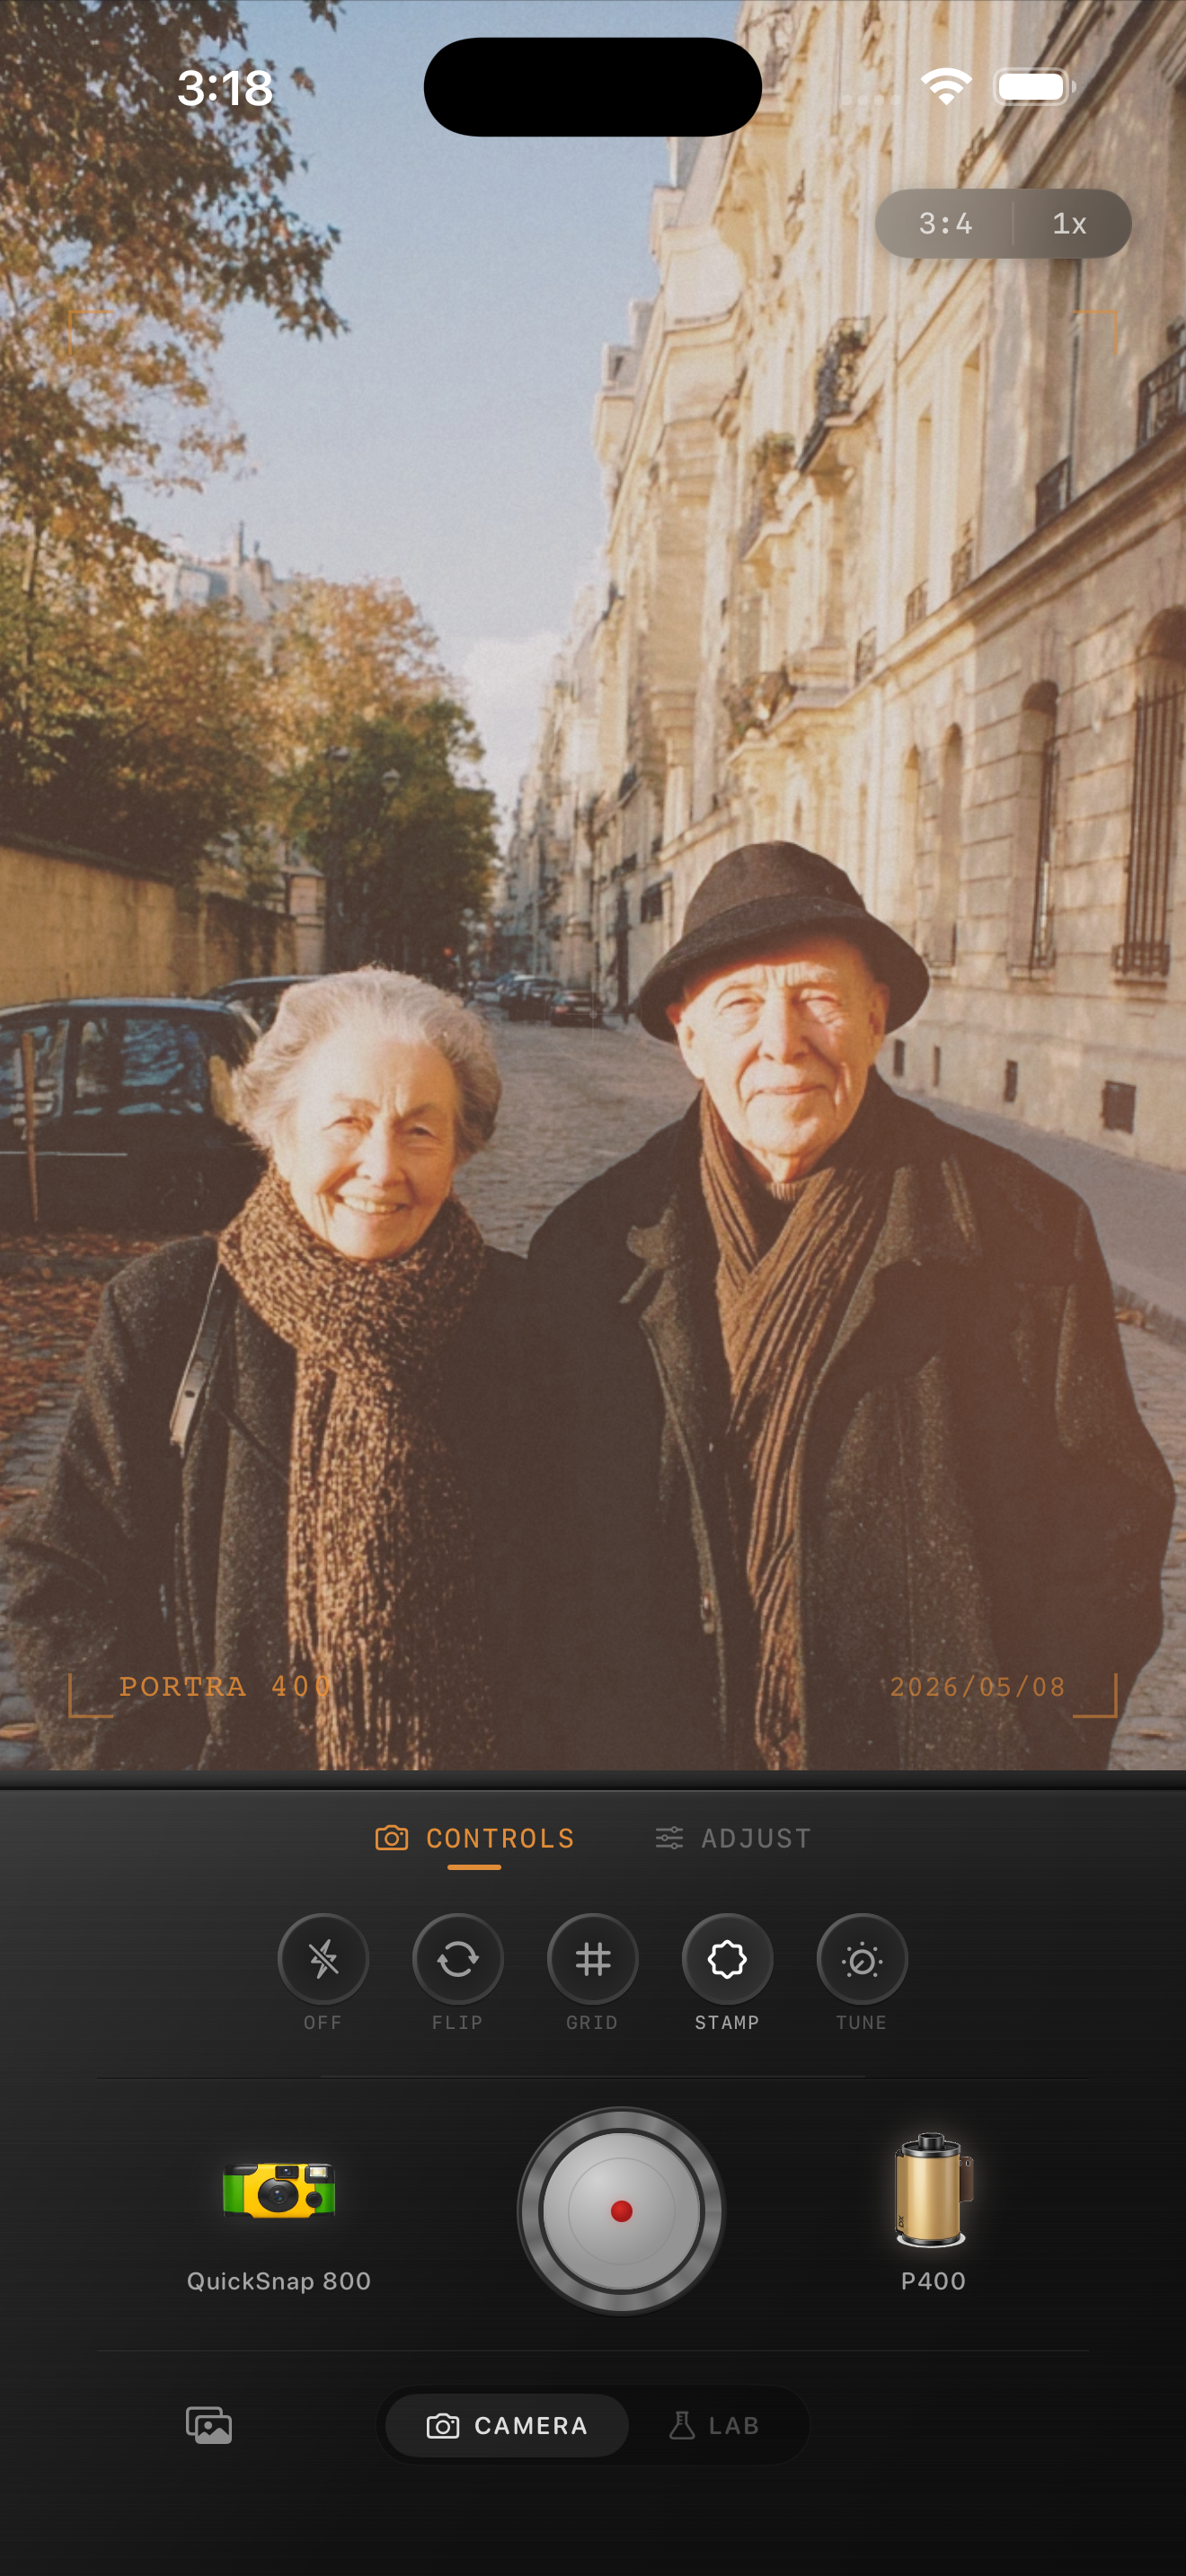
Turn travel photos into warmer, more memorable film-style images with cleaner composition choices, softer contrast, practical grain settings, and export choices that survive sharing.
Travel photos need atmosphere more than heavy effects
The best travel-film edits do not try to turn every photo into the same preset. A café, train platform, street sign, coastline, museum hallway, or rainy hotel window all need slightly different treatment.
What they share is mood. Travel photos usually look more like film when the edit protects the feeling of place: warm morning light, soft evening shadows, gentle grain, and color that feels printed instead of hyper-processed.
A simple travel film starting point
Start around film intensity 70-85%, grain 25-40%, warmth +6 to +14, fade 4-10%, and vignette 5-12%. Use the lower end for bright architecture and beach scenes, and the higher end for trains, interiors, rainy streets, and dusk.
If the location already has strong color, like red awnings or blue water, avoid pushing saturation. Travel film photos usually feel better when color is slightly calmer and the texture does more of the nostalgic work.
- Use moderate grain for daylight landmarks and city streets.
- Warm the scene gently instead of tinting everything orange.
- Protect skies, snow, and pale walls from going muddy.
- Use a small vignette only when the frame needs help.
- Save stronger grain for night markets, stations, and interiors.
Match the camera body to the trip
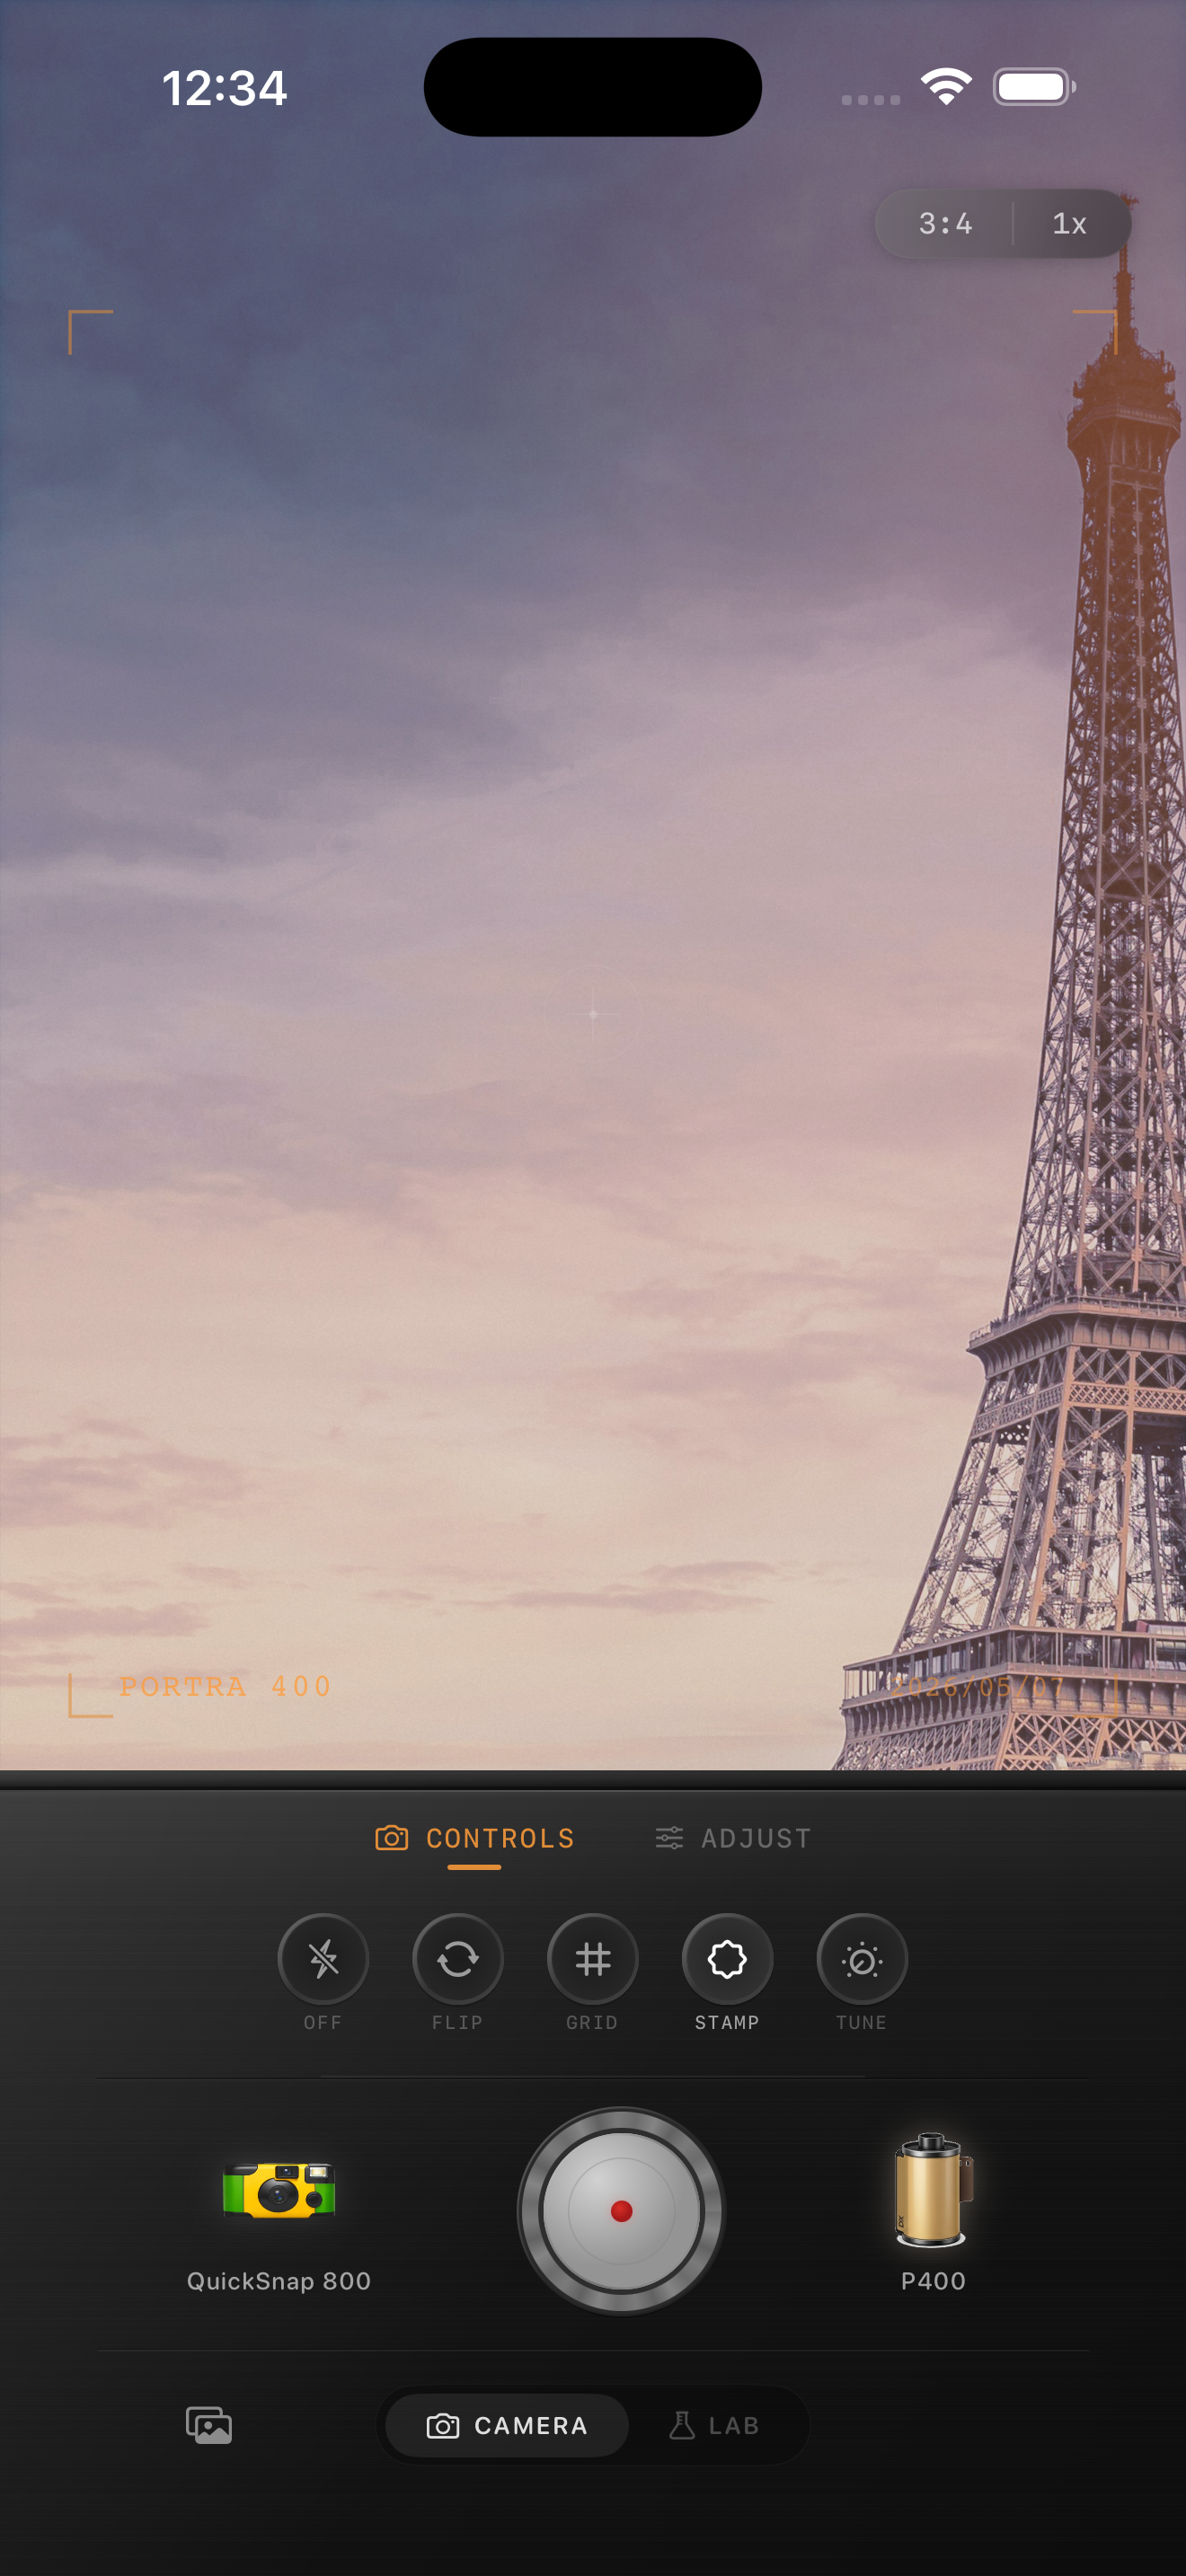
A clean 35mm-style body works well for architecture, museums, daylight walks, and scenic overlooks because it keeps the photo elegant. A disposable-style body works better for road trips, beach days, parties, diners, and quick snapshots with friends.
That choice matters more than people think. The film look shapes color, but the camera body controls whether the travel memory feels polished, rough, playful, or intimate.
Edit for sharing, not just for zooming in
Travel photos often end up in albums, Instagram carousels, group chats, and small printed keepsakes. Before you finish, view the image at phone-feed size. It should feel warmer and more memorable before the grain becomes obvious.
If social compression is part of the plan, keep the grain a little more visible than you would for a full-resolution archive. Tiny texture can disappear once the photo gets uploaded.
Give travel photos a consistent film language
Shoot or import your trip photos in Nostalgia Cam, then match each scene with the right camera body, film look, grain, warmth, and fade so the whole album feels cohesive instead of overedited.
FAQ
Do all travel photos need the same film settings?
No. Use one overall direction, but adjust grain, warmth, and fade by scene. Bright beaches, cloudy streets, museums, and night markets need different amounts.
What is the easiest way to make vacation photos feel less digital?
Start by softening contrast and adding moderate grain. Then add a small warmth shift and a film-style camera body that matches the mood of the trip.