iPhone film look
How to Make iPhone Photos Look Like Film Without Overediting
A practical iPhone film look recipe: softer contrast, warmer color, real grain texture, subtle fade, and a camera app workflow that keeps photos from looking over-filtered.
The simple film look recipe
The fastest way to make an iPhone photo feel like film is not to pile on a heavy preset. Real film usually feels softer, warmer, grainier, and less clinically sharp than a default iPhone image.
Start with a photo that already has a mood: window light, snow, neon, a candlelit table, dusk, or direct flash. Then use the edit to reduce the digital feeling instead of trying to invent the whole mood afterward.
- Use a film-style color profile first.
- Keep contrast soft, not crushed.
- Add grain that has uneven texture, not just digital noise.
- Use a tiny bit of fade in the shadows.
- Add a restrained vignette only if the edges feel too clean.
A good starting point for settings
If you are editing manually, use this as a baseline: film intensity around 70-85%, warmth around +8 to +18, grain around 30-45%, fade around 5-12%, and vignette around 8-18%. The exact values depend on the photo, but this keeps the edit believable.
The mistake most people make is pushing grain and warmth too evenly. Film has character because it is inconsistent: grain clusters more in some areas, shadows lift differently than highlights, and edges often feel less perfect.
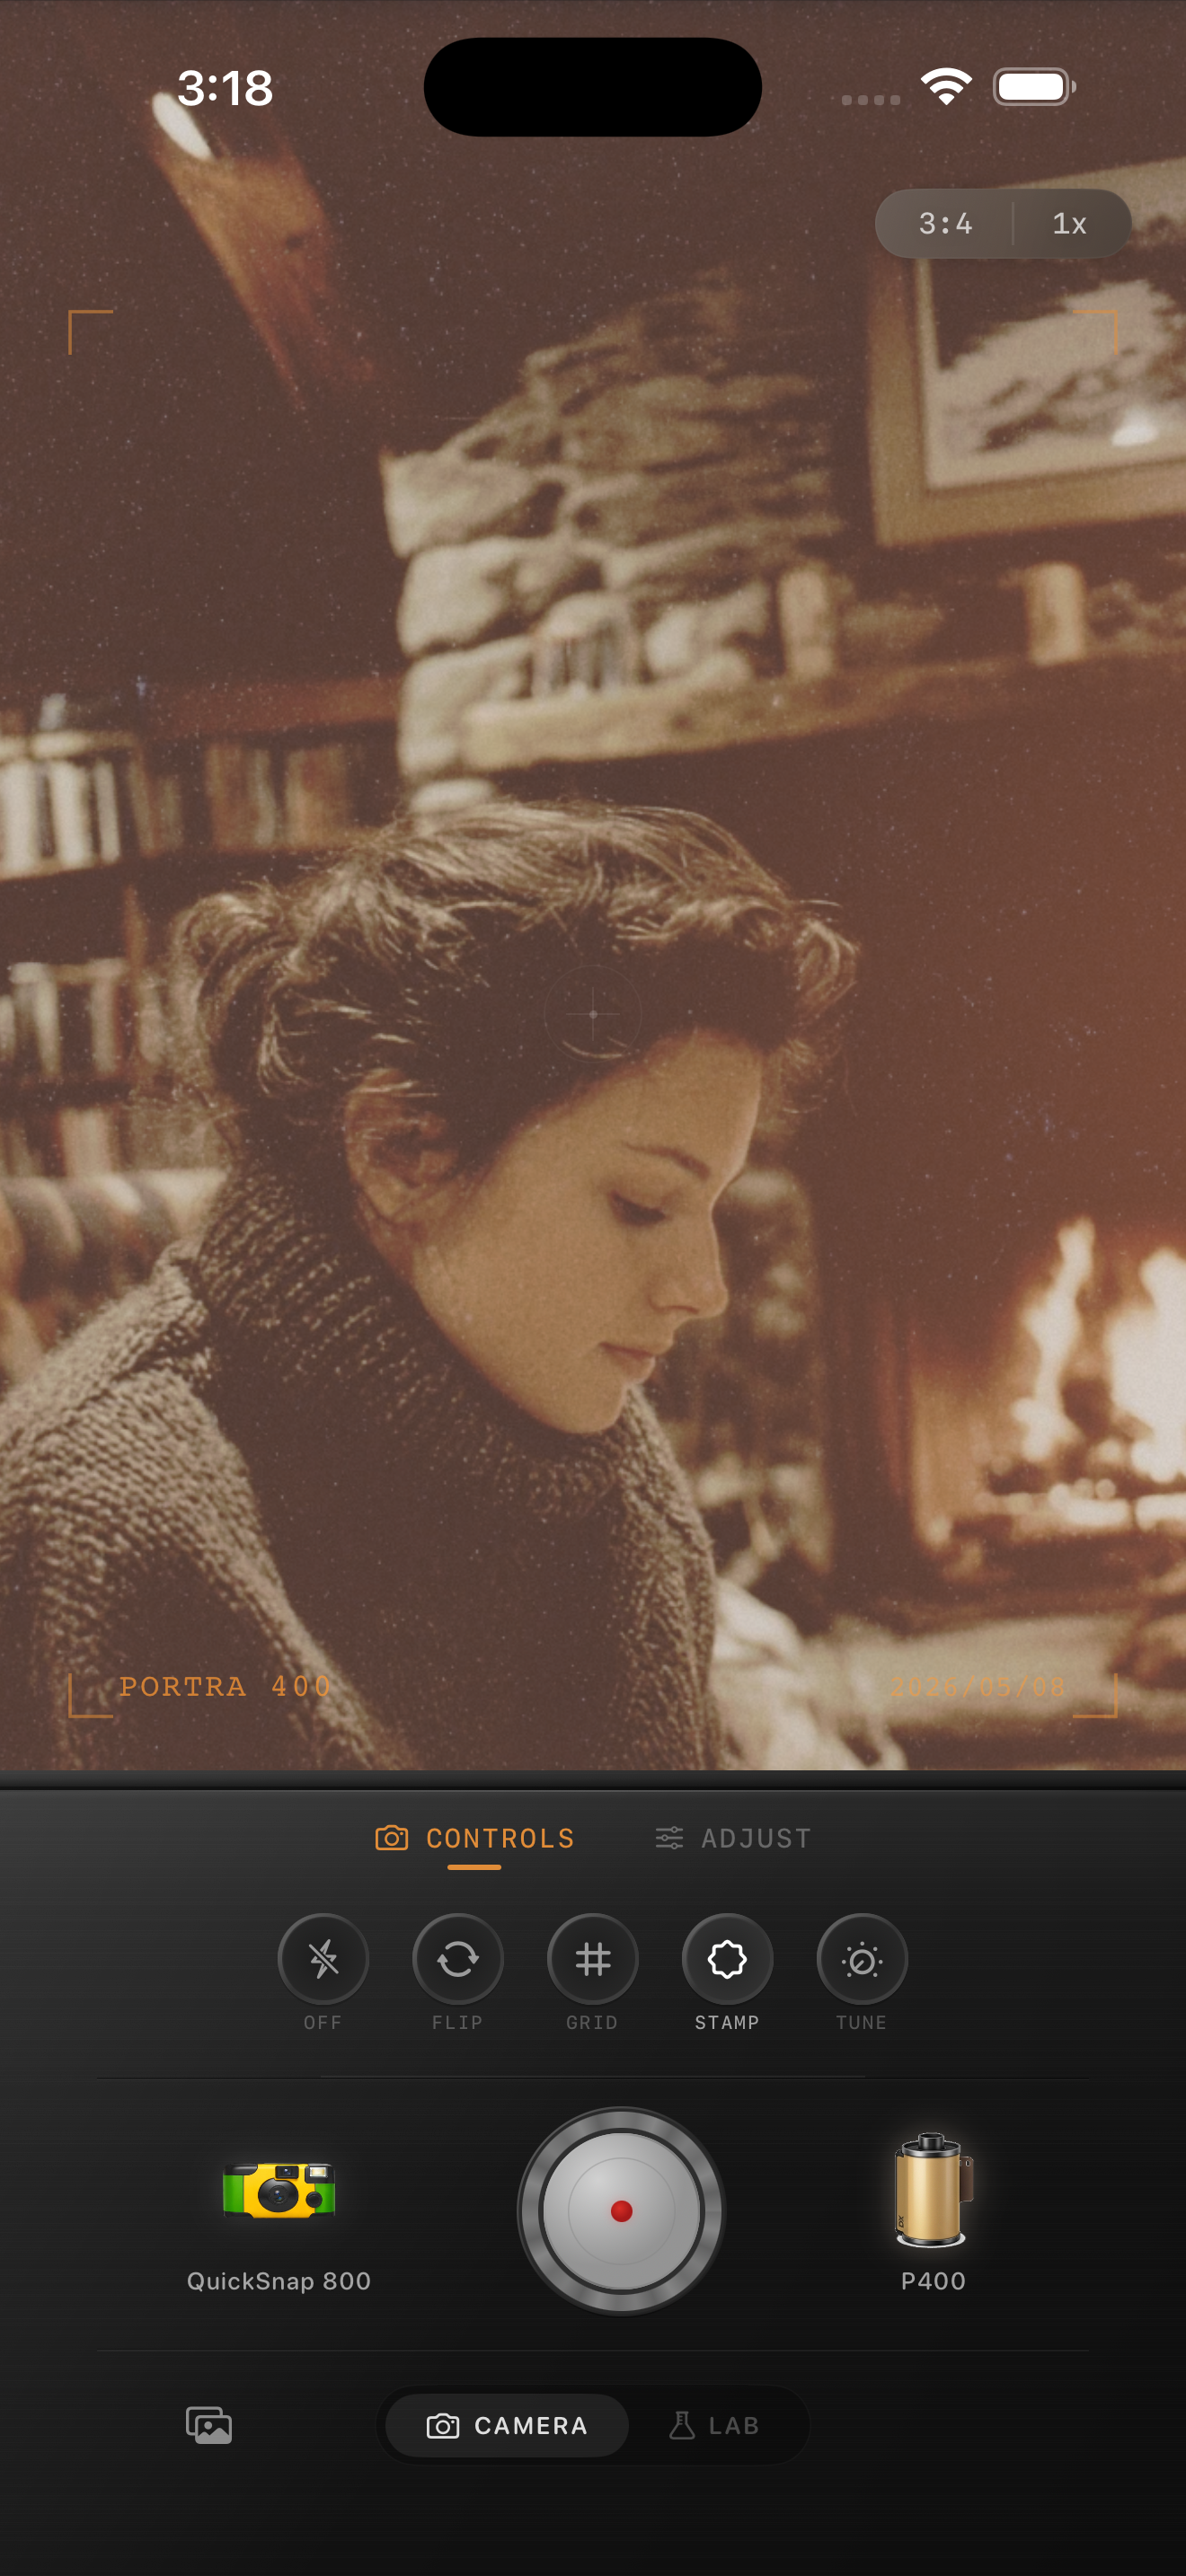
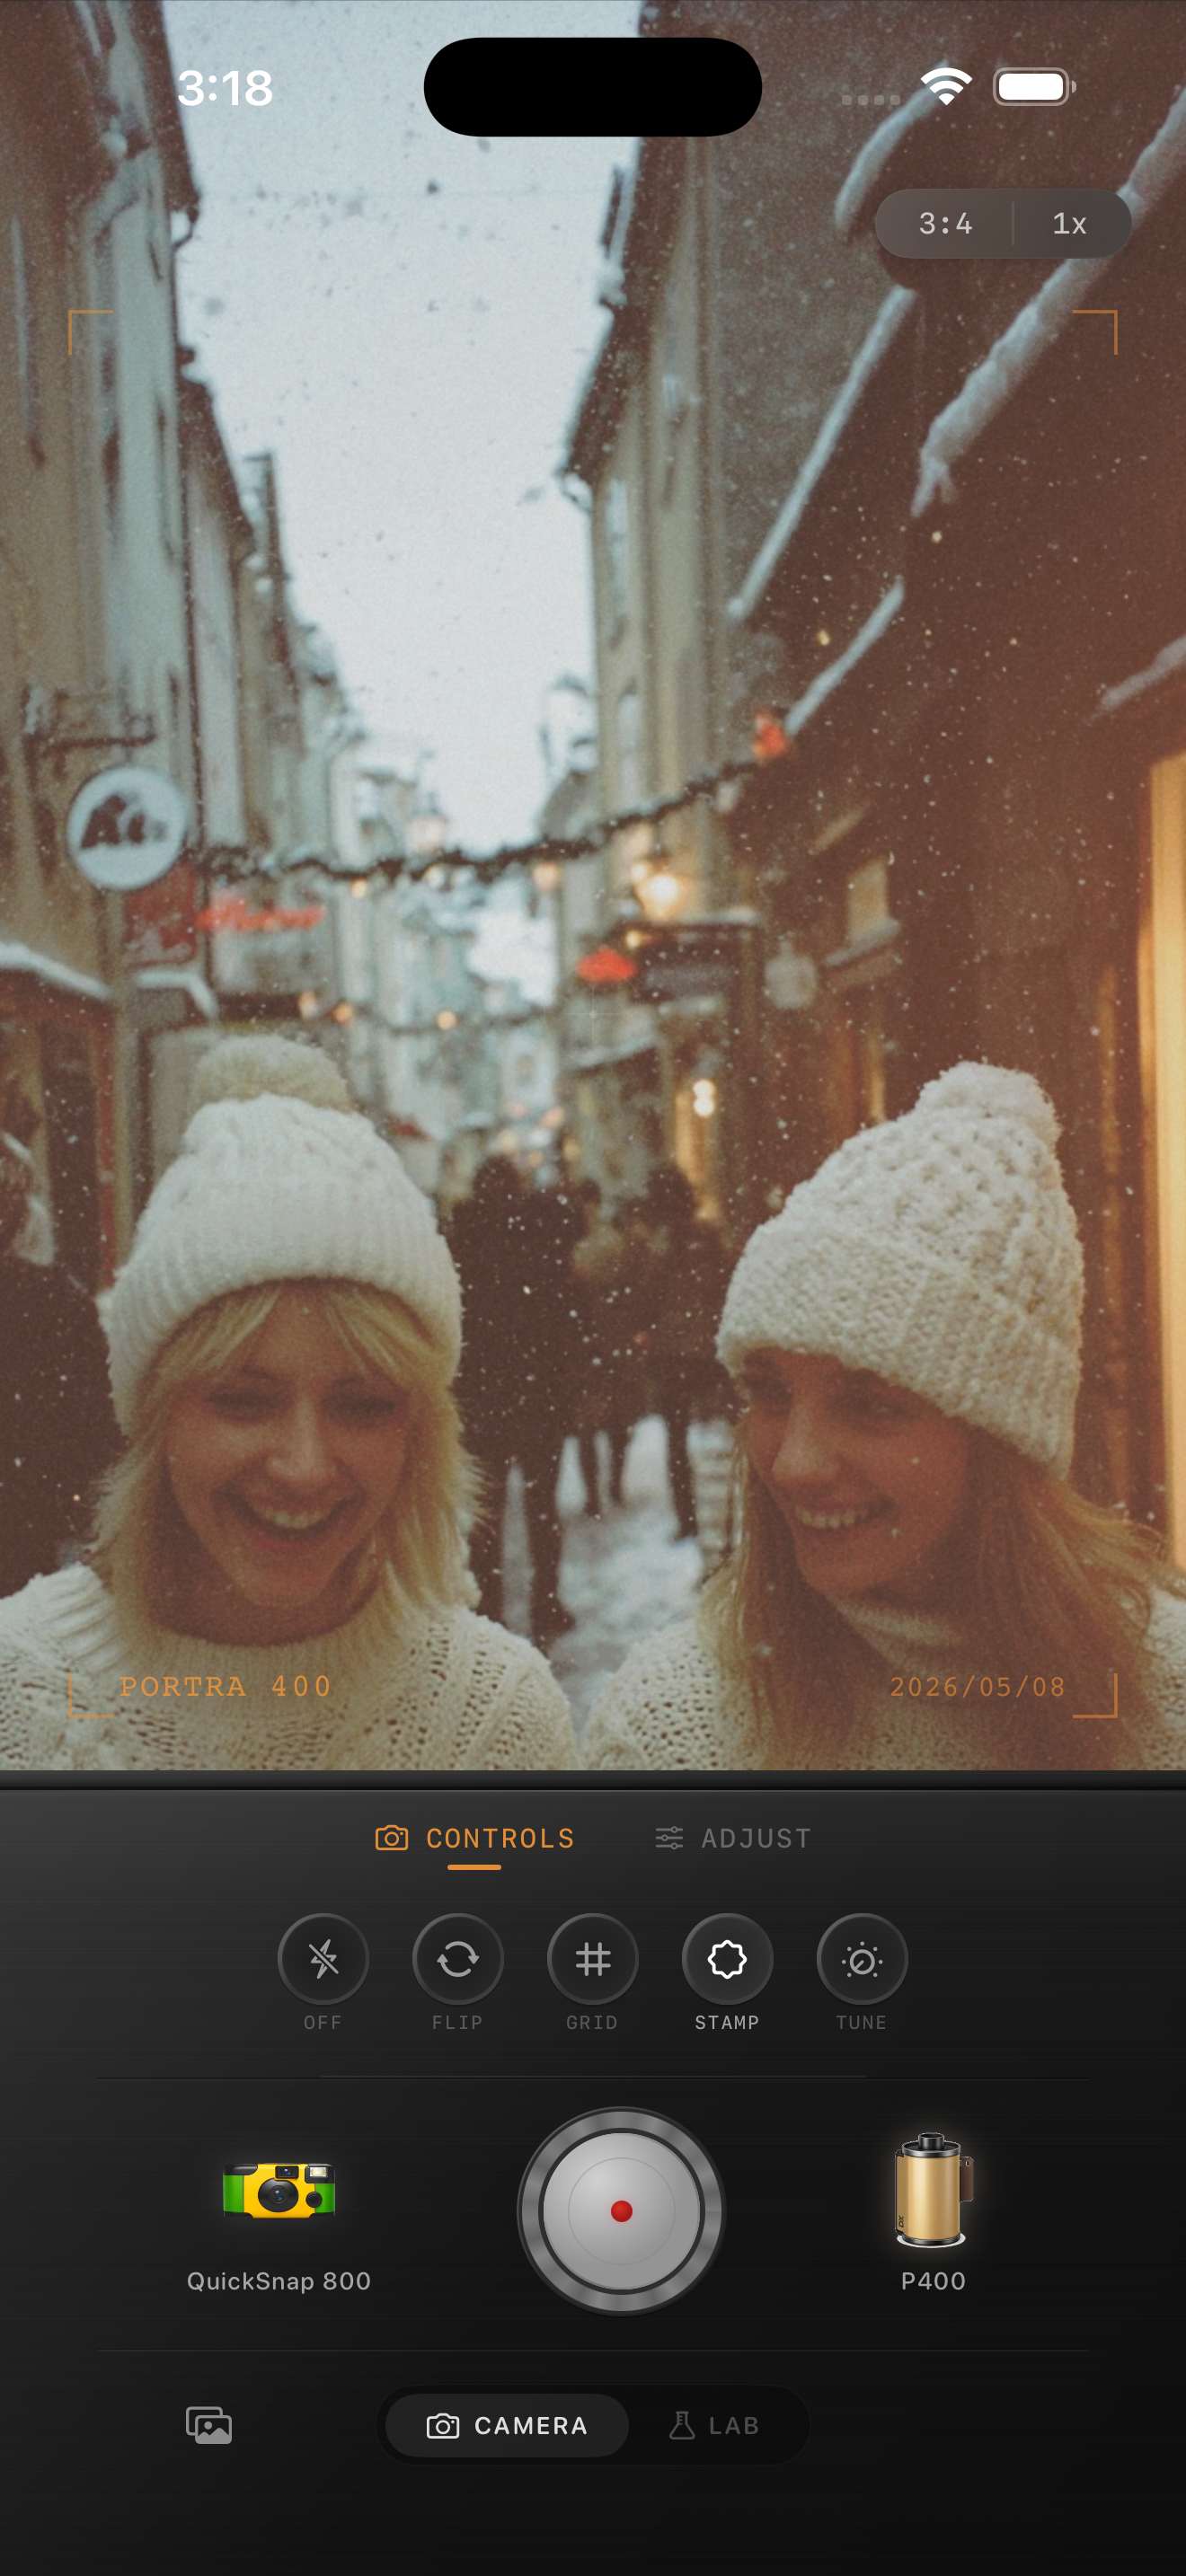
Use the camera, not just the filter
A film look is partly color, but it is also camera behavior. A disposable-style camera should feel a little rougher. A cleaner 35mm compact should have less damage and tighter grain. A medium-format inspired look should be smoother and more controlled.
Nostalgia Cam lets you choose both a camera body and a film look, so the result is not just one generic preset. Start with a camera body that matches the mood, then switch film looks until the color lands.
When to stop editing
The edit is done when the photo feels like it could have come from a small stack of prints. If the grain is the first thing you notice, pull it back. If the photo still looks like a default iPhone shot, add a touch more grain, warmth, fade, or lens softness.
A useful test: zoom out until the image is phone-feed size. Film edits should improve the feeling of the image before the texture becomes obvious.
Try the recipe in Nostalgia Cam
Open Nostalgia Cam, choose a camera body, pick a film look, then adjust grain, warmth, fade, and vignette until the photo feels like a memory instead of a phone snapshot.
FAQ
Can iPhone photos really look like film?
Yes, but the edit needs more than a warm preset. A believable film look usually combines softer contrast, film-style color, uneven grain, slight fade, and camera-body character.
What is the easiest setting to start with?
Start with film intensity around 70-85%, grain around 30-45%, a small warmth boost, and a little fade. Then adjust per photo.