
Editing guide
How to Edit iPhone Trick-or-Treat Photos to Look Like Film Without Blown Porch Lights
A practical iPhone film-editing guide for trick-or-treat photos: keep costumes, faces, and porch lights readable while adding a gentle nighttime print feel.
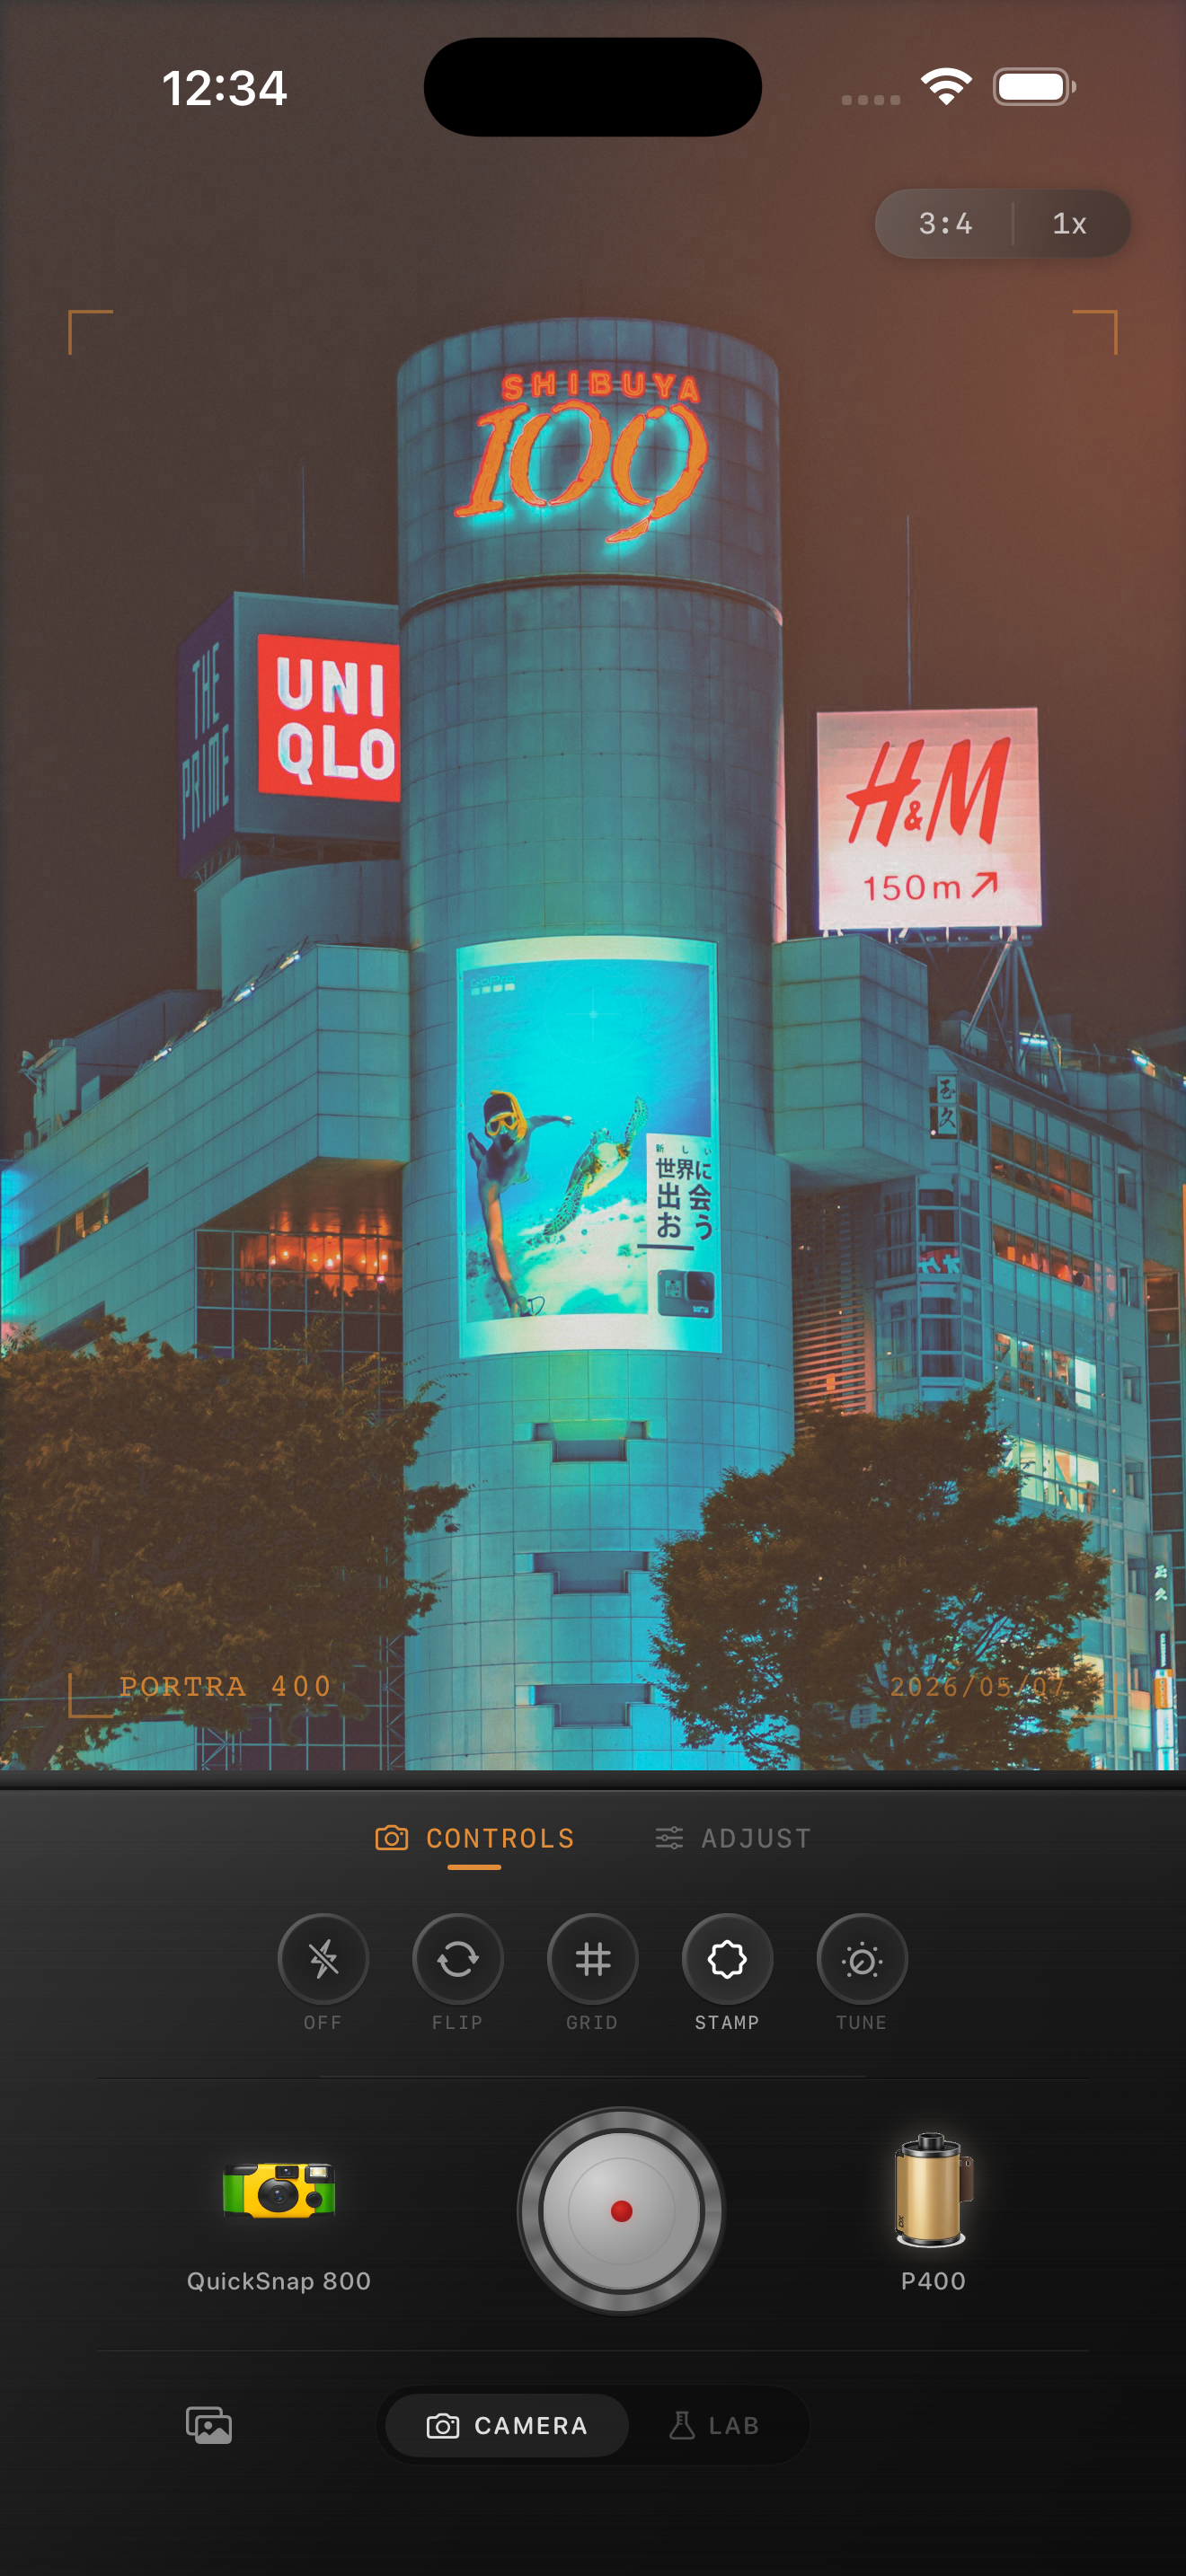
Start with the frame where the costume and the moment both read
Trick-or-treat photos often have competing light: a bright porch fixture, a dim sidewalk, a phone flash, and a moving kid in a costume. Before editing, compare nearby frames at normal phone size and choose the one where the expression, costume shape, or candy-bucket gesture is already clear. A film-inspired finish can soften the digital edge, but it cannot rebuild detail that was never captured.
Keep the original beside the edit while you work. The useful goal is not to make the whole scene equally bright; it is to keep the person and the place recognizable. The existing night-light preview above is a style reference, not a trick-or-treat comparison.
Use a face, costume detail, and porch light as three checks
Pick three small references before changing the film look: a face or hand, a costume detail with a known color, and the brightest part of the porch light or window. Check them together after every broad adjustment. That makes it easier to see when warmth is turning skin orange, fade is making a black costume gray, or a highlight is becoming a flat white patch.
A bright light can still look bright. You do not have to force it dull for the photo to feel balanced. What matters is that the light does not erase the edge of a costume, the front steps, or the person standing near it.
- Judge faces at normal sharing size, not only while zoomed in.
- Use a costume stripe, shoe, or candy bucket as a color reference.
- Keep an eye on the edge around the brightest porch light.
- Change one broad control at a time so you know what shifted.
Begin with a restrained night-film recipe
Start around film intensity 62–76%, grain 18–30%, warmth +1 to +6, fade 2–6%, and vignette 3–8%. Stay toward the lower end when a porch light or phone flash is already strong. A small warmth adjustment can make a cool sidewalk feel friendlier, but compare it against skin and costume color before pushing the look further.
A cleaner compact-film or 35mm-inspired camera body usually works better than a rough disposable look for this kind of scene. Costumes can have glitter, faux fur, printed fabric, and tiny accessories; they already bring texture. Let the edit make the low light feel gentler without making every dark area muddy.
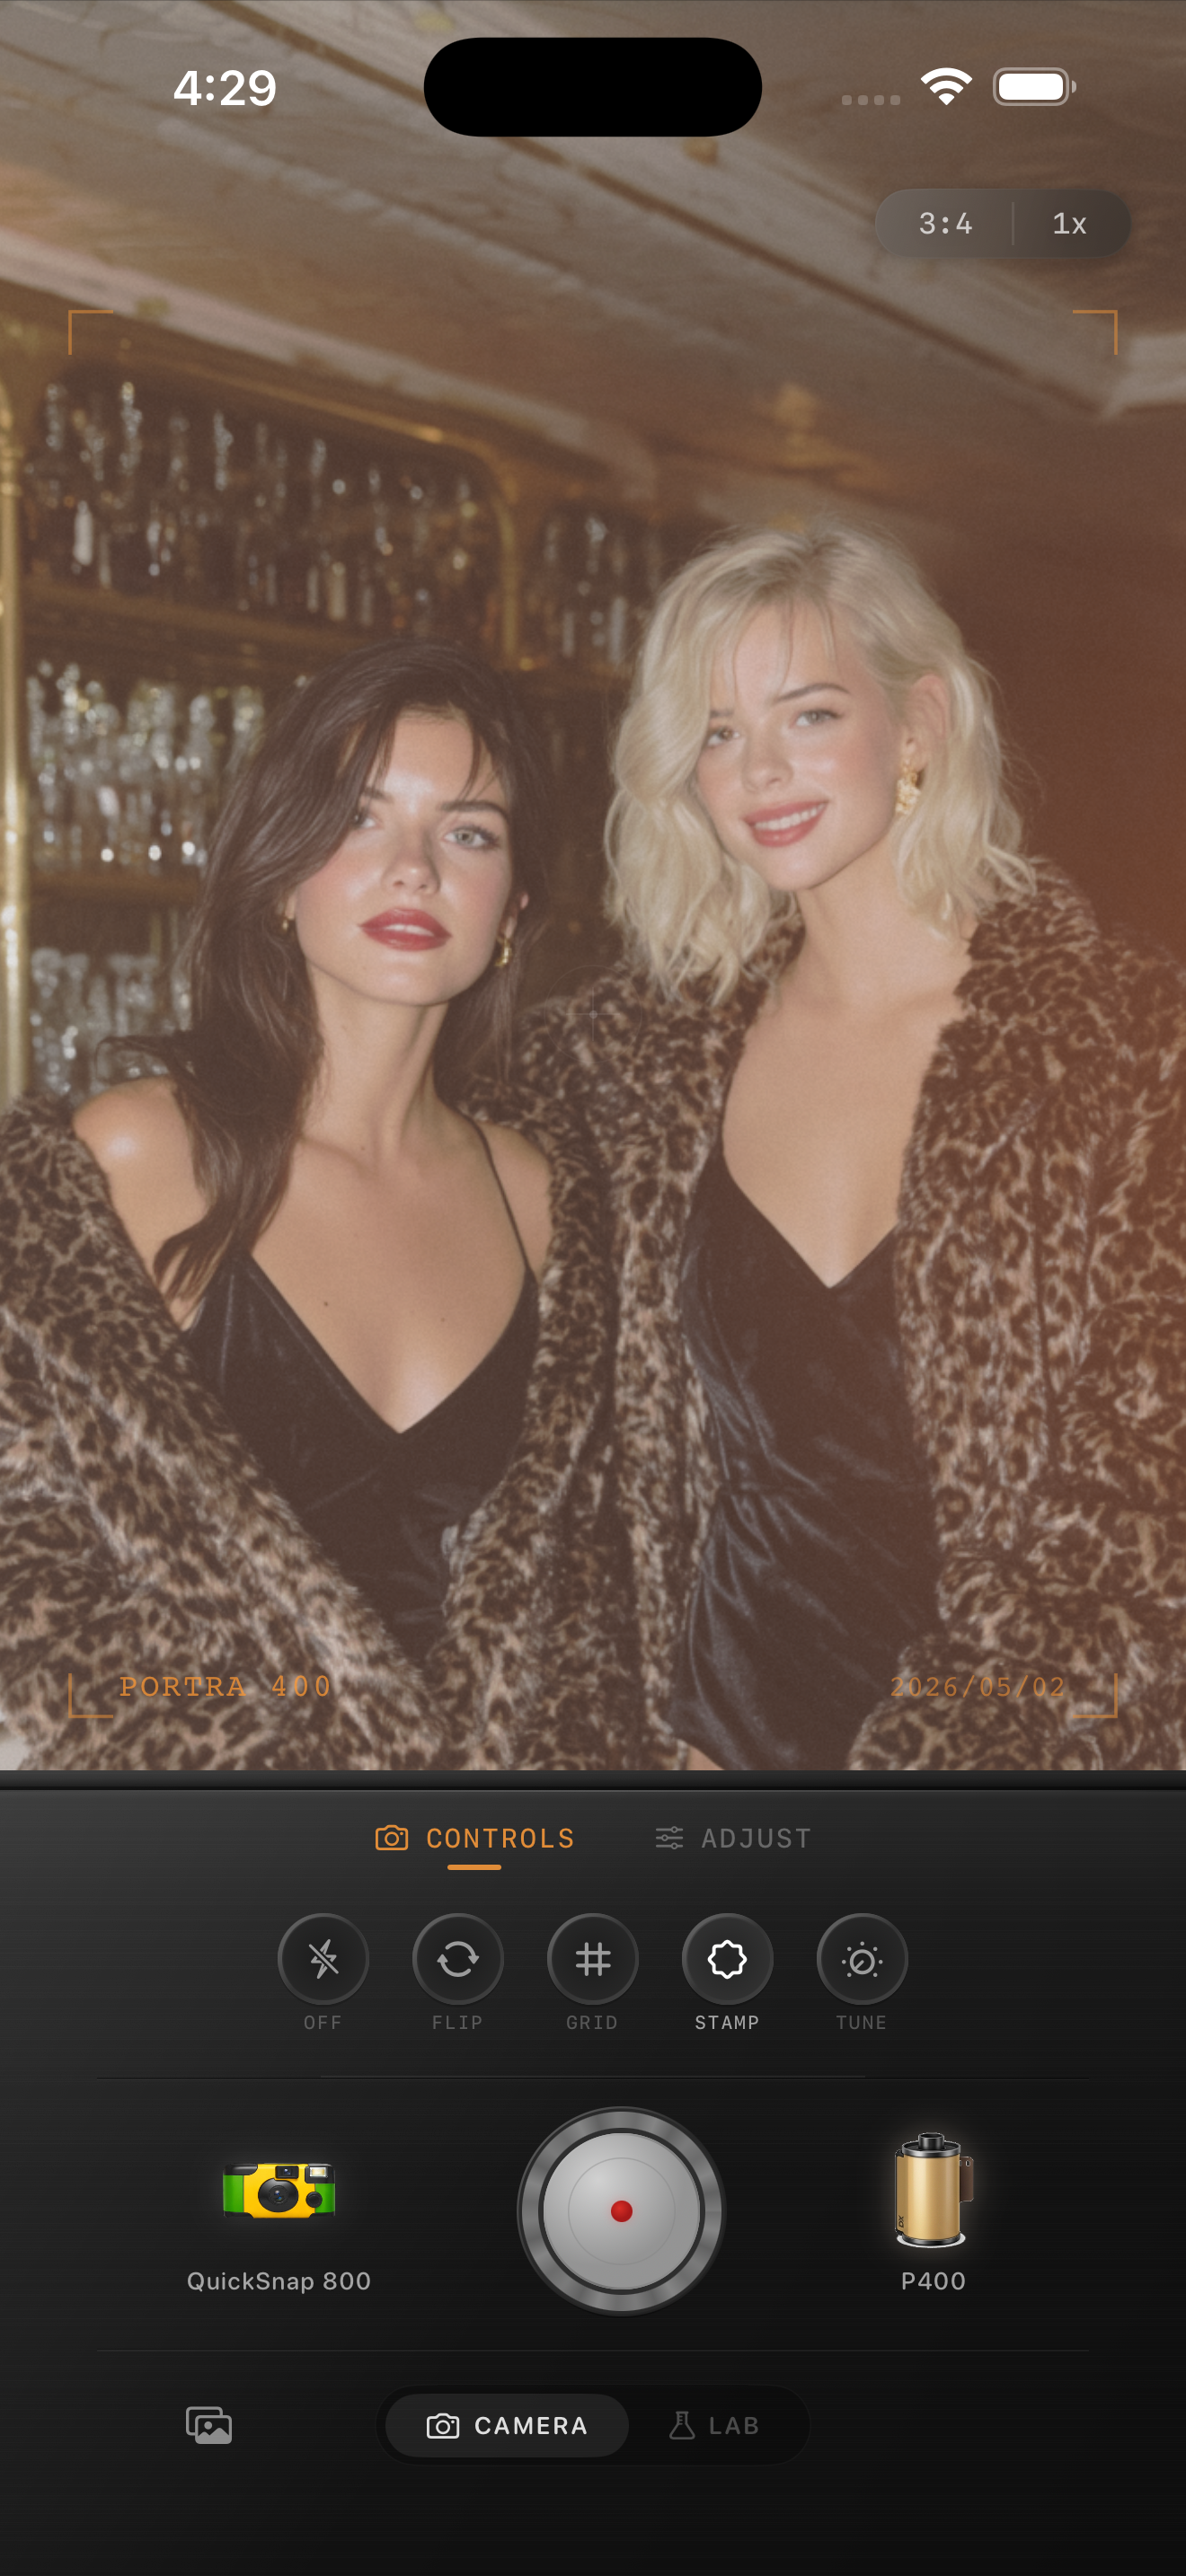
Add grain after the bright light and shadows stay separate
Grain can give a quiet neighborhood photo a printed feeling, but too much makes dark coats, sidewalks, and costume fabric merge into rough noise. Set brightness and color first, then add texture slowly while watching a smooth shadow, the porch-light edge, and the subject together. If the shadows turn gritty before the image feels less digital, lower the grain.
Keep fade gentle for the same reason. A little can soften a harsh phone capture, while too much removes the shadow shape that separates a cape, jacket, or candy bucket from the background. Compare two modest versions at the size you plan to share, then keep the one where the moment appears before the effect does.
Finish with a sidewalk-to-doorway check
View the finished image away from the editing controls. Your eye should find the person or group first, then the costume and doorway, and only then the film character. If the porch light, orange skin, or noisy shadows are the first thing you notice, return to the gentler version and let the original night carry more of the mood.
In the Nostalgia Cam Lab, compare camera bodies and film looks at moderate intensity before fine-tuning warmth, fade, vignette, and grain. Film names describe stylistic inspiration only; Nostalgia Cam is not affiliated with or endorsed by Kodak, Fujifilm, or other camera or film manufacturers.
Keep the costumes clear and the porch light gentle
Import a favorite trick-or-treat photo into the Nostalgia Cam Lab, compare camera bodies and film looks at moderate intensity, then refine warmth, grain, fade, and vignette. Check a face, a costume detail, and the porch-light edge before saving the version that feels most like the walk.
FAQ
Why do porch lights look blown out in my iPhone trick-or-treat photos after a film edit?
Porch fixtures can be much brighter than the sidewalk and faces in the original photo, and a strong film treatment can make the difference look harsher. Compare the light edge with a face and costume detail, then reduce the broad treatment or added warmth before changing grain.
Should I use a lot of grain for trick-or-treat photos?
Usually not. Night shadows, costumes, and phone-camera noise already contain texture. Add a modest amount only after the color and brightness feel balanced, then check at normal viewing size so dark areas do not look gritty.
How can I keep costumes colorful in a nighttime film edit?
Use one recognizable costume detail as a reference while comparing looks, alongside a face and the brightest porch light. If the costume turns gray, orange, or overly saturated, try a lower-intensity or less-warm version before making a broad exposure change.