
Editing guide
How to Edit iPhone Ski Trip Photos to Look Like Film Without Blue Snow
A practical iPhone film-editing guide for ski-trip photos: keep snow bright but natural, preserve jacket color and mountain detail, and add texture without turning the scene blue.
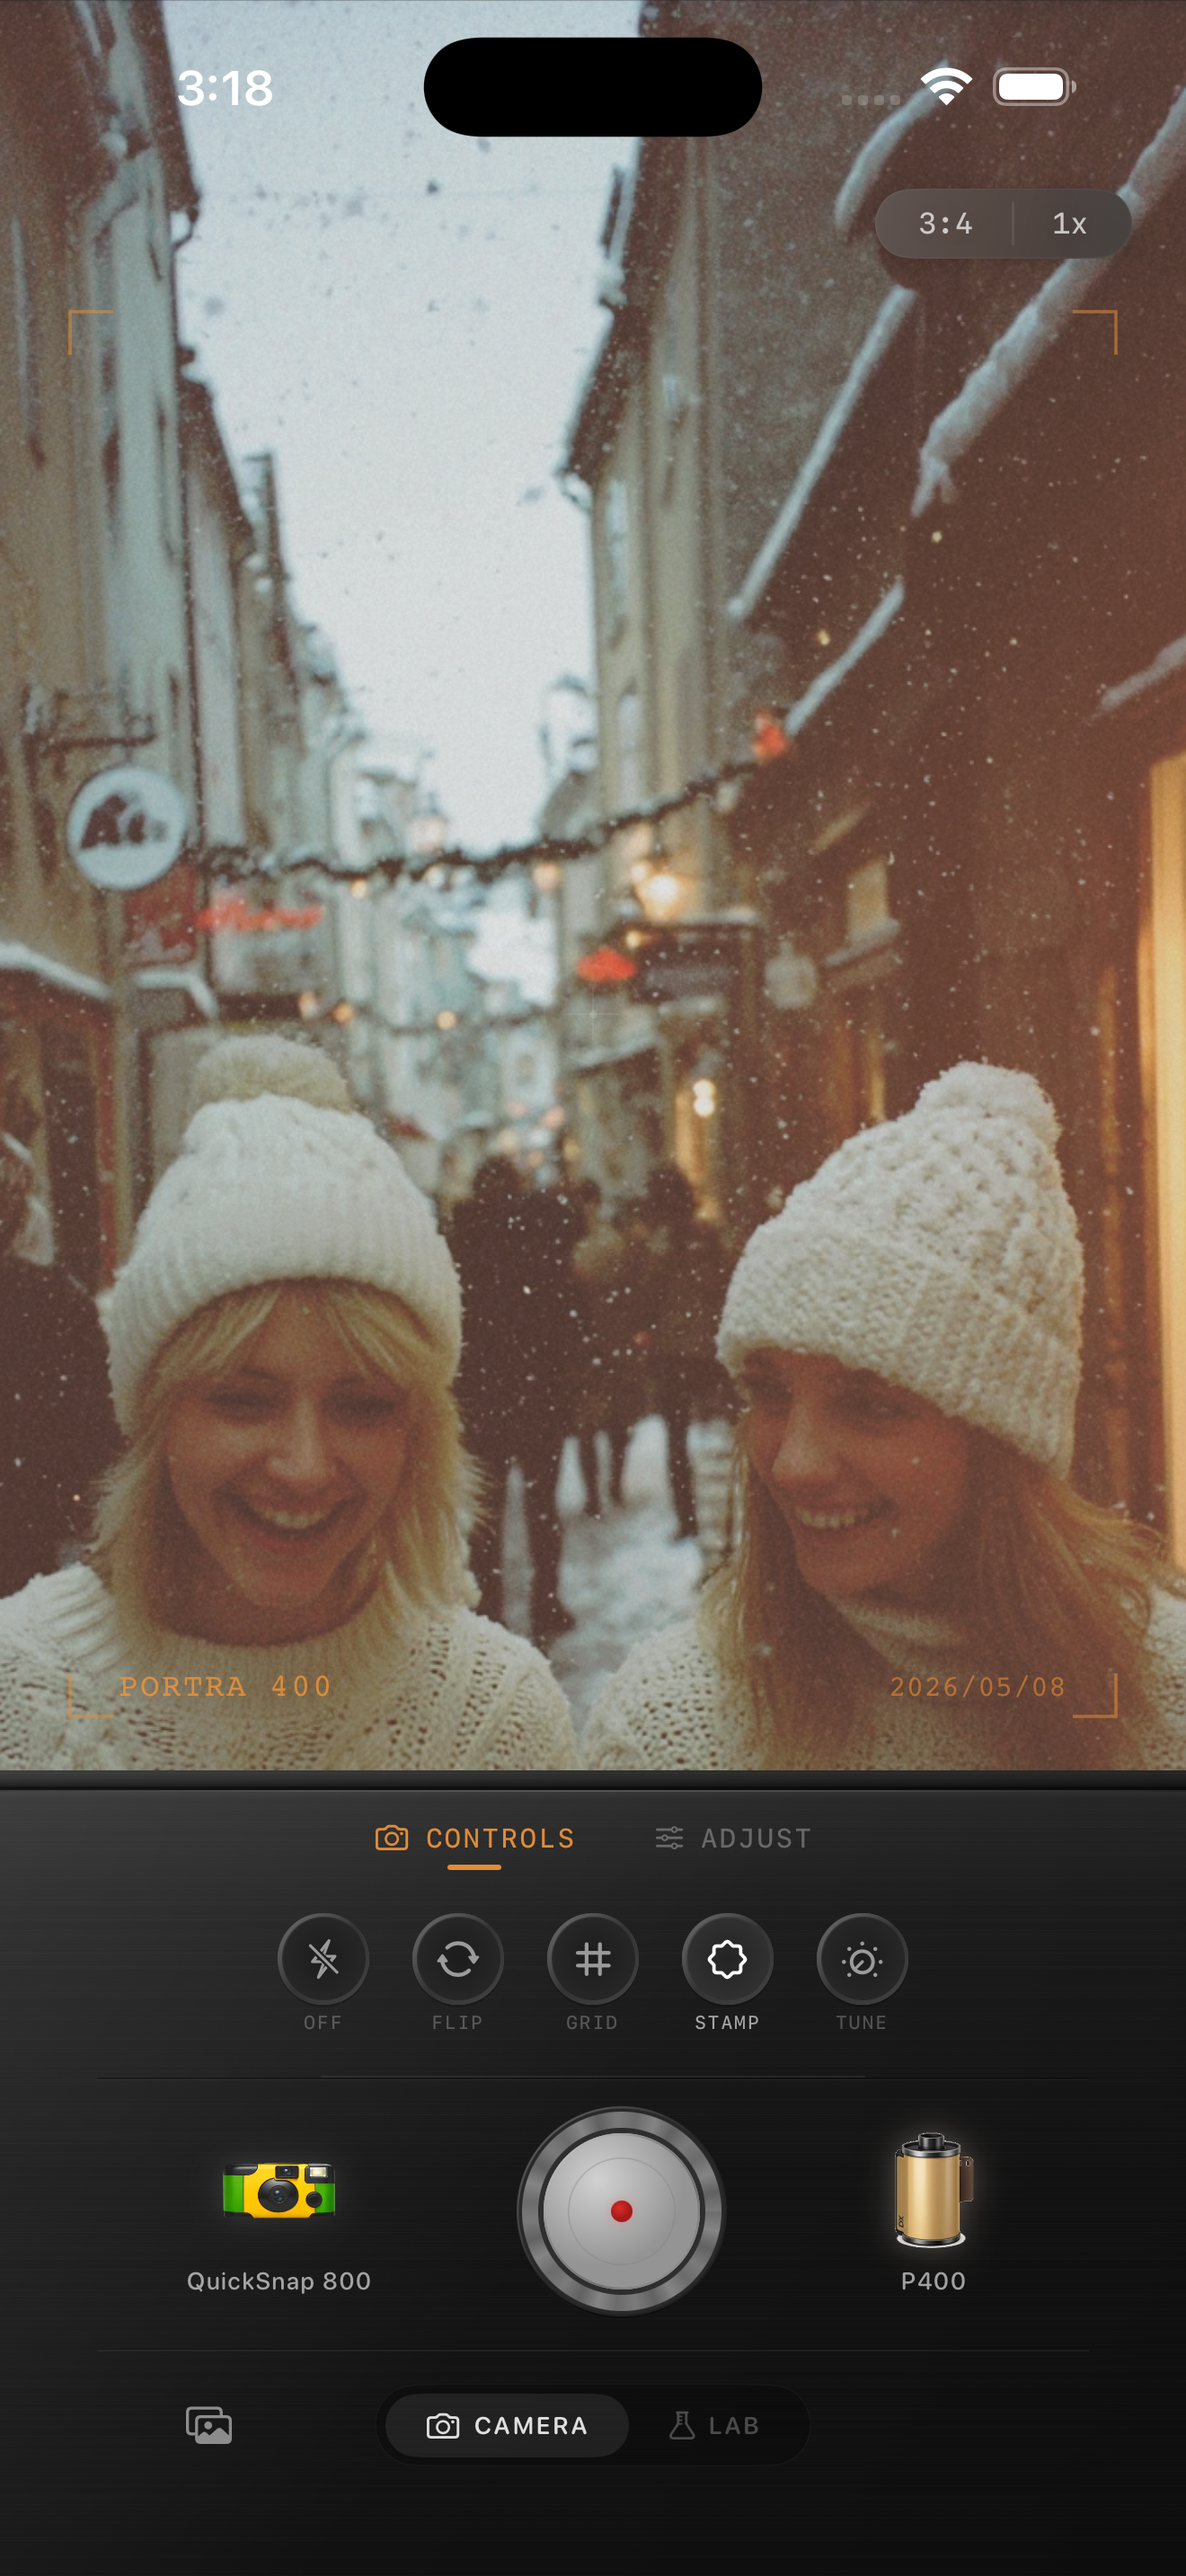
Pick the frame with a clear snow reference
Ski-trip photos often combine a bright slope, blue sky, shaded snow, reflective goggles, and saturated outerwear in one frame. Before editing, compare nearby images at normal phone size and choose one with a recognizable patch of sunlit snow, a readable person or group, and enough mountain or lift detail to establish the place. A film-inspired finish can soften the iPhone look, but it cannot recover detail from snow that is already blank white or a face hidden by glare.
Keep the original beside the edit. The aim is not to make every snowbank pure white: shade can naturally look cooler than sunlit snow. Instead, keep the cool areas distinct from blue snow that comes from a broad color shift, then let the people and landscape feel like they belong in the same light.
Use snow, a jacket, and a face as three checks
Choose three small references before changing the overall look: a sunlit patch of snow, a jacket or glove with a known color, and a face when one is visible. Revisit all three after each larger adjustment. If the snow turns cyan while the jacket becomes more intense and skin goes gray, reduce the broad cool treatment or film intensity before trying to correct one area at a time.
A blue shadow can be part of the mountain light, especially under trees or beside a run. Do not erase that variation by warming the entire photo. The useful balance is snow that still reads as snow, cool shadow that still feels like shade, and clothing color that does not turn unnaturally electric.
- Check a bright snow patch and a shaded snow patch separately.
- Keep white helmets, goggles, or lift signs from drifting blue-gray.
- Use a jacket or glove to spot color oversaturation early.
- Judge faces at normal sharing size instead of only while zoomed in.
Start with a restrained mountain film baseline
Start around film intensity 38–54%, grain 10–20%, warmth -1 to +5, fade 1–4%, and vignette 1–5%. Begin near the lower end in hard midday sun or when the phone has already made the sky and shadows very blue. These settings can ease the polished digital edge while leaving enough separation between the slope, jacket, and distant ridges.
Choose a cleaner compact-film or 35mm-inspired camera body before a heavily distressed disposable effect. Ski photos already include sparkle, texture, and contrast from snow crystals, tracked runs, and equipment. A quieter base lets the movement and weather lead before the film character becomes noticeable.
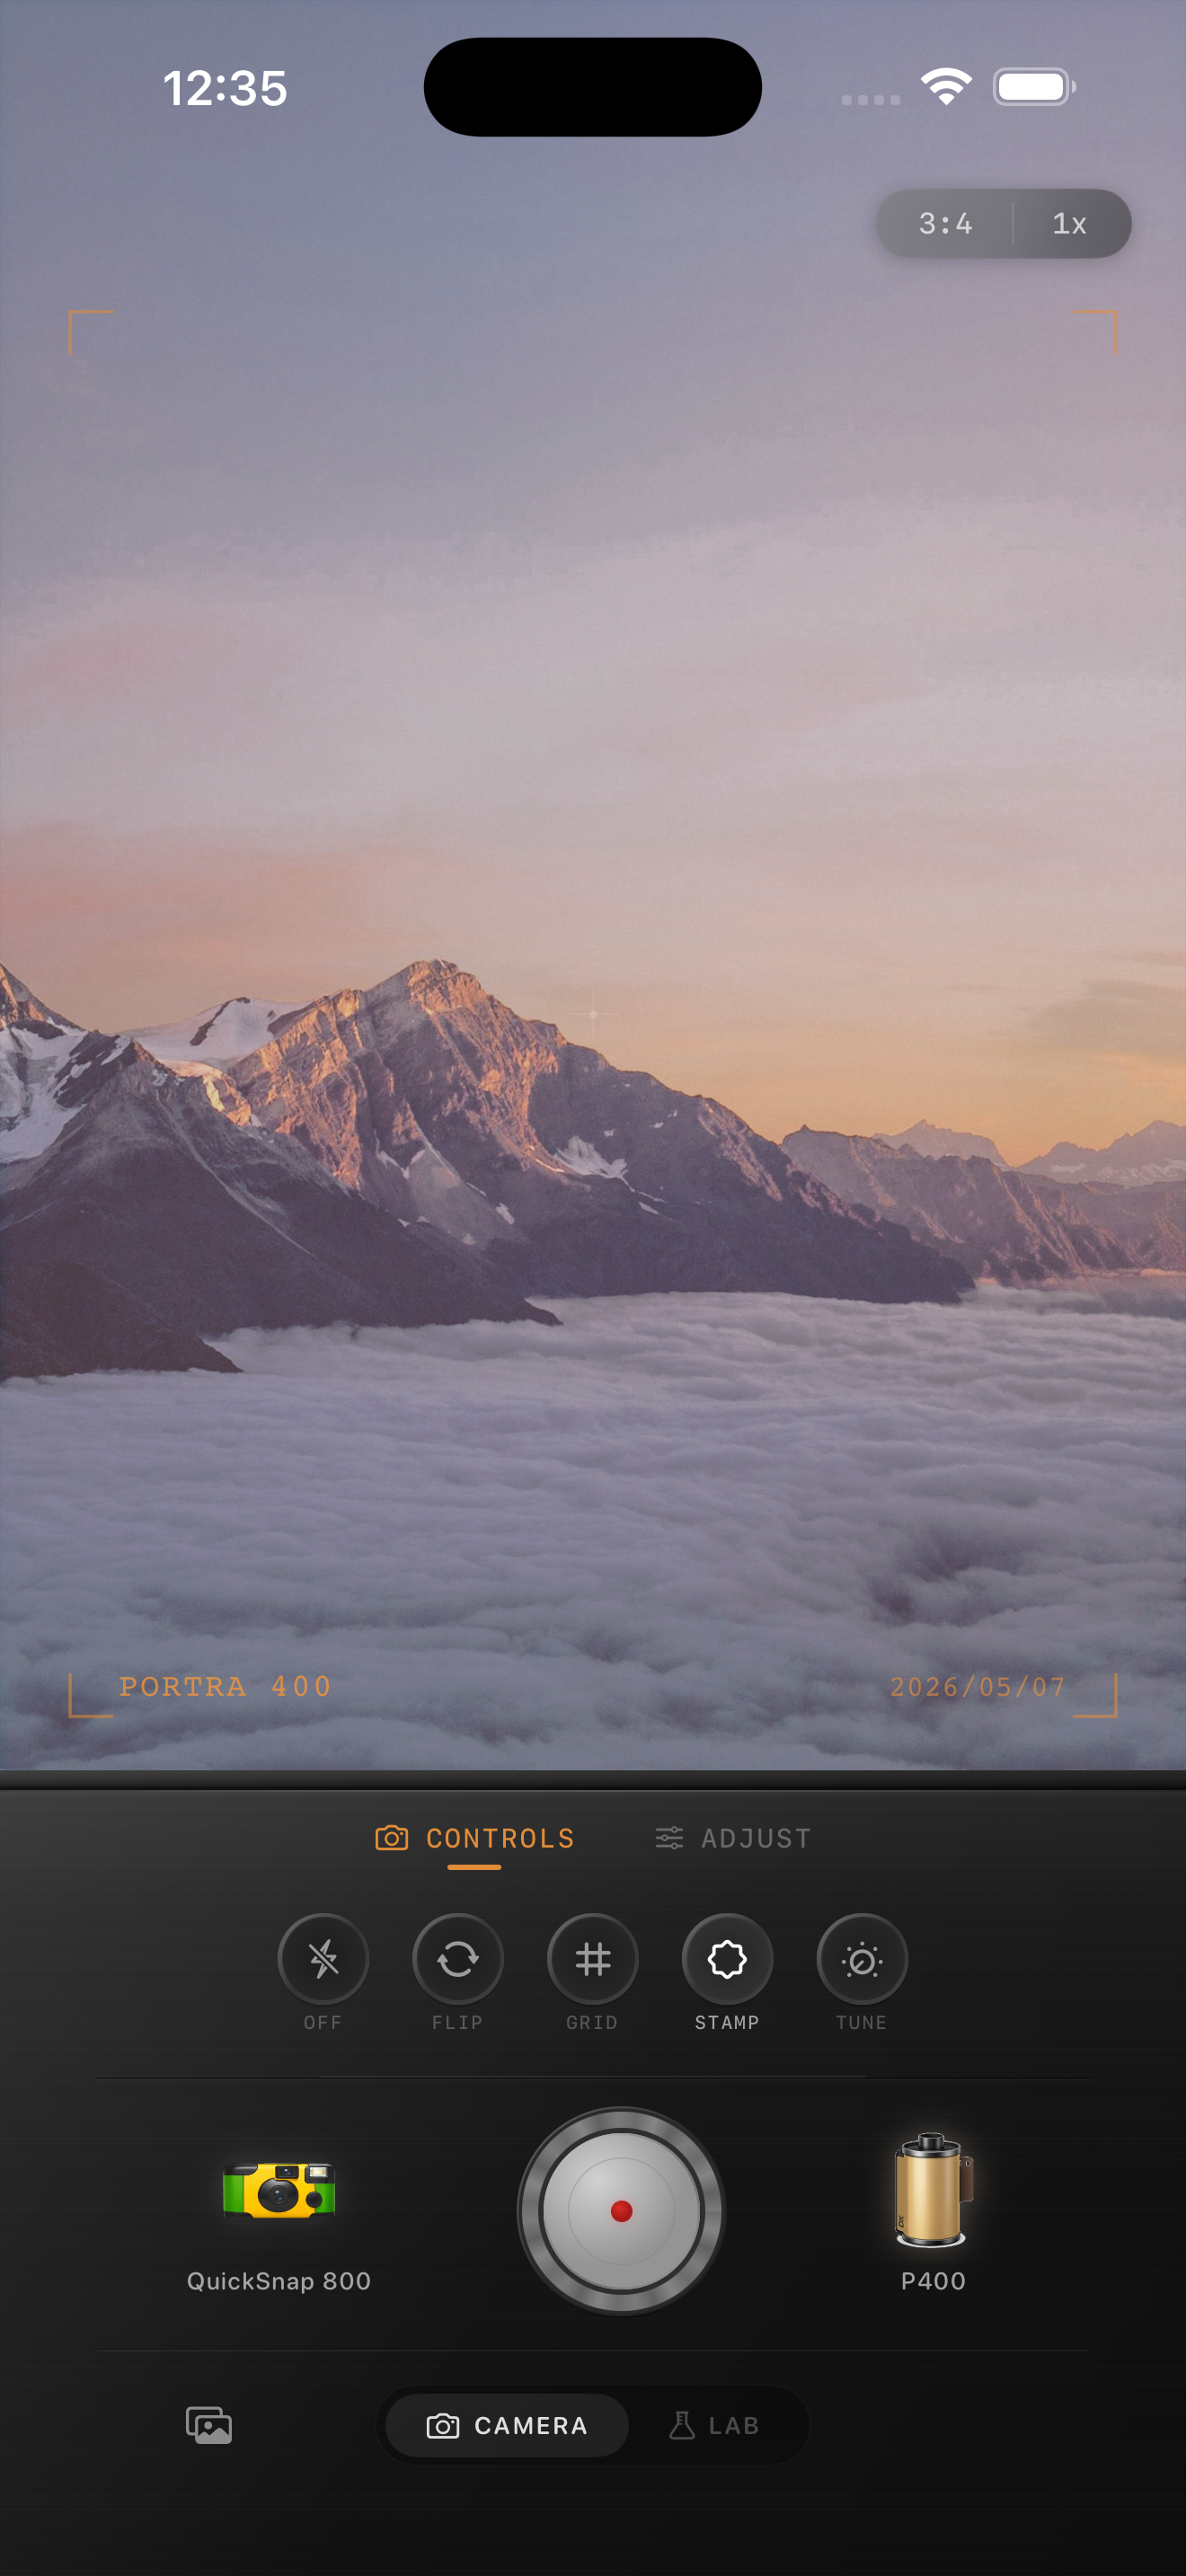
Protect highlight shape before lifting shadows
Snow can look bright without becoming a featureless sheet. Look for small changes in tracks, ridges, ski edges, or the curve of a drift. If those shapes disappear after applying a look, lower film intensity or fade before adding contrast. Making every shadow lighter may reduce the blue cast briefly, but it can also flatten the slope and remove the depth that makes the mountain scene readable.
Goggles and helmets need the same restraint. A reflection can be bright and still have a defined edge; a white helmet can stay pale without matching the brightest snow exactly. Compare the full frame before rescuing a small detail so that one correction does not make faces, sky, and outerwear look disconnected.
Add grain after snow and color feel settled
Snow already has fine visual texture, so add grain last and keep it modest. Check both a smooth part of the sky and a bright patch of snow at the size you will share. If the sky becomes speckled or the snow starts looking dirty before the image feels more like a print, reduce grain instead of adding more sharpness.
In the Nostalgia Cam Lab, compare camera bodies and film looks at moderate intensity before refining warmth, grain, fade, and vignette. Save one cleaner version and one slightly more textured version with the same crop. The stronger edit is only better if the person, the run, and the snow remain easy to recognize at a glance.
Review the finished edit away from the slopes
Open the saved image outside the editor and view it at the size you will send or post. Ideally, the snow still feels bright rather than blue, the jacket looks like the color you remember, and the landscape has enough light and dark shape to feel cold and open. If cyan snow, gray skin, or gritty highlights are the first impression, return to the lower-intensity version.
Keep the original too. A ski day can shift from flat overcast light to hard sun within minutes, so one setting does not need to fit every photo in the set. Use the same three references for each image and let a little real variation in the weather remain part of the memory.
Keep the mountain air and the snow believable
Import your ski-trip photos into the Nostalgia Cam Lab, compare camera bodies and film looks at moderate intensity, then refine warmth, grain, fade, and vignette. Check a bright snow patch, a colored jacket, and one shaded detail before saving the version that feels most like the day.
FAQ
Why does snow look blue in my iPhone ski-trip photos after a film edit?
Snow can naturally look cool in shade, but a strong cool film look, broad color shift, or lifted shadows can push both bright and shaded snow toward cyan. Compare a sunlit snow patch, a jacket, and a face, then reduce the broad treatment before adding warmth everywhere.
Should I warm up all the snow to fix a blue cast?
No. Warming the whole photo can make sunlit snow yellow and turn skin or jackets unnatural. Keep some cooler shade where it belongs, then use a gentler overall treatment so the snow still reads as neutral in relation to the scene.
How much grain works for ski photos on iPhone?
Start modestly after snow, sky, and jacket color look balanced. Snow and distant trees already create texture, so reduce grain if smooth sky looks speckled or bright snow starts to look dirty at your final sharing size.