
Editing guide
How to Edit iPhone Movie Night Photos to Look Like Film Without Blue Screen Light
A practical iPhone film-editing guide for movie night: keep faces warm and recognizable, contain blue screen light, and preserve the room's low-light mood without gritty shadows.
Choose the frame where the people and the room still read clearly
Movie-night photos often mix a bright television or projector with lamps, snacks, blankets, and faces sitting in much lower light. Before editing, compare nearby frames at normal phone size and choose one where an expression, gesture, or shared detail is recognizable and the screen has not become a featureless white-blue rectangle. A film-inspired finish can soften an iPhone capture, but it cannot rebuild detail that the original exposure never held.
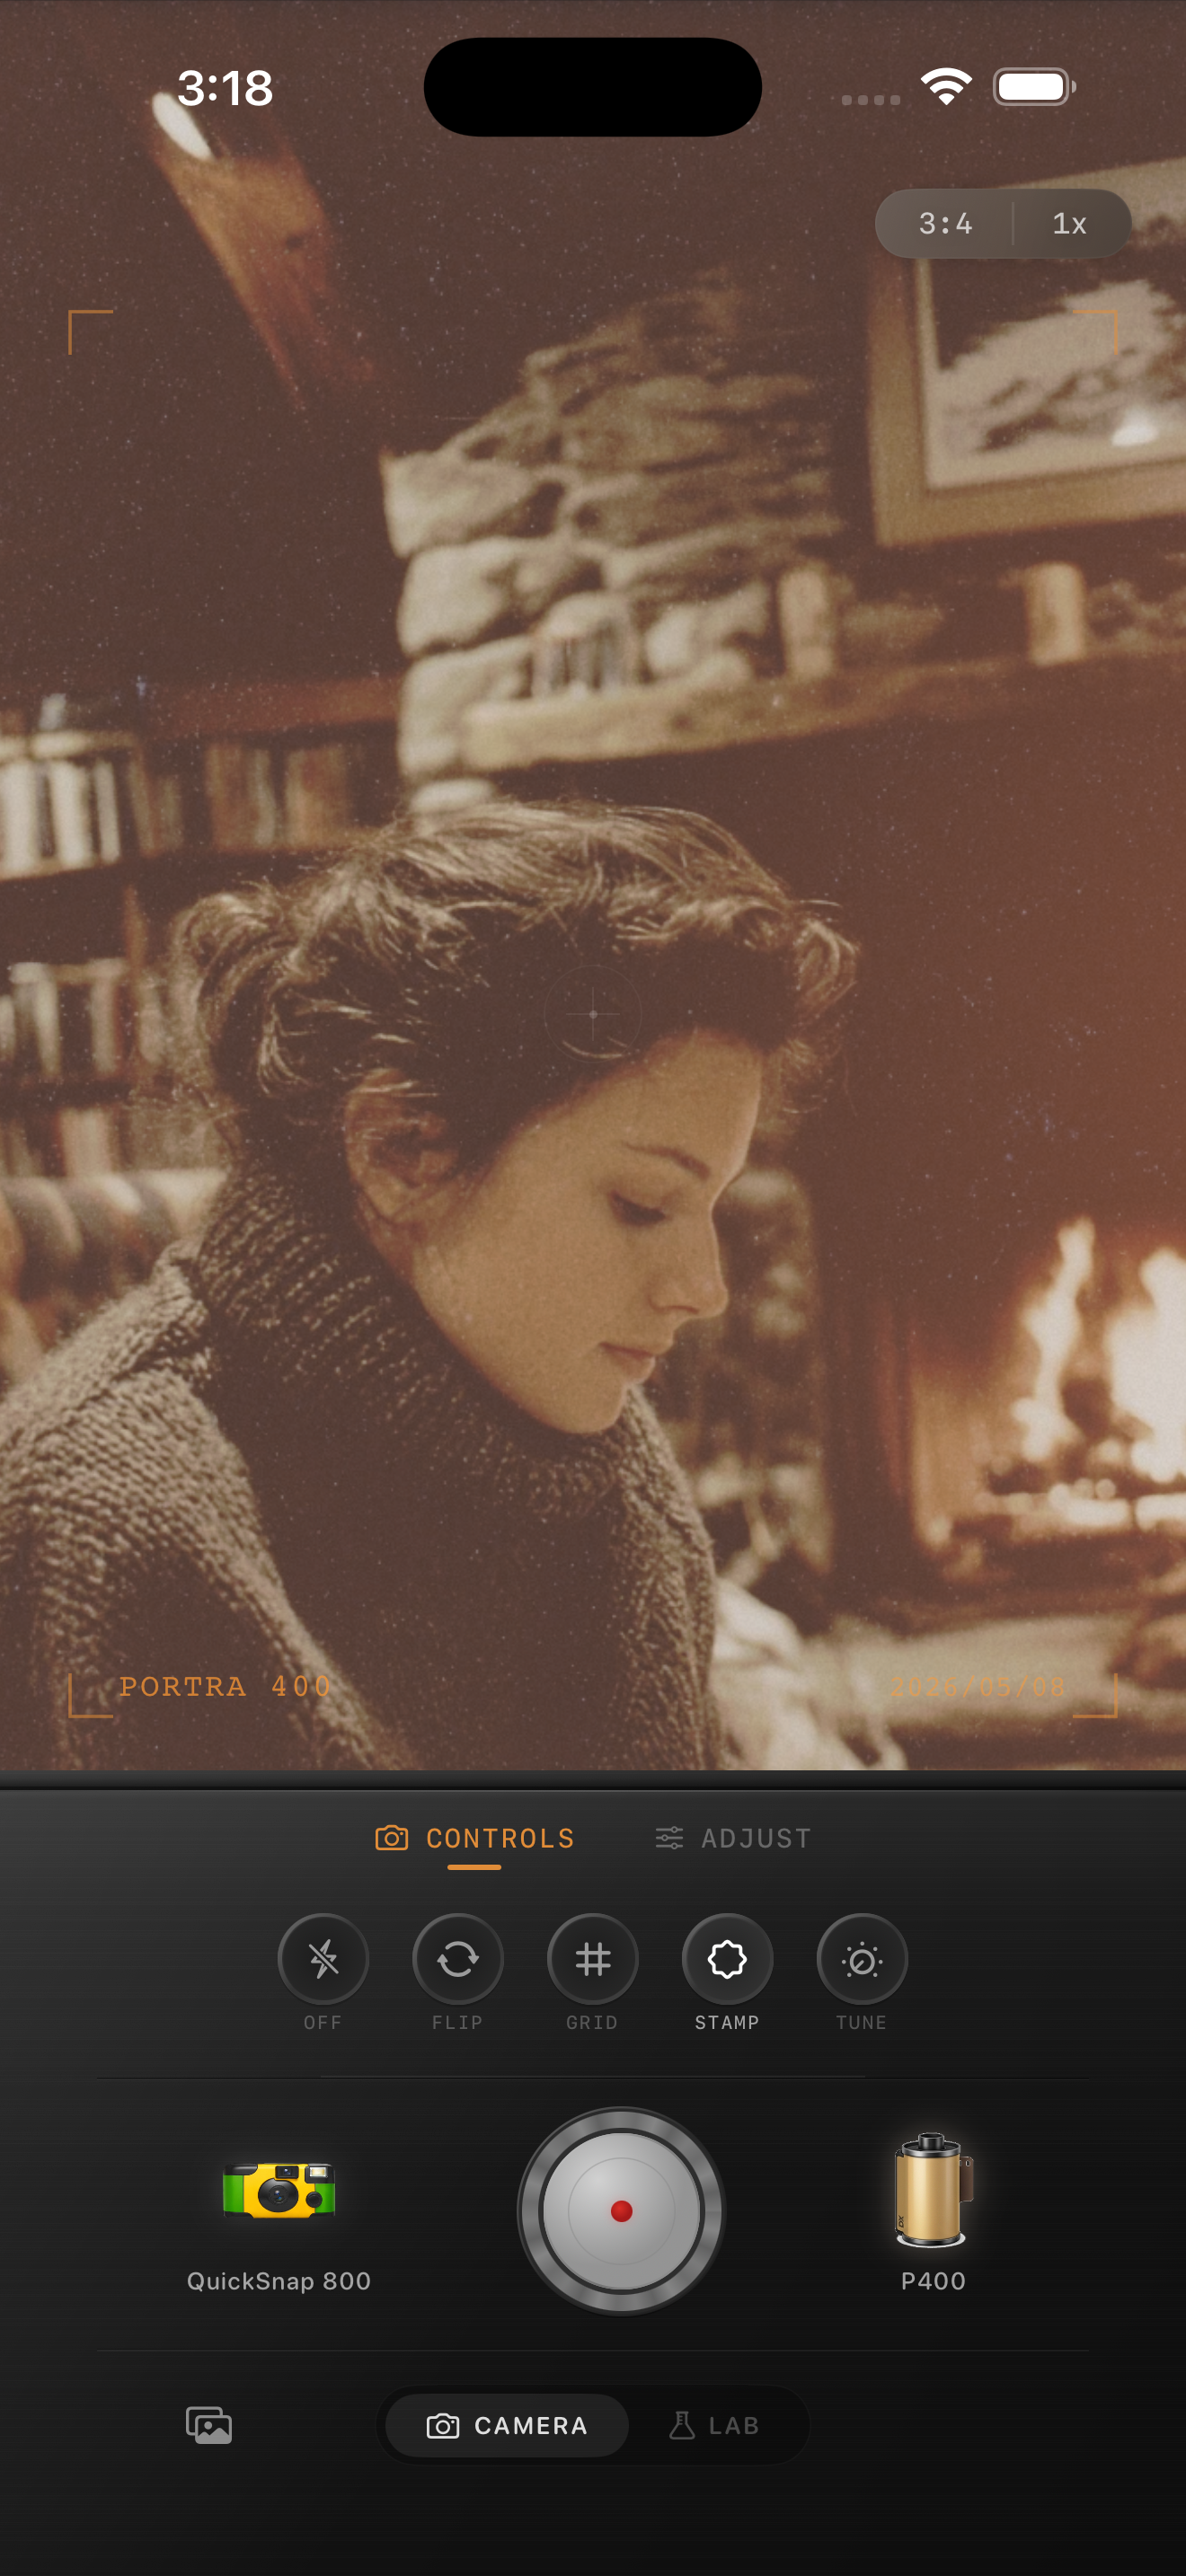
Keep the original nearby while you work. The aim is not to remove every cool tone from the screen; that blue light is part of the room. Instead, keep it contained enough that faces, pale blankets, and the warmer parts of the room still look believable. The image above is an existing indoor style reference, not a movie-night before-and-after.
Check a face, a pale detail, and the screen glow together
Pick three small reference areas before changing the overall look: a face or hand, a pale blanket or popcorn bowl, and a patch of light from the screen. Revisit all three after each larger adjustment. If skin turns gray-blue and the pale detail becomes icy while the screen spreads across the room, lower the broad film intensity or cool treatment before adding grain.
Do not solve blue screen spill by making the whole picture warm. The useful warmth belongs in lamps, wood, candles, or a nearby sweater; the screen can remain cooler so it still reads as a light source. Keeping those temperatures separate is what makes a low-light room feel lived in rather than covered by one heavy filter.
- Use a face or hand to spot blue spill before judging the mood of the whole image.
- Use a pale blanket, wall, or bowl to catch a broad cool cast early.
- Keep the screen bright enough to feel like a source without lifting every shadow.
- Check dark hair, blankets, and sofa fabric before adding fade.
Start with a restrained living-room film baseline
Start around film intensity 38–54%, grain 12–24%, warmth +1 to +6, fade 1–4%, and vignette 2–7%. Begin near the lower end when the television dominates the frame or the room is already very dark. This can take the polished edge off an iPhone photo while keeping the screen, faces, and shadows distinct.
A cleaner compact-film or 35mm-inspired camera body is usually safer than a heavily distressed disposable effect. Movie nights already have mixed light, soft fabric, and naturally imperfect low-light texture; a quieter base lets the people and their surroundings lead before the film character becomes obvious.
Add texture after color and shadow shape are settled
Living-room photos may already contain low-light noise in blankets, walls, and dark corners. Add grain only after the faces and larger color choices look calm. Check a smooth cheek, a dark cushion, and the space around the screen together. If skin becomes sandy or the shadows turn into gray confetti before the photo feels more tactile, use less texture.
Keep fade modest, too. A little can soften hard phone contrast, but too much erases the dark space that lets the screen and lamps feel luminous. Save a cleaner version and a slightly more textured one, then choose at the size you will actually share. The better edit usually makes you notice the people and the room first, then the film finish.
Keep the glow cinematic and the people recognizable
Import your movie-night photos into the Nostalgia Cam Lab, compare camera bodies and film looks at moderate intensity, then refine warmth, grain, fade, and vignette. Check a face, a pale detail, and the screen glow before saving the version that feels most like the evening.
FAQ
Why do my iPhone movie night photos look blue after a film edit?
A television or projector can cast cool light across faces and pale surfaces, and a broad cool film treatment can amplify it. Compare a face, a pale detail, and the screen glow, then reduce the broad treatment before adding grain or fade.
Should I warm up every movie night photo?
No. Some cool screen light helps the scene feel like movie night. Keep it near the source, but use a gentler overall treatment when faces, blankets, or walls start looking gray-blue.
How much grain works for movie night photos on iPhone?
Start modestly after faces, screen glow, and dark areas are balanced. Reduce grain if smooth skin looks sandy or the shadows become visibly noisy before the photo feels more like a print.