
iPhone film look
Best Film Settings for Scenic Overlook Photos on iPhone
A practical scenic-overlook film recipe for iPhone photos, with cleaner skies, restrained grain, softer contrast, and landscape color that still feels real at print size.
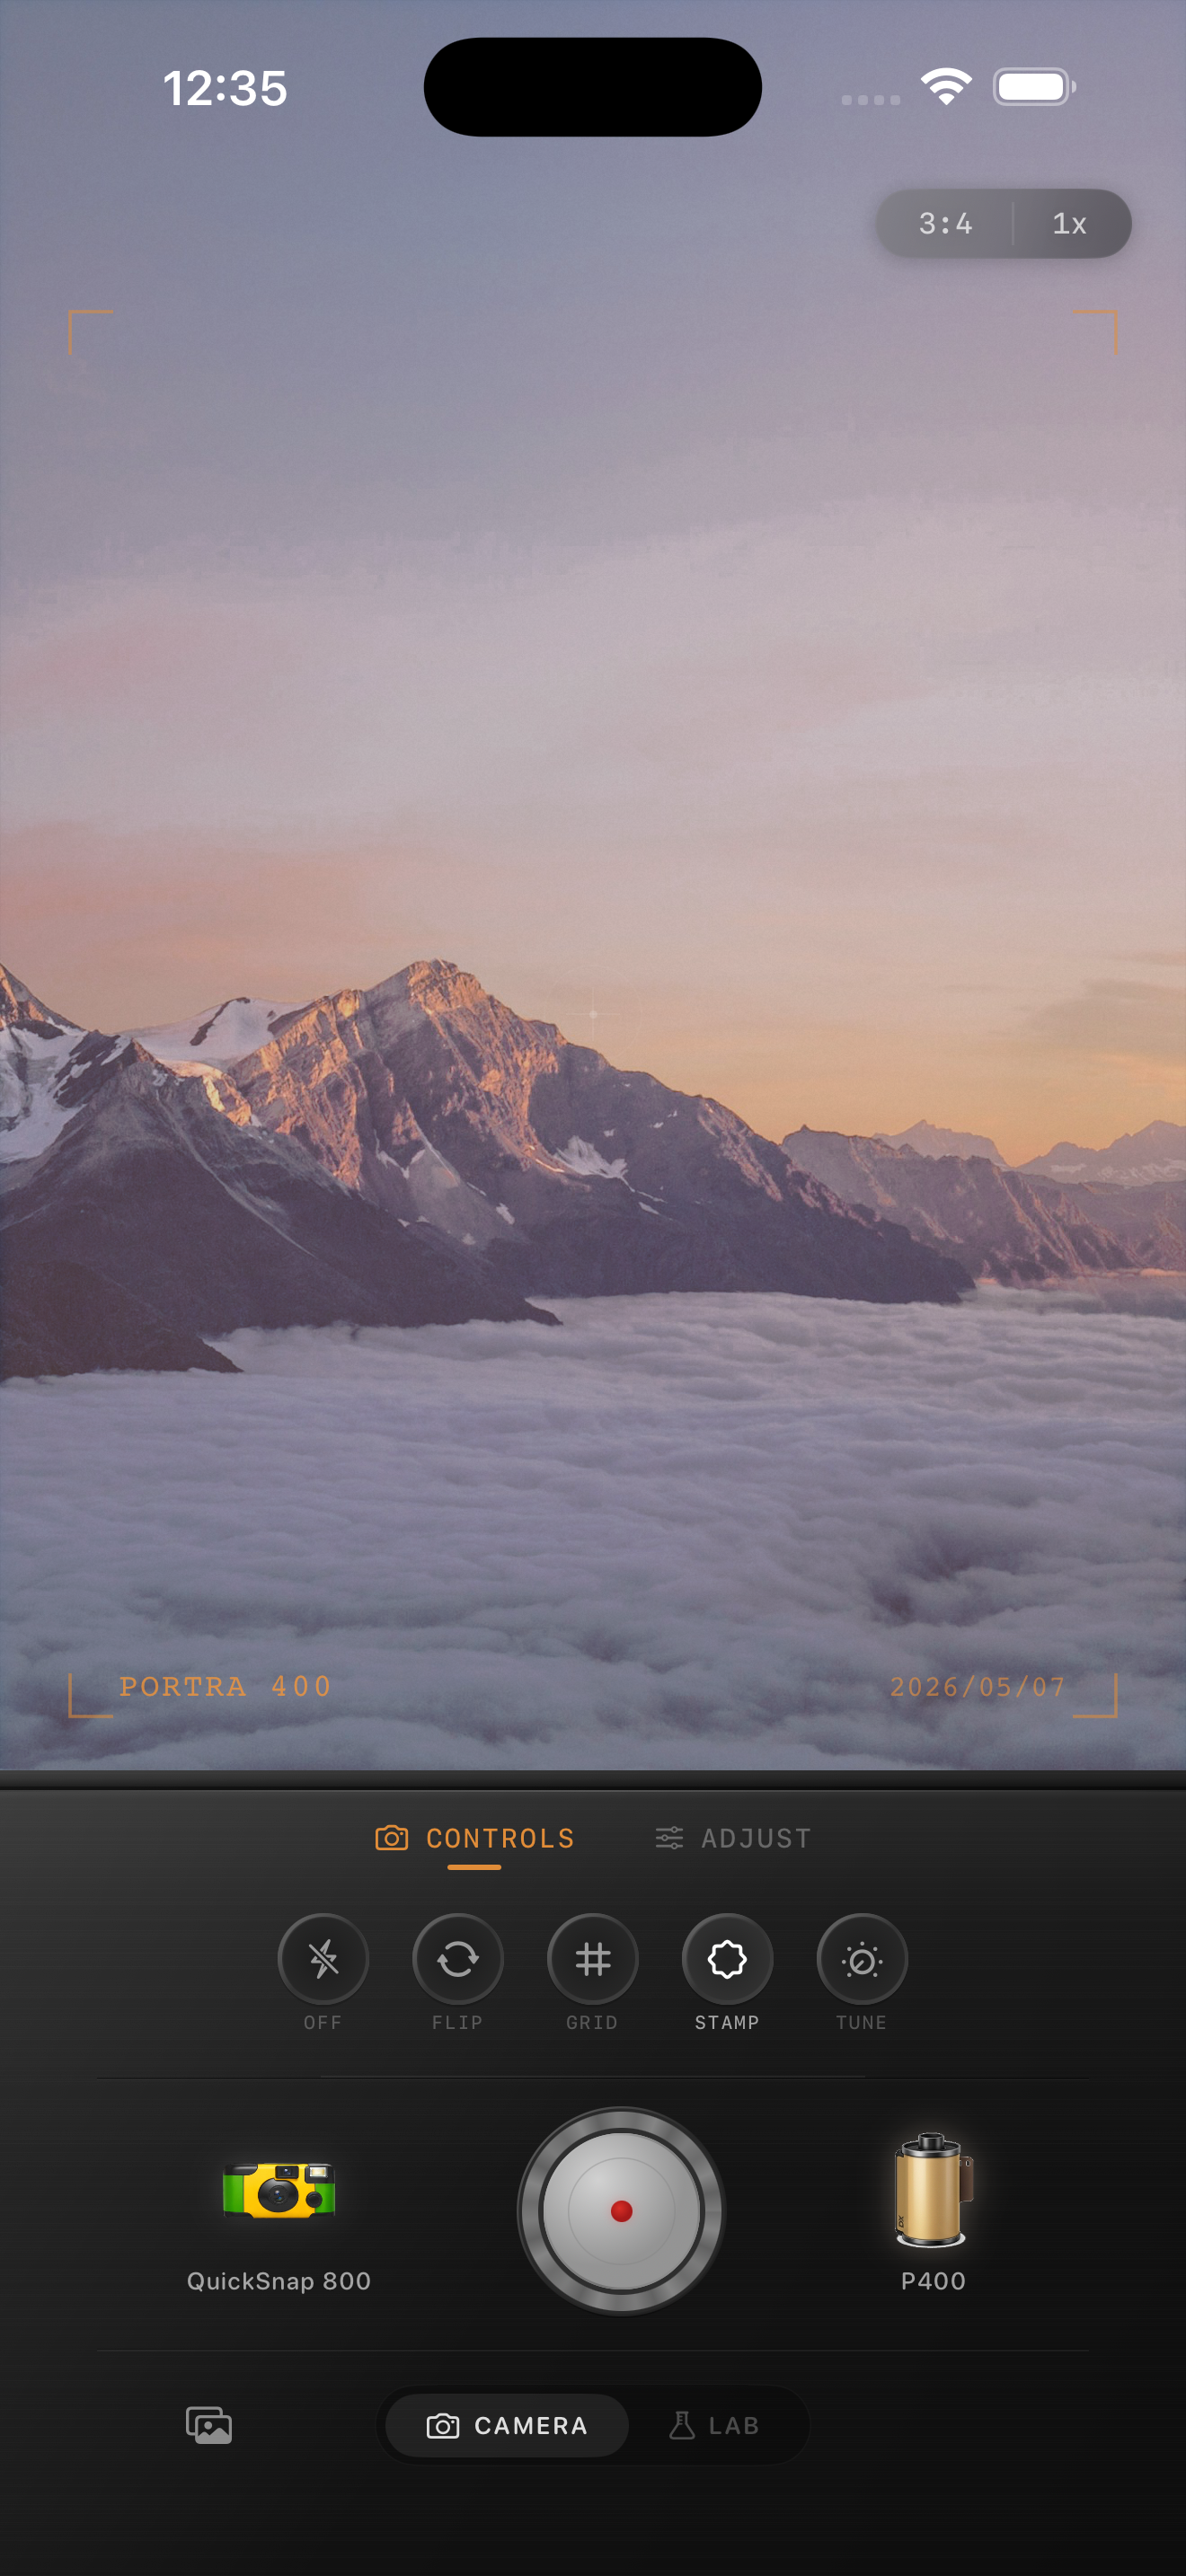
Overlook photos need atmosphere more than heavy texture
Scenic overlook photos already carry a lot of the feeling people want from film: distance, layered light, open sky, weather, and a sense of being somewhere memorable. The edit does not need to force nostalgia. It needs to stop the scene from looking too polished and too flat.
Landscape film edits usually work best when the air feels softer, the contrast is a little calmer, and the grain stays restrained. If the texture becomes the first thing you notice, the overlook stops feeling expansive and starts feeling filtered.
- Keep skies and haze clean before adding more warmth.
- Use fine grain so distant detail stays readable.
- Lower contrast gently if hills or clouds look too harsh.
- Use vignette lightly because the scene already has natural depth.
- Judge the image zoomed out, the way most people will see it.
A dependable viewpoint settings baseline
Start around film intensity 68-82%, grain 18-28%, warmth +3 to +8, fade 2-6%, and vignette 2-7%. That range usually softens the default iPhone finish without making clouds, tree lines, or distant mountains go muddy.
If the scene was shot in bright sun, stay toward the lower end for grain and warmth. If it was captured at dawn, dusk, or in thinner overcast light, you can push warmth slightly further before adding extra fade.
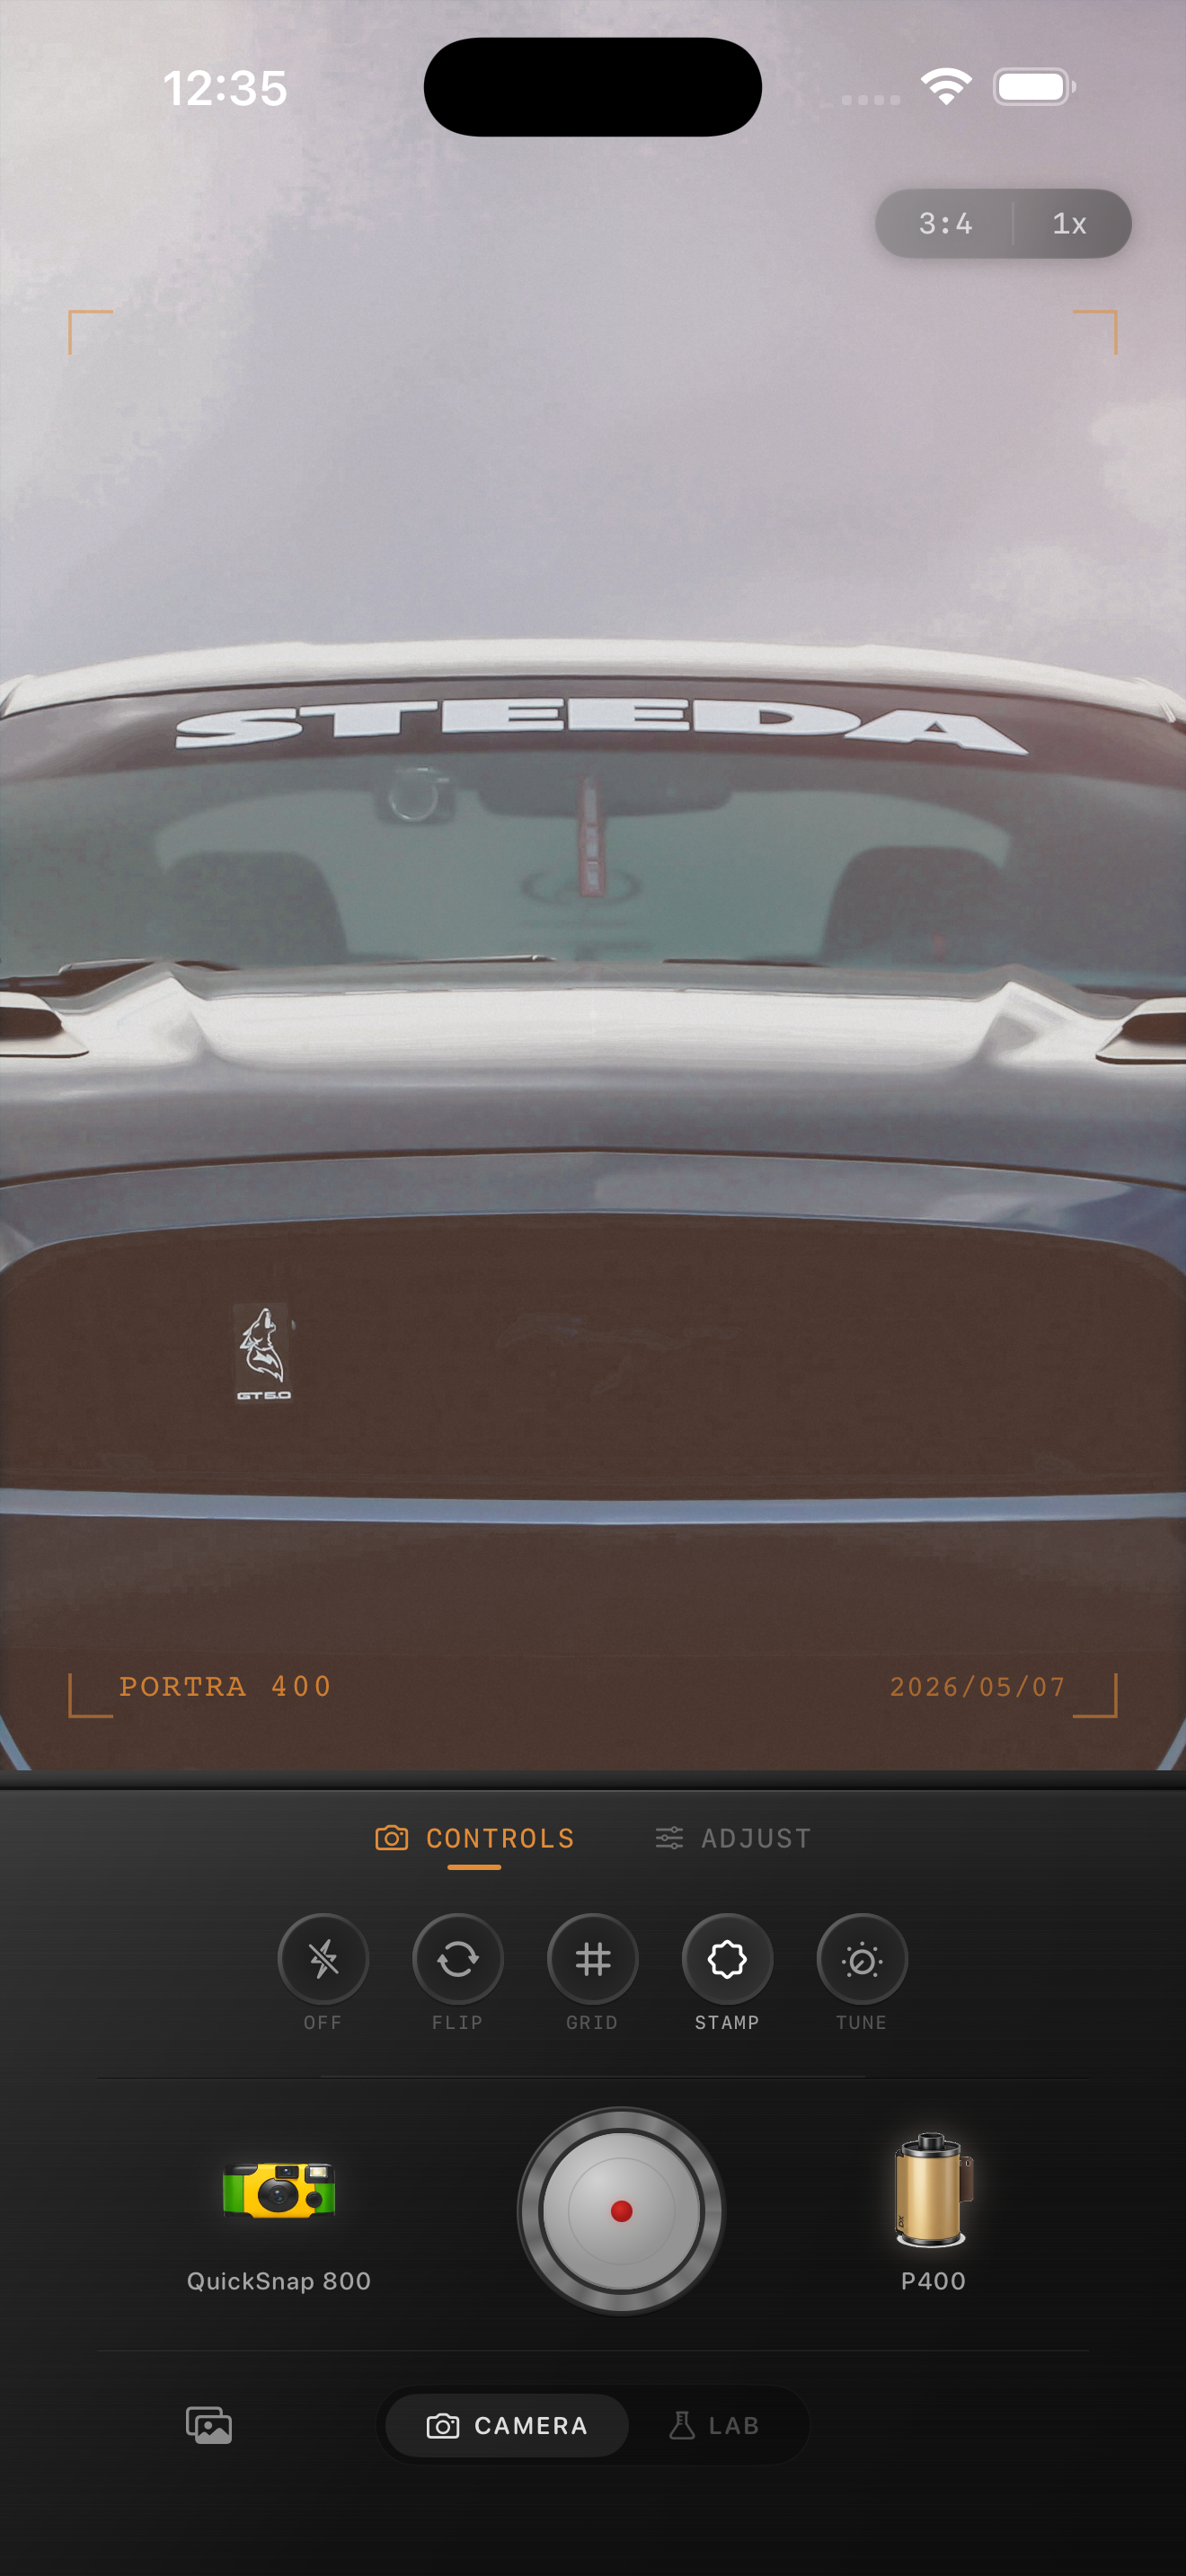
Keep the foreground from overpowering the landscape
Scenic-overlook frames often include railings, parked cars, jackets, friends, or signs near the camera. Those elements can either anchor the memory or steal attention from the horizon if the edit gets too contrasty.
Check the foreground after you set the overall mood. If nearby objects feel too dark or too sharp compared with the distant view, soften the contrast before you add more texture.
Choose a cleaner film mood for wide scenes
Most scenic overlooks work better with a cleaner 35mm-inspired or color-negative inspired body than with a rough disposable one. Wide landscapes usually need calm texture and believable color more than scratches, heavy dust, or strong vignette.
In Nostalgia Cam, pick the cleaner body first, then tune grain, warmth, fade, and vignette until the photo feels like a travel print you would keep in an album. If you want a certain film-stock mood, use it as inspiration and keep the place itself believable.
Keep scenic overlooks open and film-like
Use Nostalgia Cam to give overlook and mountain-view photos softer contrast, natural grain, and cleaner film color so big landscapes feel printed and atmospheric instead of hyper-processed.
FAQ
How much grain should scenic overlook photos use on iPhone?
Usually less than nightlife or indoor photos. Fine grain around 18-28% is a strong starting point because skies and distant detail get dirty fast.
Should overlook photos be warmed up a lot to look like film?
Usually no. A small warmth move is often enough. Heavy warmth can turn sky, haze, and distant mountains muddy instead of atmospheric.