
Disposable camera effect
Best Film Settings for Diner Booth Photos on iPhone
A practical iPhone guide for diner booth photos with flash-friendly grain, cleaner reds, restrained warmth, and film-style settings that keep neon and skin from going muddy.
Why diner booth photos are tricky
Diner booth photos already have strong nostalgia working in their favor: vinyl seats, warm bulbs, stainless steel, neon accents, menus, and direct flash all help the scene feel like a print from a point-and-shoot roll. The problem is that iPhone processing can sharpen every edge and make red booths or skin tones turn heavy too fast.
A good film edit keeps the booth cozy and saturated without letting the whole image slide into muddy reds or orange faces. You want late-night energy with enough separation that the photo still feels clean at phone size.
- Keep booth reds rich but not blocked up.
- Use grain to soften flash, not to cover faces.
- Add a little vignette only if the frame feels too clean.
- Let chrome, menus, and tabletops keep some highlight snap.
- Use a disposable-style body only if you want more roughness and party energy.
A reliable diner booth settings range
Start around film intensity 74-86%, grain 32-44%, warmth +5 to +11, fade 3-7%, and vignette 7-12%. That range usually keeps the photo nostalgic without flattening the booth or washing out flash highlights.
If the reds feel muddy, lower warmth before you lower saturation. If skin looks chalky from flash, reduce grain slightly and keep fade modest. Diner edits usually break when every slider gets pushed together and the image loses its small bright details.
Choose the right camera mood
A compact 35mm-inspired body works well when you want the booth scene to feel like an everyday memory with cleaner detail. A rougher disposable-style body makes more sense if the photo is louder, flashier, and more casual.
The easiest rule is to match the camera mood to the moment. Quiet booth conversation, coffee, and window light usually want cleaner film texture. Birthday candles, direct flash, and messy tabletop scenes can handle more disposable roughness.
Dial in retro diner color without muddy reds
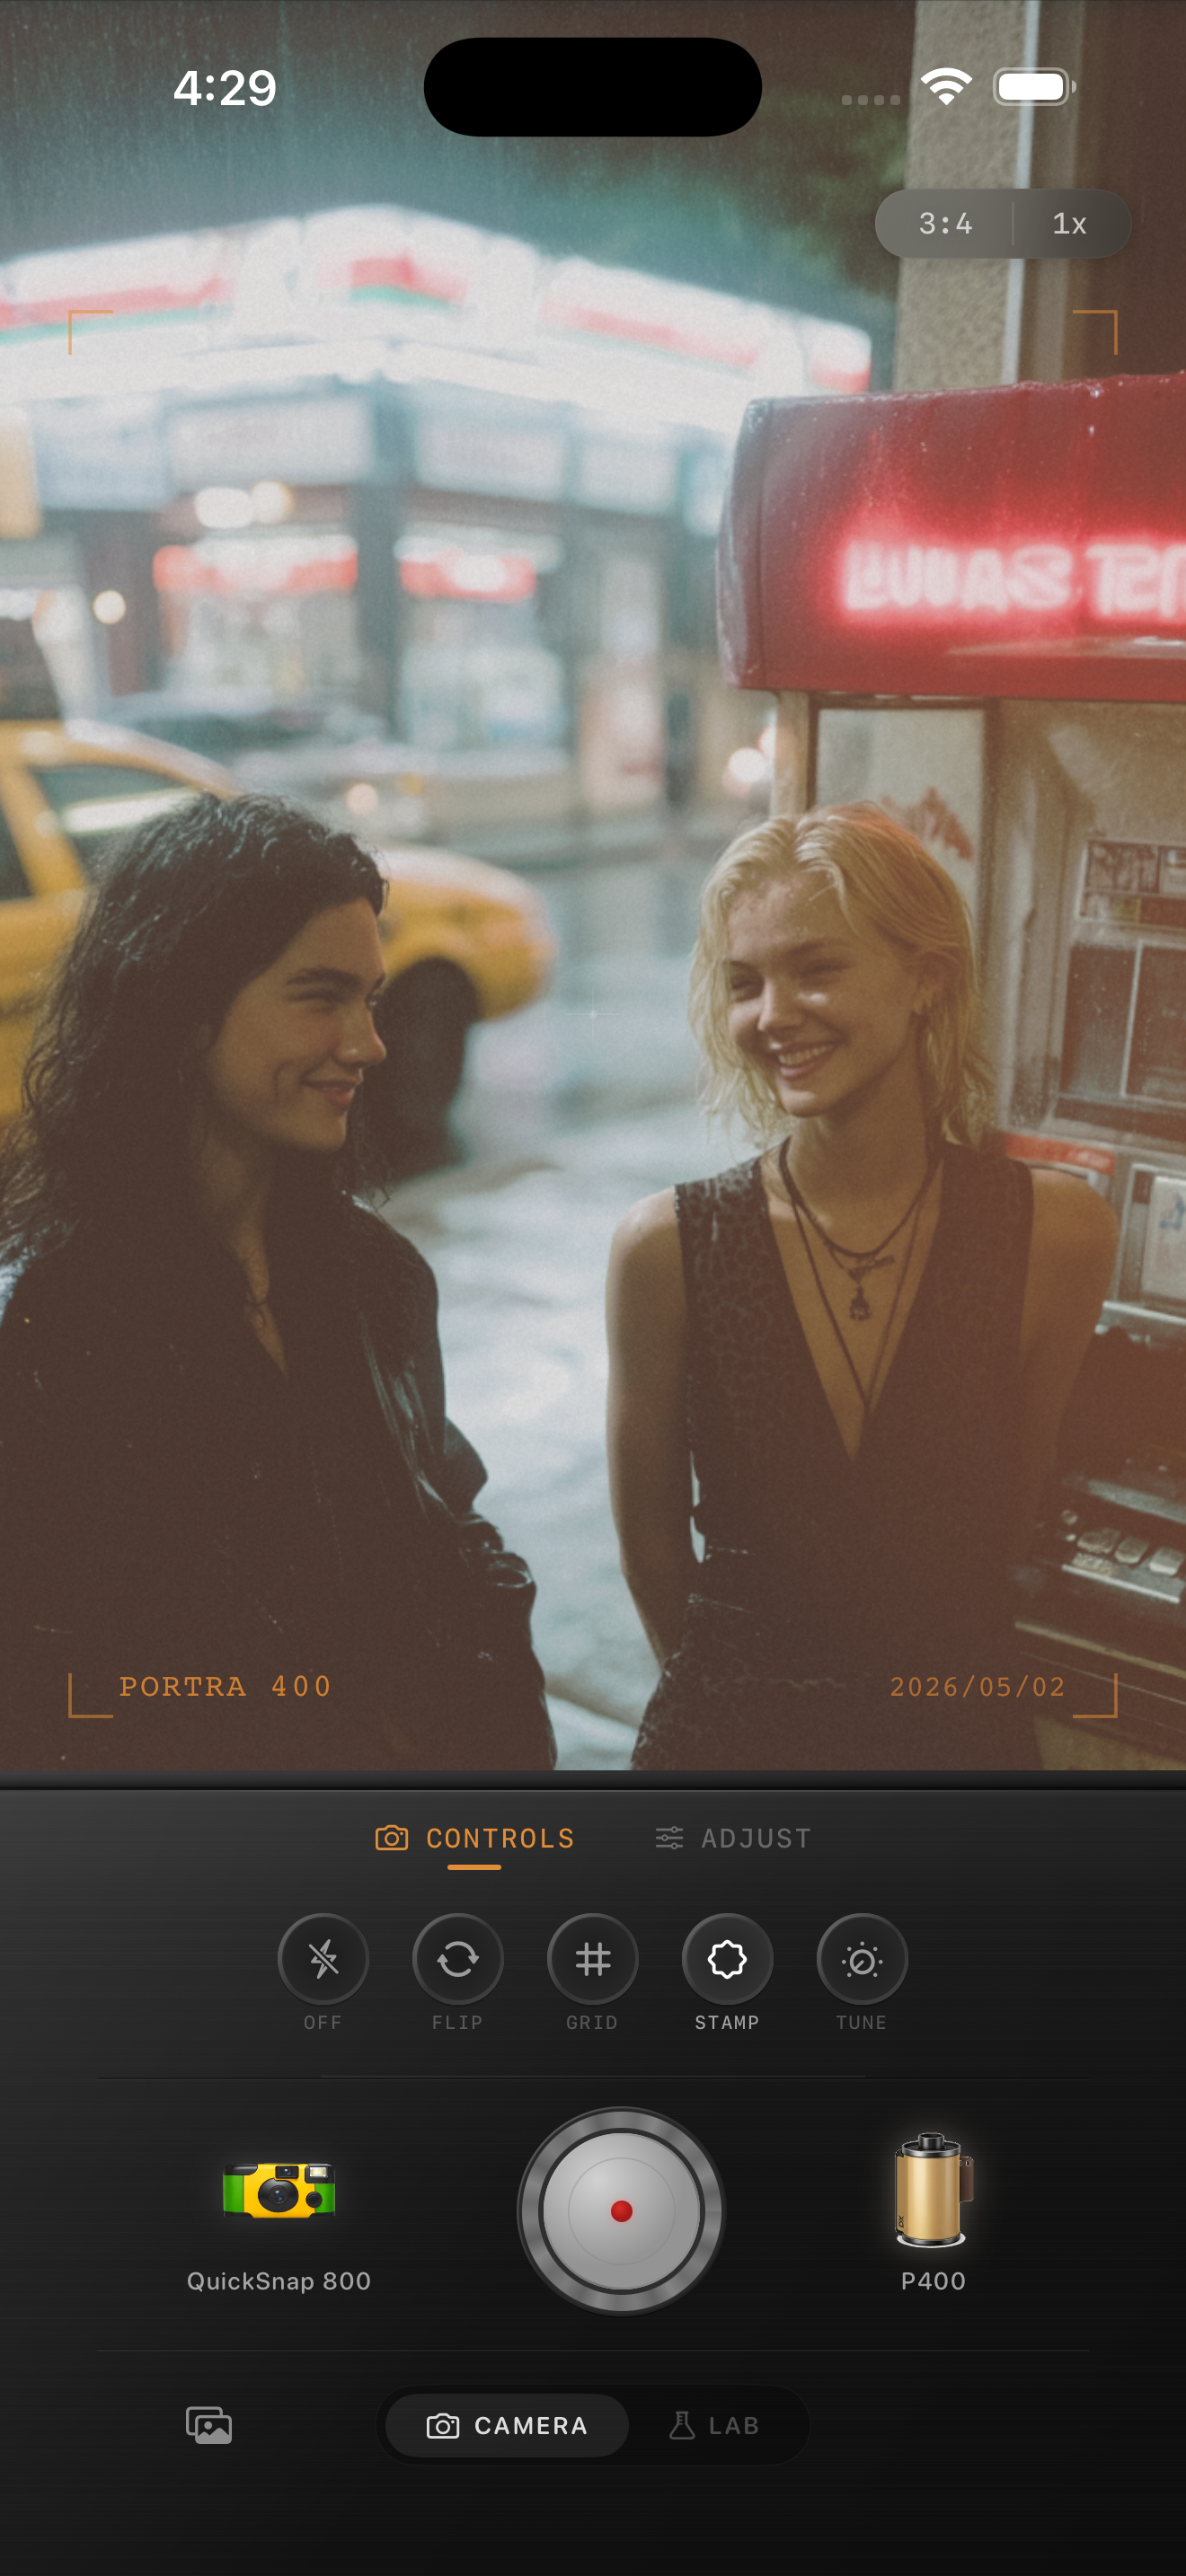
Use Nostalgia Cam to combine camera body, film-inspired color, grain, fade, and vignette so diner booth photos keep their flashy late-night mood while skin, menus, and booth tones stay believable.
FAQ
Why do diner booth film edits turn muddy so quickly?
Because the frame often combines red booths, warm bulbs, skin, and flash. If warmth, grain, and fade all go too far together, those tones merge and lose separation.
Should diner booth photos use a clean film body or a disposable one?
Either can work. Use a cleaner body for quieter memory-style shots and a disposable-style body for flashier, rougher, more casual booth photos.