
iPhone film look
Best Film Settings for Airport Photos on iPhone
A practical airport-photo film recipe for iPhone: controlled window highlights, cleaner mixed light, moderate grain, and enough softness to make terminals and travel moments feel nostalgic instead of sterile.
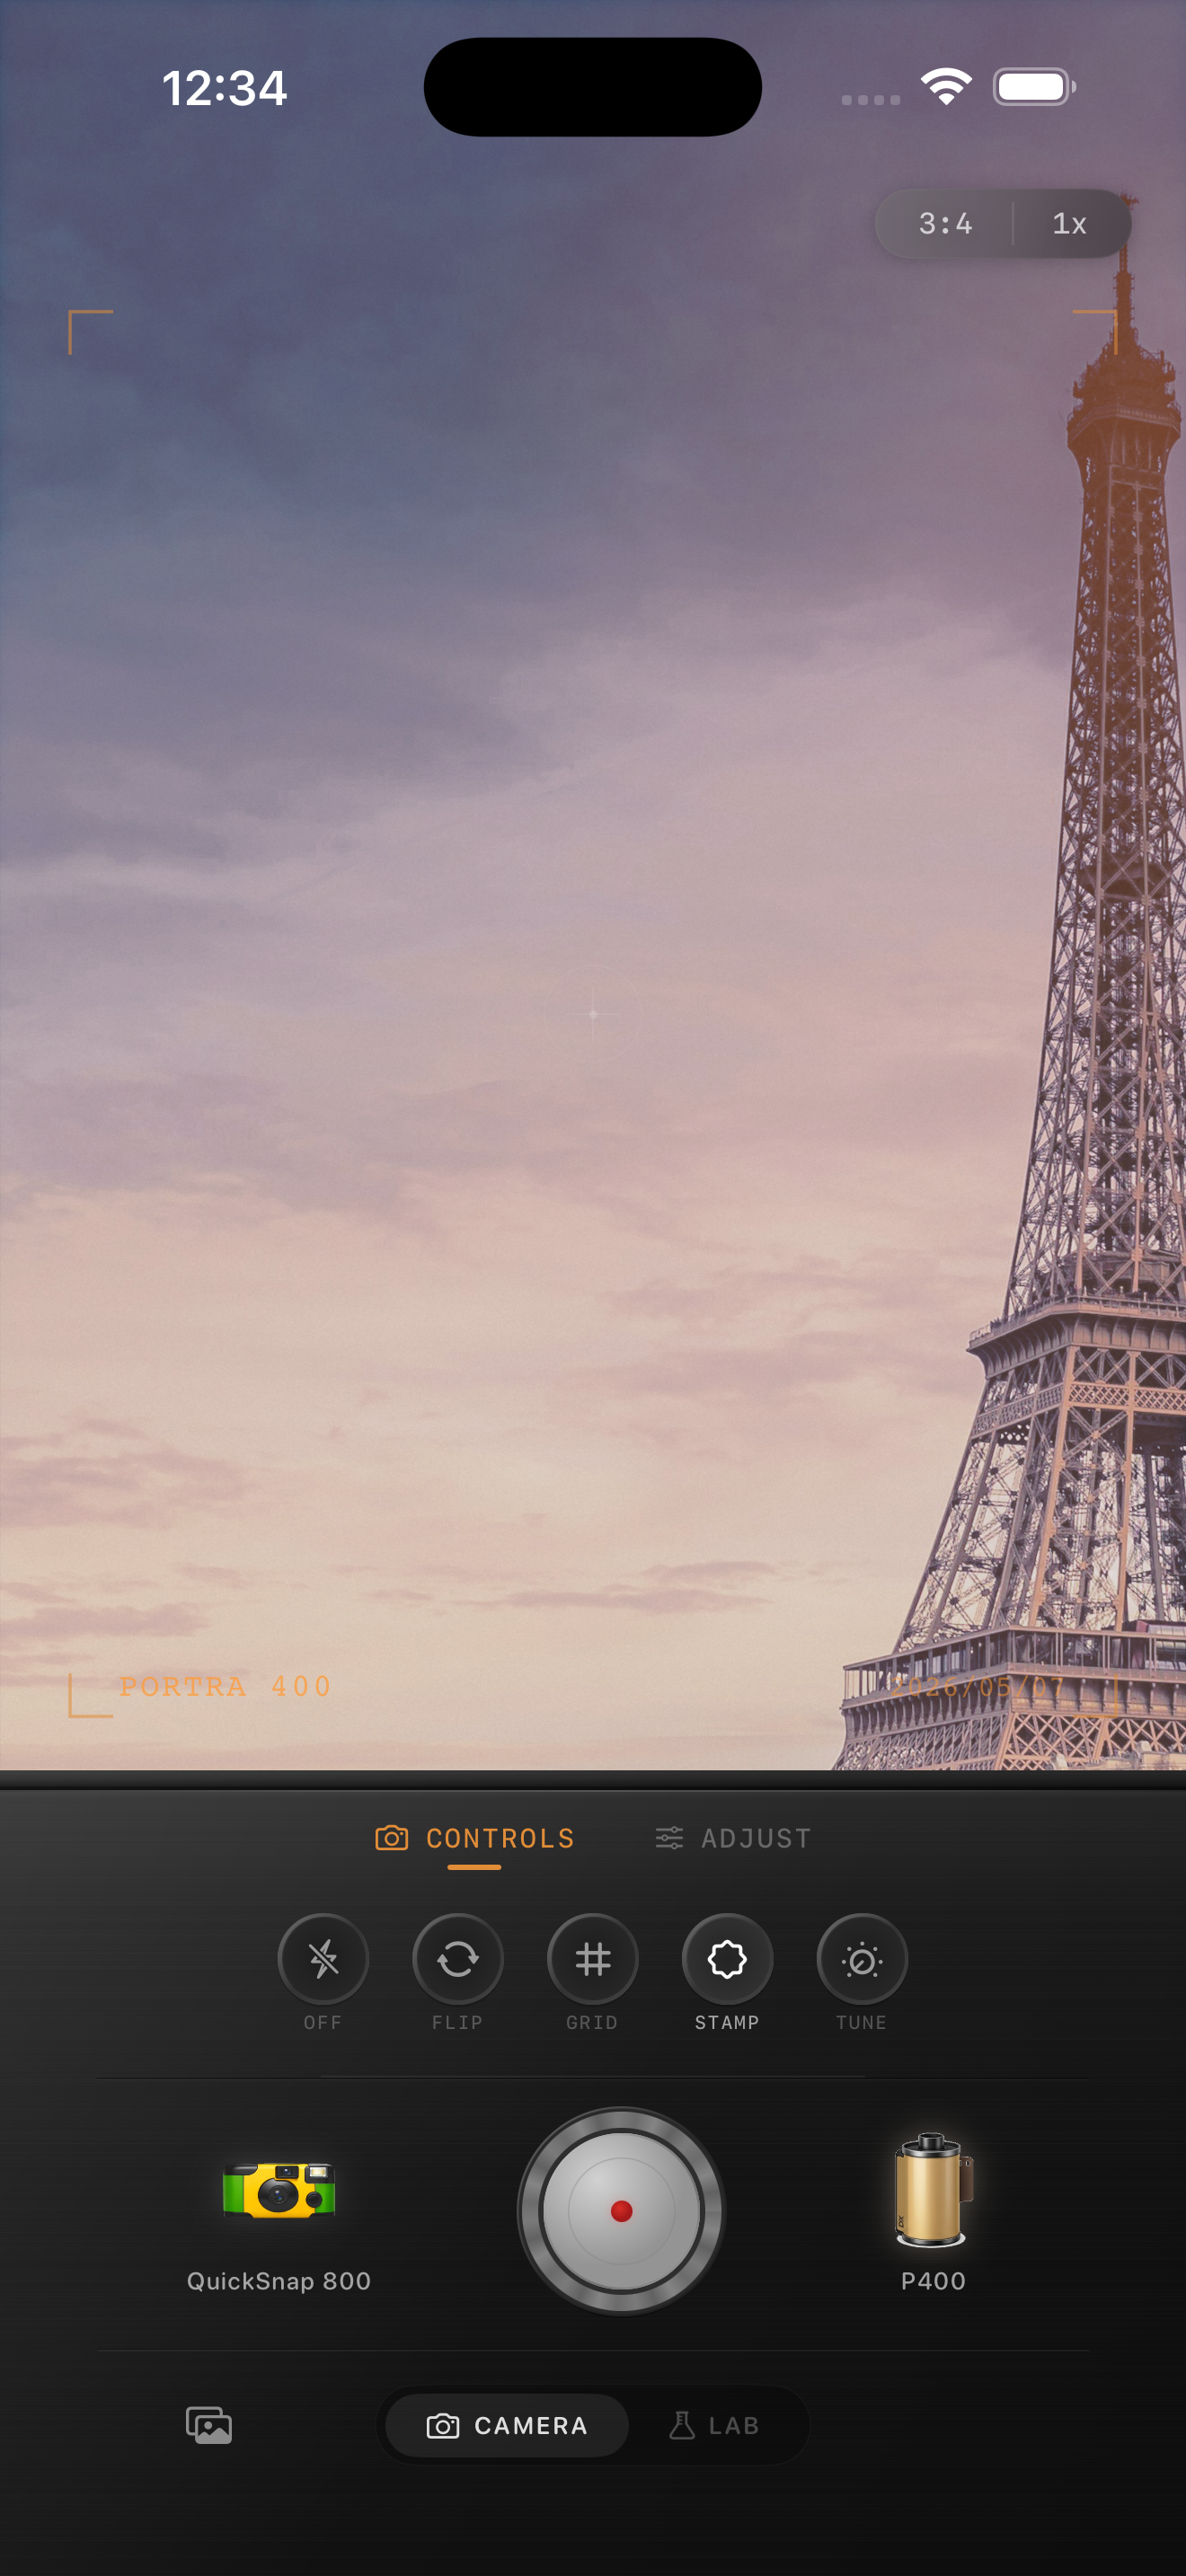
Airport photos usually break because the light is doing two different things
Airport photos often combine cool window light, warmer overhead fixtures, glossy floors, digital signs, and bright clothing or luggage. That mix can make an iPhone file feel hard and processed even when the moment itself feels cinematic.
A believable film-style edit should calm the contrast and color shifts without removing the travel mood. You want the frame to feel like a printed memory from the trip, not a heavily corrected interior shot.
- Protect bright windows before increasing grain.
- Keep warmth moderate so terminal lighting does not turn muddy.
- Use medium grain instead of rough disposable texture.
- Add only a little fade so floors and seating keep shape.
- Let signs and reflective surfaces stay readable.
A dependable airport-film starting recipe
Start around film intensity 72-86%, grain 22-34%, warmth +2 to +8, fade 3-7%, and vignette 3-7%. That range usually softens the digital finish while keeping airport light believable.
If the photo includes large windows or bright clouds outside, lower highlights first and leave the grain alone for a moment. Airport scenes tend to look more like film when the light rolls off gently instead of clipping into white patches.
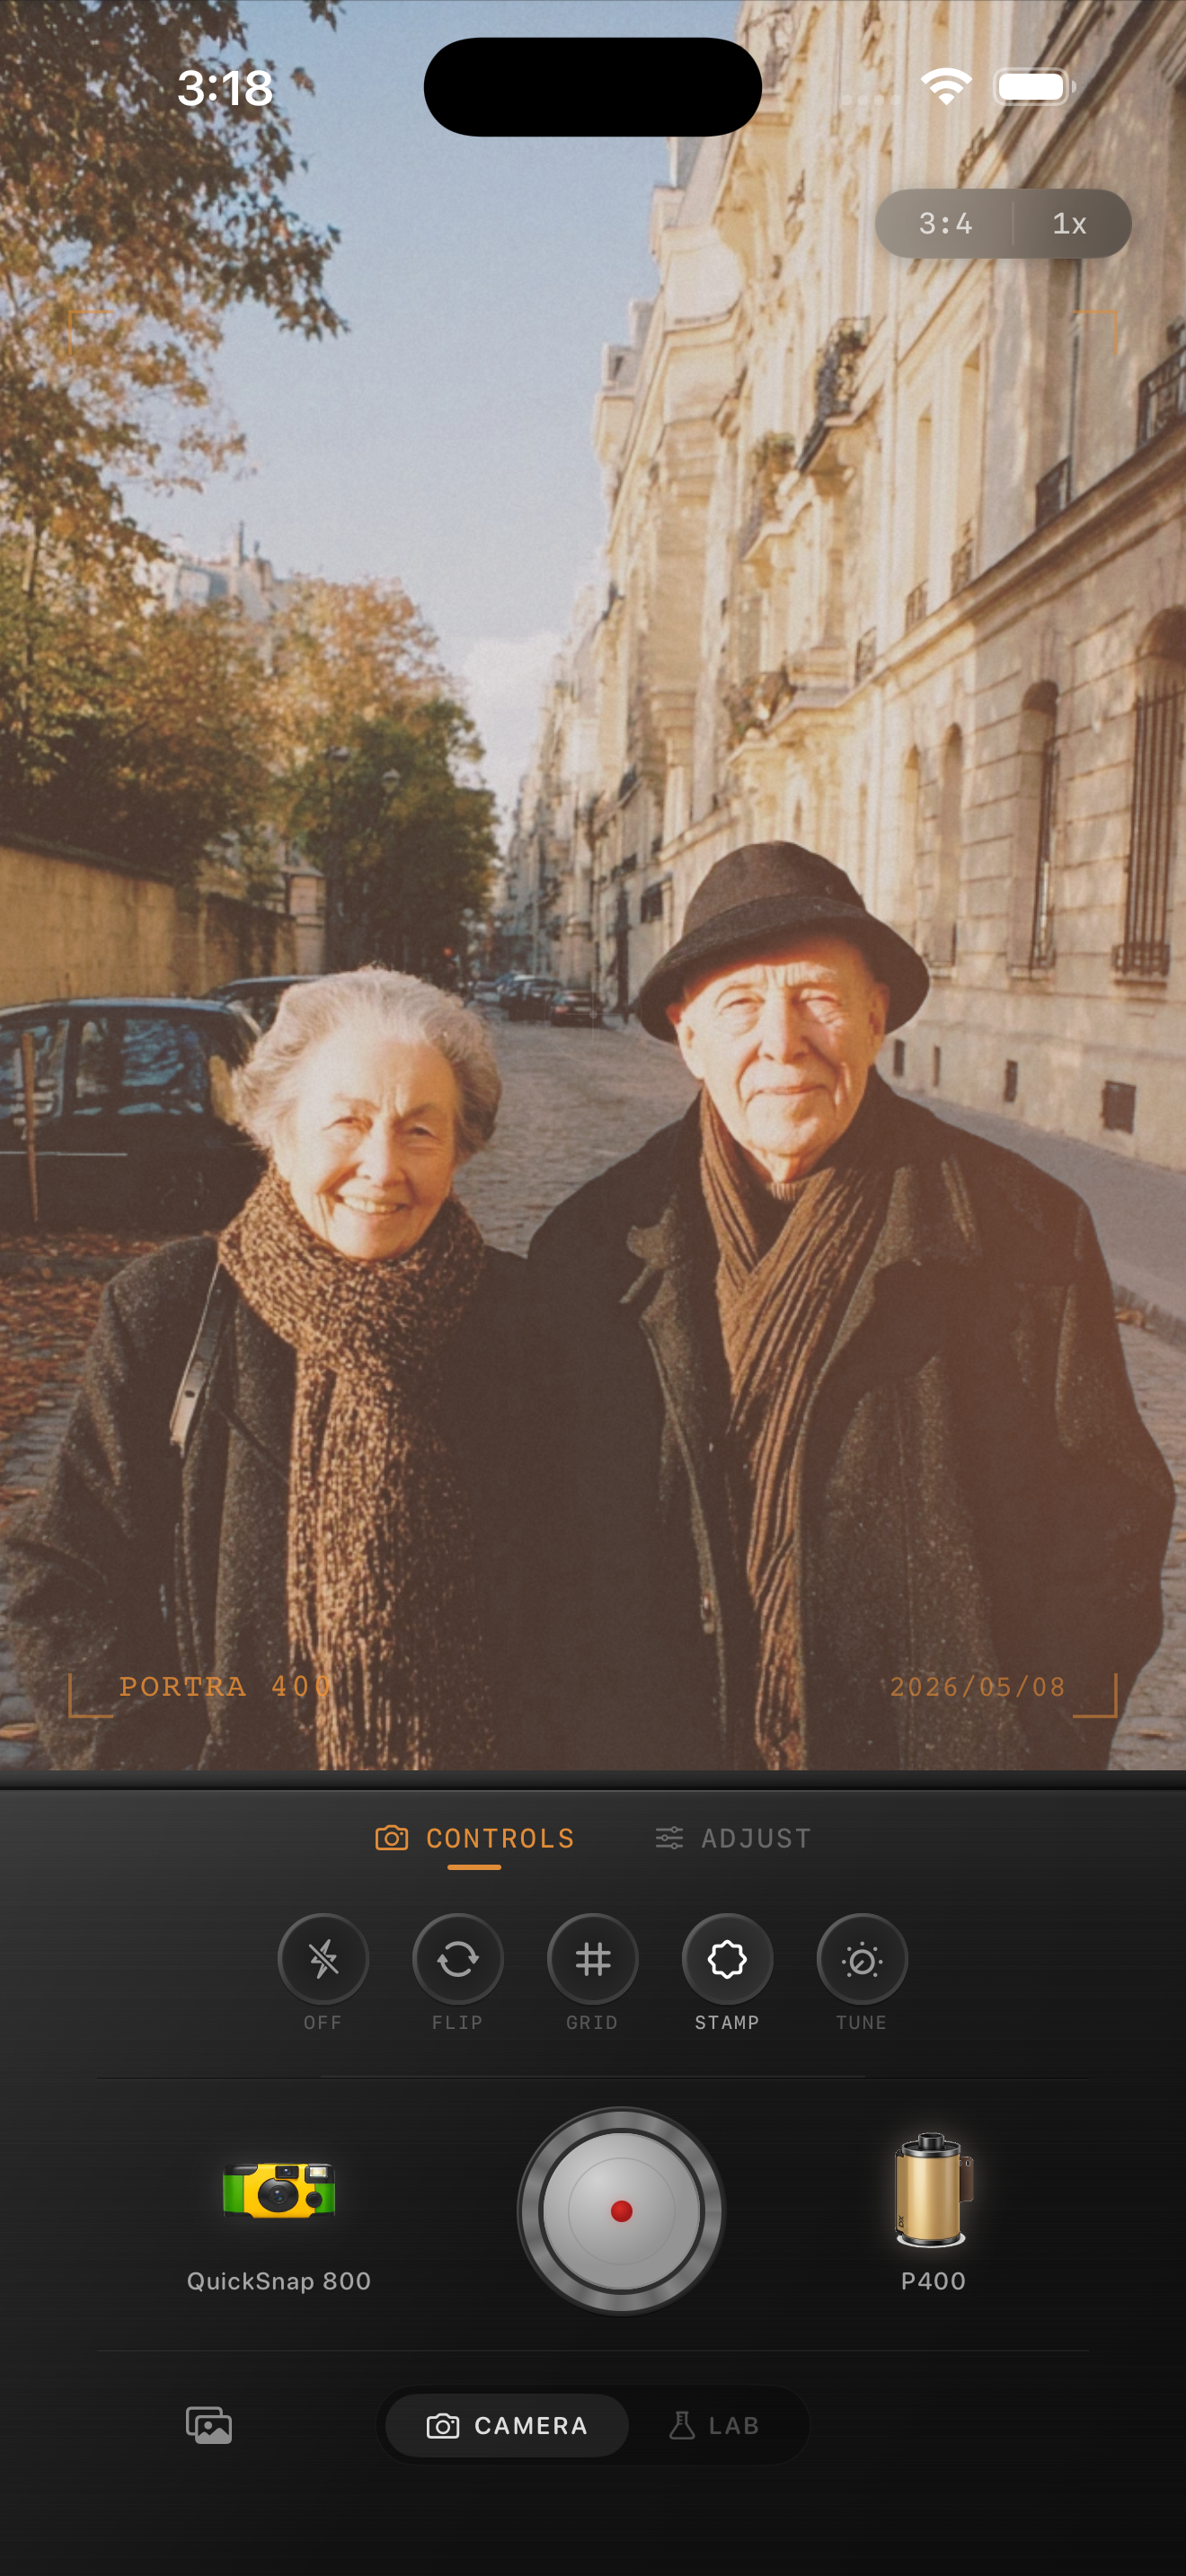
Choose a cleaner camera body than you think
Most airport photos work better with a balanced compact-film or 35mm-inspired body than with a rough disposable look. The terminal already has enough visual texture from glass, signage, bags, and movement.
A rougher body can work for a late-night gate photo or a quick direct-flash travel snapshot, but for most airport scenes you want softness and character more than damage.
Keep the sense of movement in the frame
Good airport photos are rarely only about the subject. Boarding lines, windows, seats, carry-ons, and the scale of the terminal help the image feel specific to travel. If you smooth the frame too much, the scene loses that feeling.
In Nostalgia Cam, start with the camera body that matches the pace of the scene, then tune grain, warmth, fade, and vignette until the image feels calm, cinematic, and lightly worn in.
Make travel moments feel printed in Nostalgia Cam
Use Nostalgia Cam to shoot or import airport photos, then balance camera body, grain, warmth, fade, and vignette so terminal light, travel details, and candid moments feel naturally film-inspired on iPhone.
FAQ
Should airport photos use a disposable camera look?
Usually a cleaner film look works better. Airports already have plenty of texture and mixed light, so rough disposable grain can make the scene feel cluttered instead of nostalgic.
What should I fix first in an airport photo?
Start with highlights from windows and bright signs. Once those are controlled, you can judge grain, warmth, and fade much more accurately.